Browsing Category

Desserts

Desserts

Mini-Pumpkin Whoopie Pies

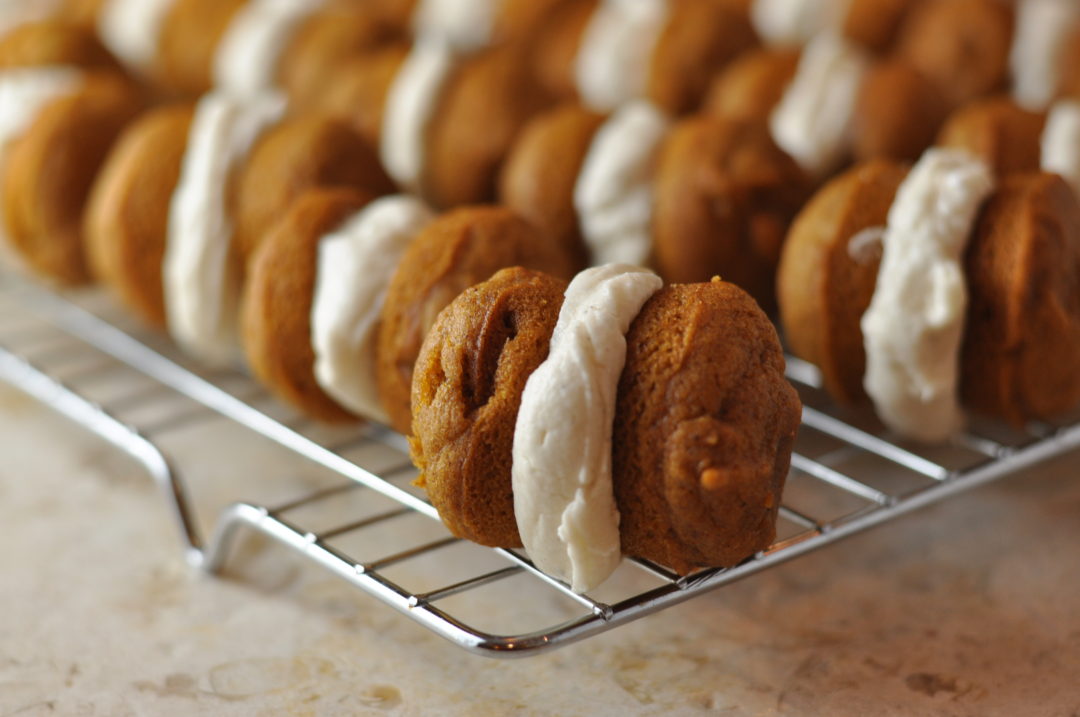
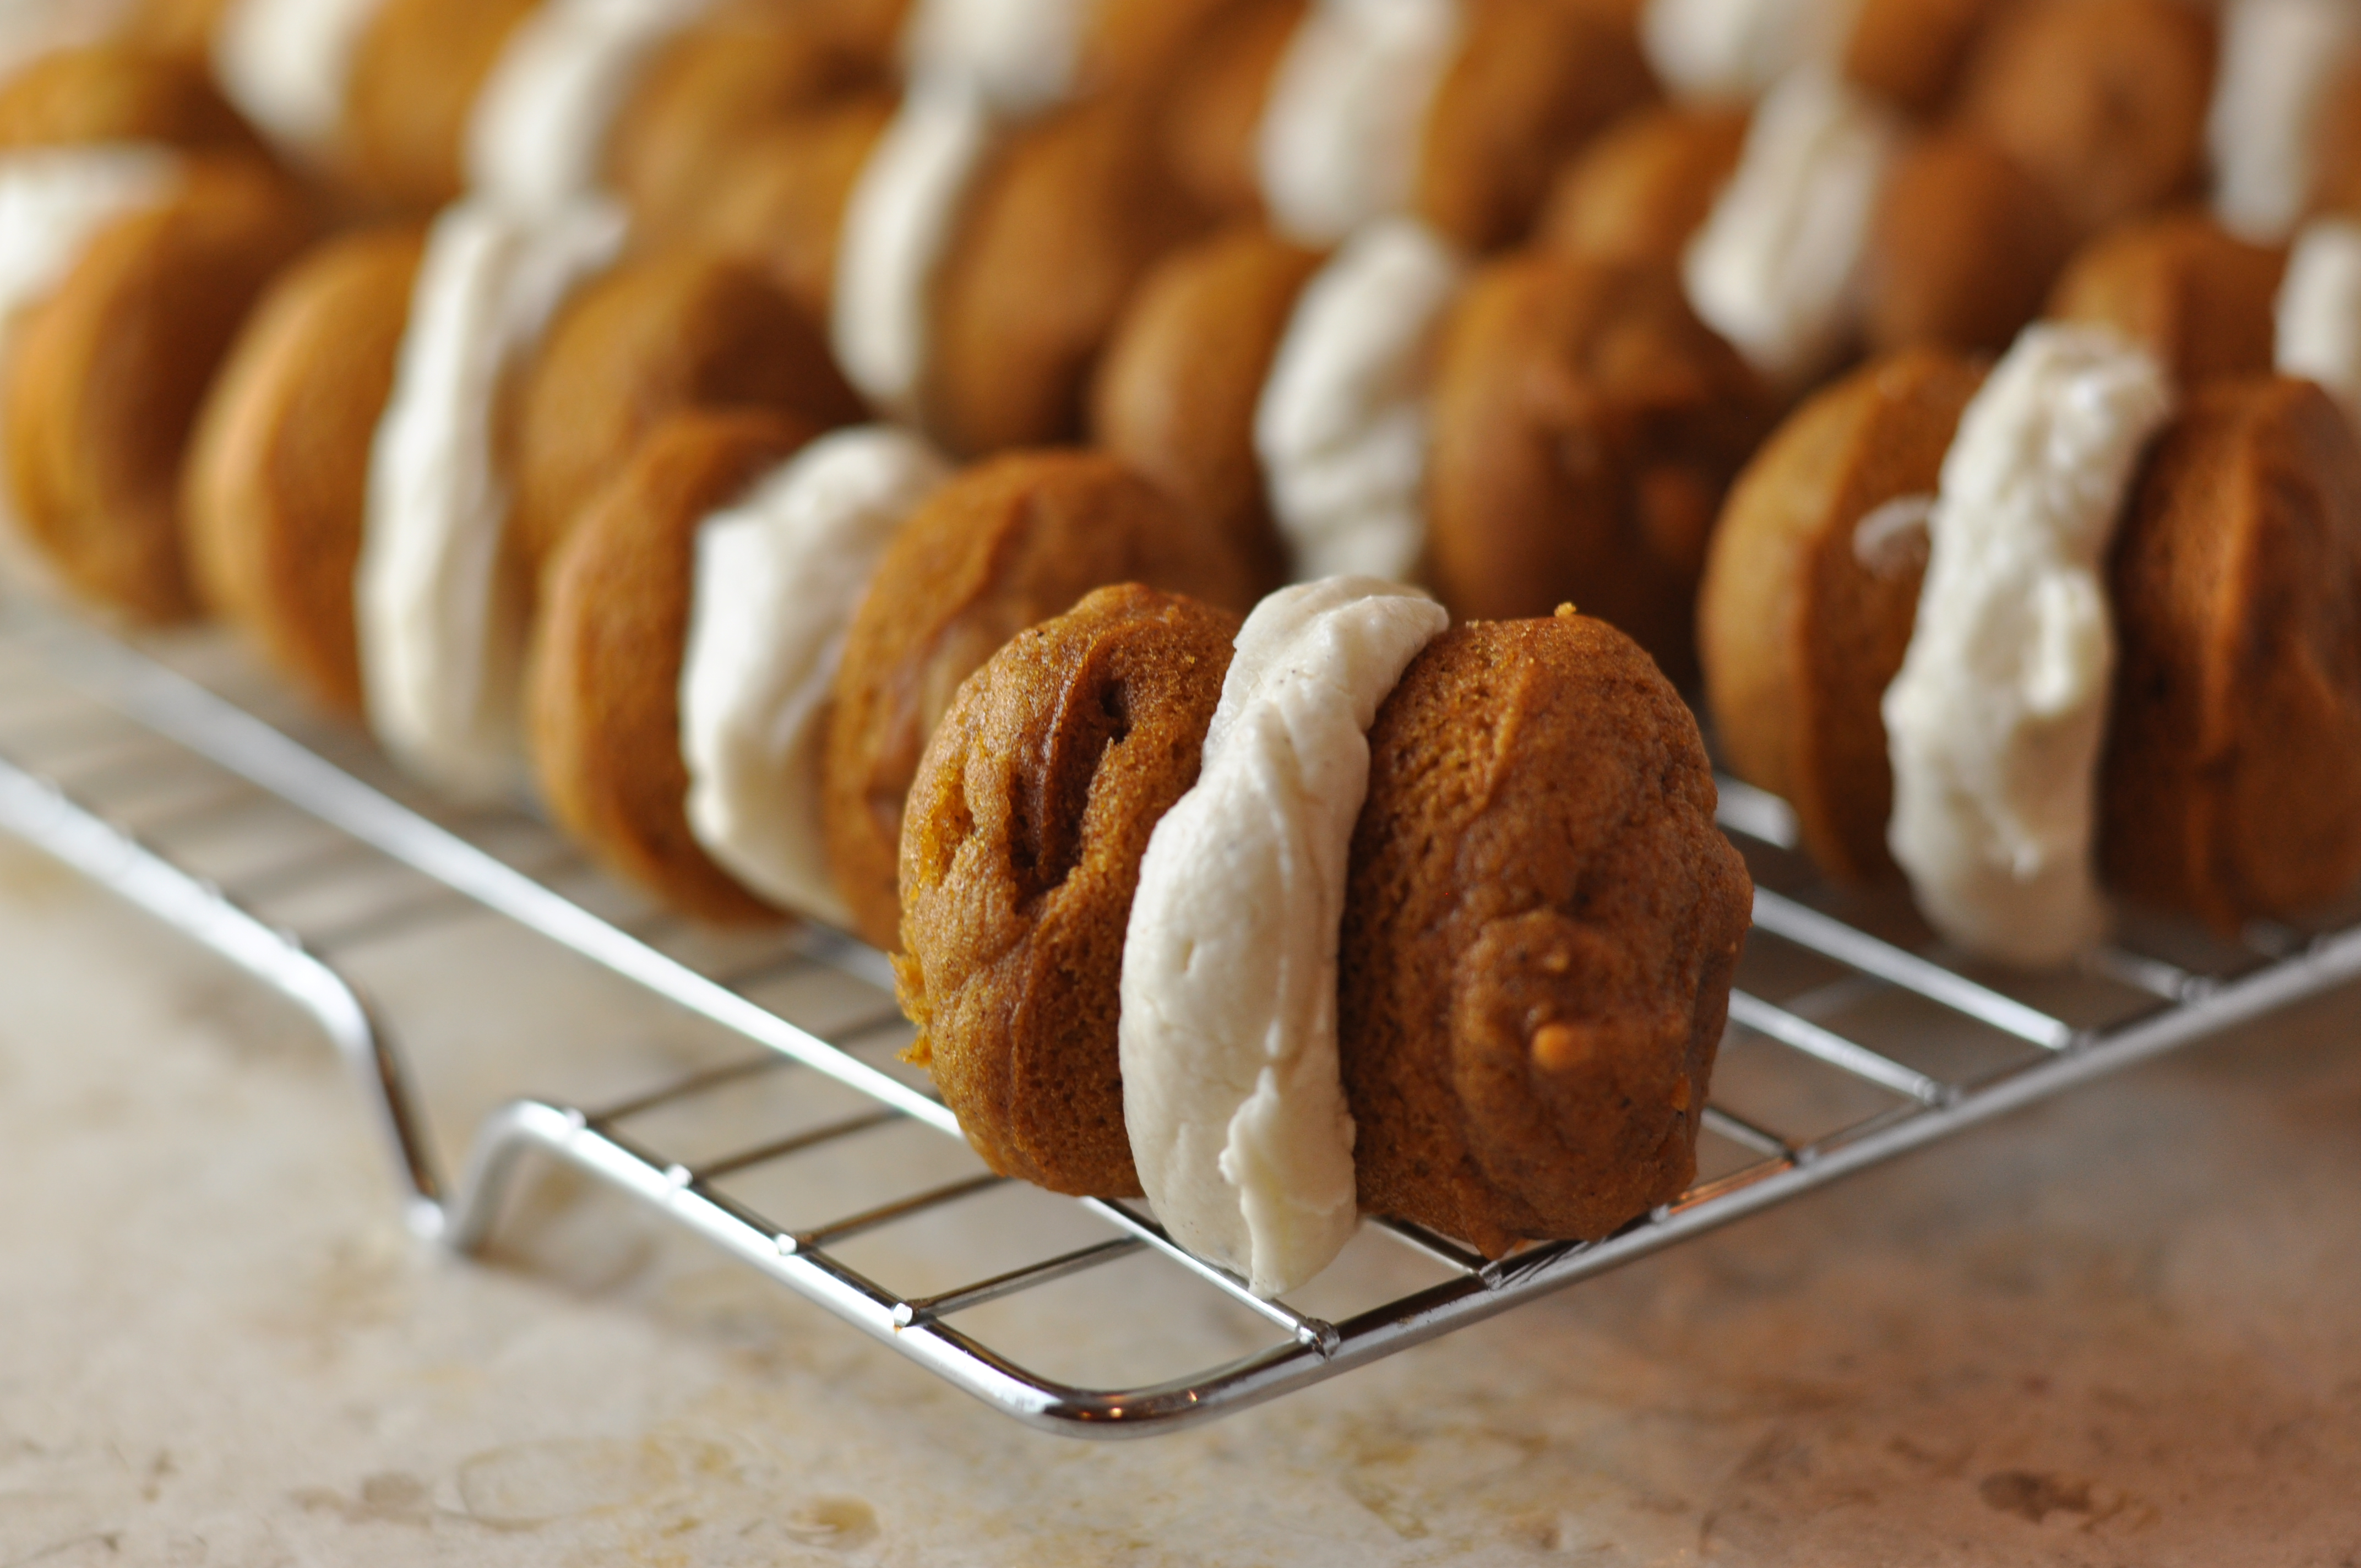
Delicious Cardamom Cream Cheese Buttercream sandwiched by 2 tiny soft pumpkin cakes.  You can’t go wrong here.  I make these using a mini-whoopie pie pan, you can get one HERE.  These are great to serve at parties since they are bite sized and super easy to pick up, but super difficult to eat only one.

Mini-Pumpkin Whoopie Pies with Cardamom Cream Cheese Frosting

1 Star2 Stars3 Stars4 Stars5 Stars (No Ratings Yet)
Loading...
By Liz Serves: 36
Prep Time: 10 Minutes

A delicious bite-sized pumpkin treat, perfect for serving at parties.

Ingredients

  • WHOOPIE CAKES:
  • 2 cups Brown Sugar
  • 1 cup Vegetable Oil
  • 1 can Pumpkin Puree
  • 2 large Eggs
  • 2 teaspoons Pure Vanilla Extract
  • 2 tablespoons Cinnamon
  • 2 teaspoons Ginger
  • 1 tablespoon Ground Cloves
  • 1 teaspoon Salt
  • 1 teaspoon Baking Powder
  • 1 teaspoon Baking Soda
  • 2 cups All Purpose Flour
  • CARDAMOM CREAM CHEESE FILLING:
  • 3 cups Confectioners Sugar
  • 1 stick Salted Butter, softened
  • 8 oz Cream Cheese, softened
  • 1/4 cup Milk
  • 2 tsp Pure Vanilla Extract
  • 1 tsp Cardamom

Instructions

1

Preheat your oven to 350 degrees.

2

Spray cooking spray on whoopie pie pan.

3

Add Brown Sugar, Vegetable Oil, Pumpkin, Eggs and Vanilla to a large bowl and stir with a wooden spoon, until they become one.

4

Add the Cinnamon, Ginger, Cloves and Salt and stir again.

5

Add the Baking Powder and Baking Soda and stir.

6

Add half of the Flour and combine until you can no longer see the Flour, then add the 2nd half and do the same.

7

Drop 1 heaping teaspoon full into each of the slots on the whoopie pie pan.

8

Bake for 10 to 12 minutes, careful not to over bake these.

9

Remove from the oven, wait 5 minutes and then using a mini-offset spatula or a butter knife, gently pop the cakes out of the pan and put on a cooling rack. Repeat until you use all of the batter.

10

Now make the filling by using an electric mixer to beat the Butter and Cream Cheese together in a big bowl until smooth and combined.

11

Add the one cup of the Confections sugar and combine, then add the 2nd cup and combine.

12

Add the Milk and then the last cup of Confectioners sugar, Vanilla and Cardamom and combine.

13

To assemble the whoopie pies, make sure the cakes have completely cooled and then spread about 1 Tablespoon of frosting on the bottom of one of the cakes, and then place another cake on top of the frosting, making a sandwich.

14

I lay these on their sides once they are assembled, to store put in an air-tight container, do not refrigerate.

Batter is all ready to go:
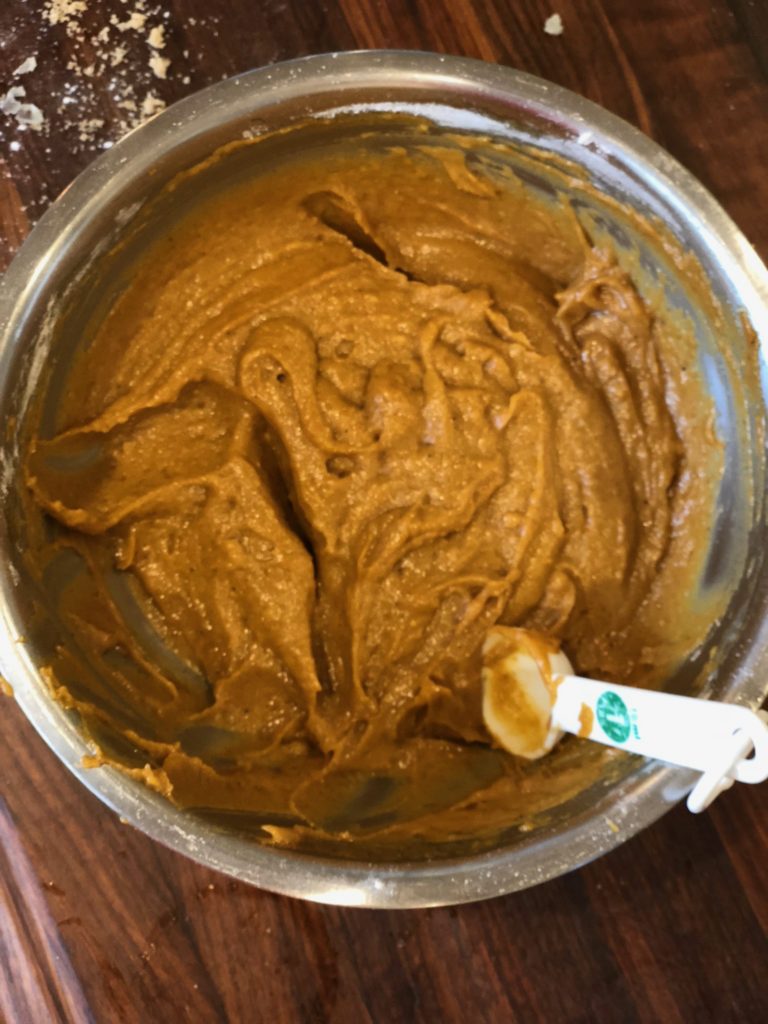
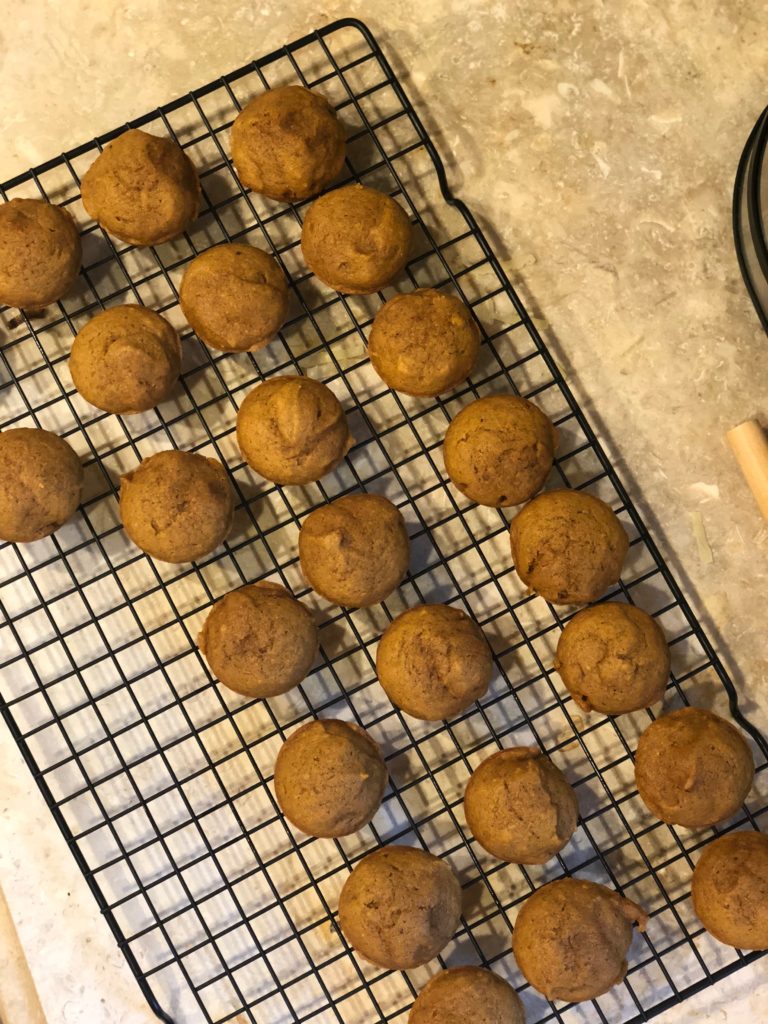
The finished cakes:
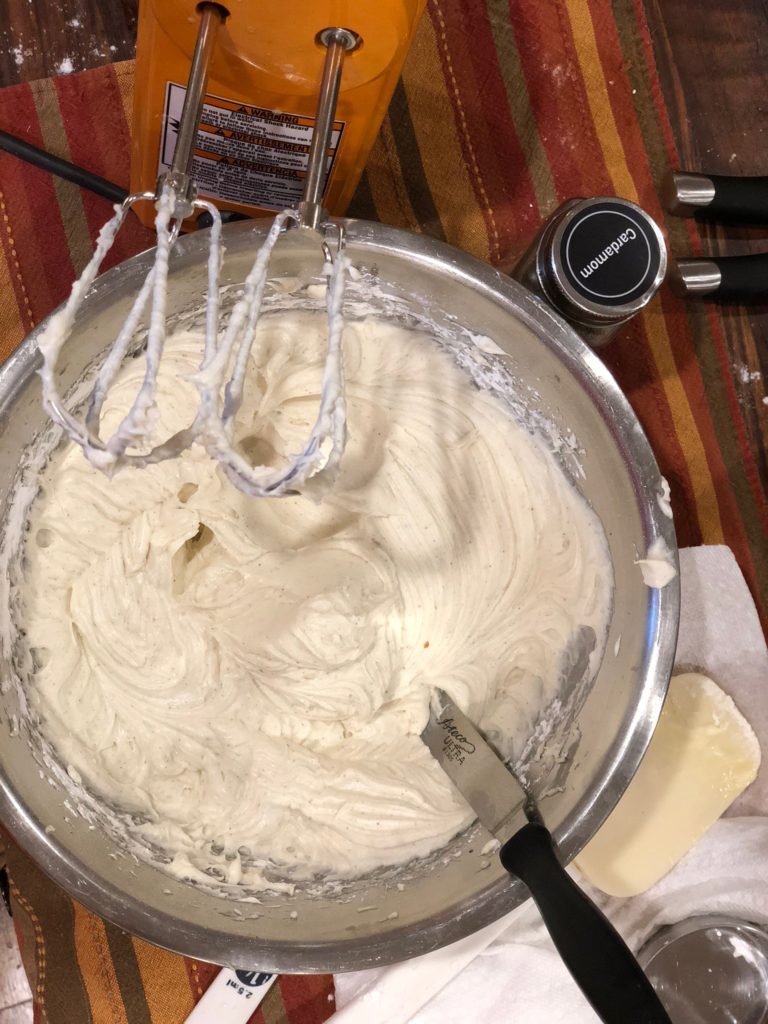
Cardamom Cream Cheese Buttercream:
Desserts

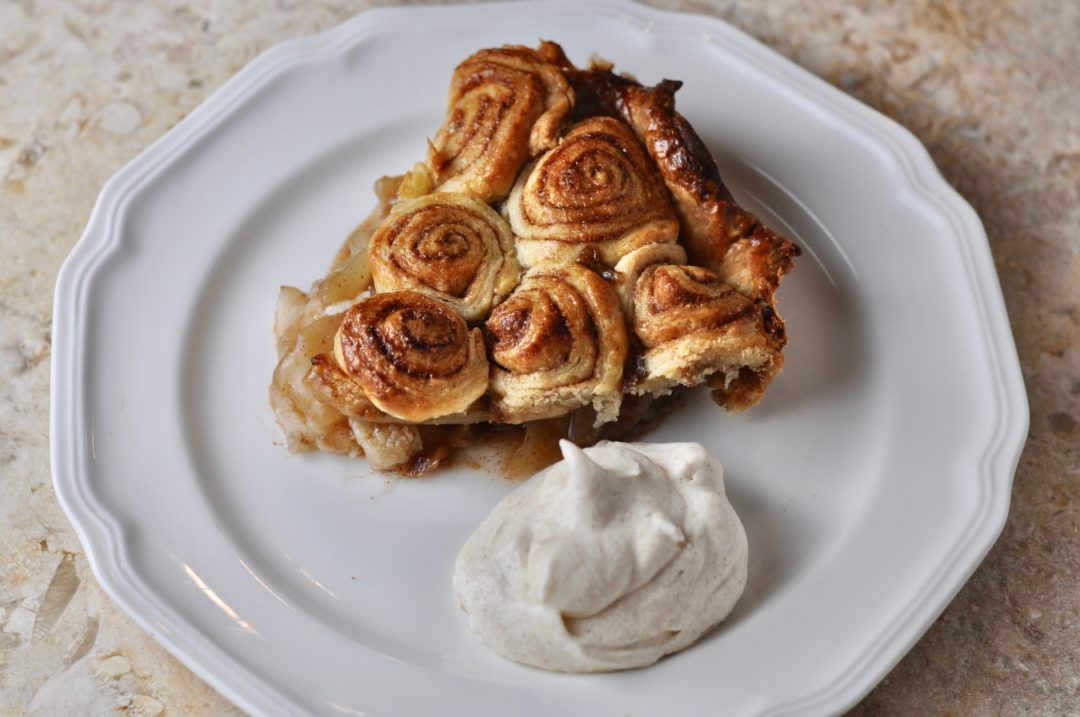
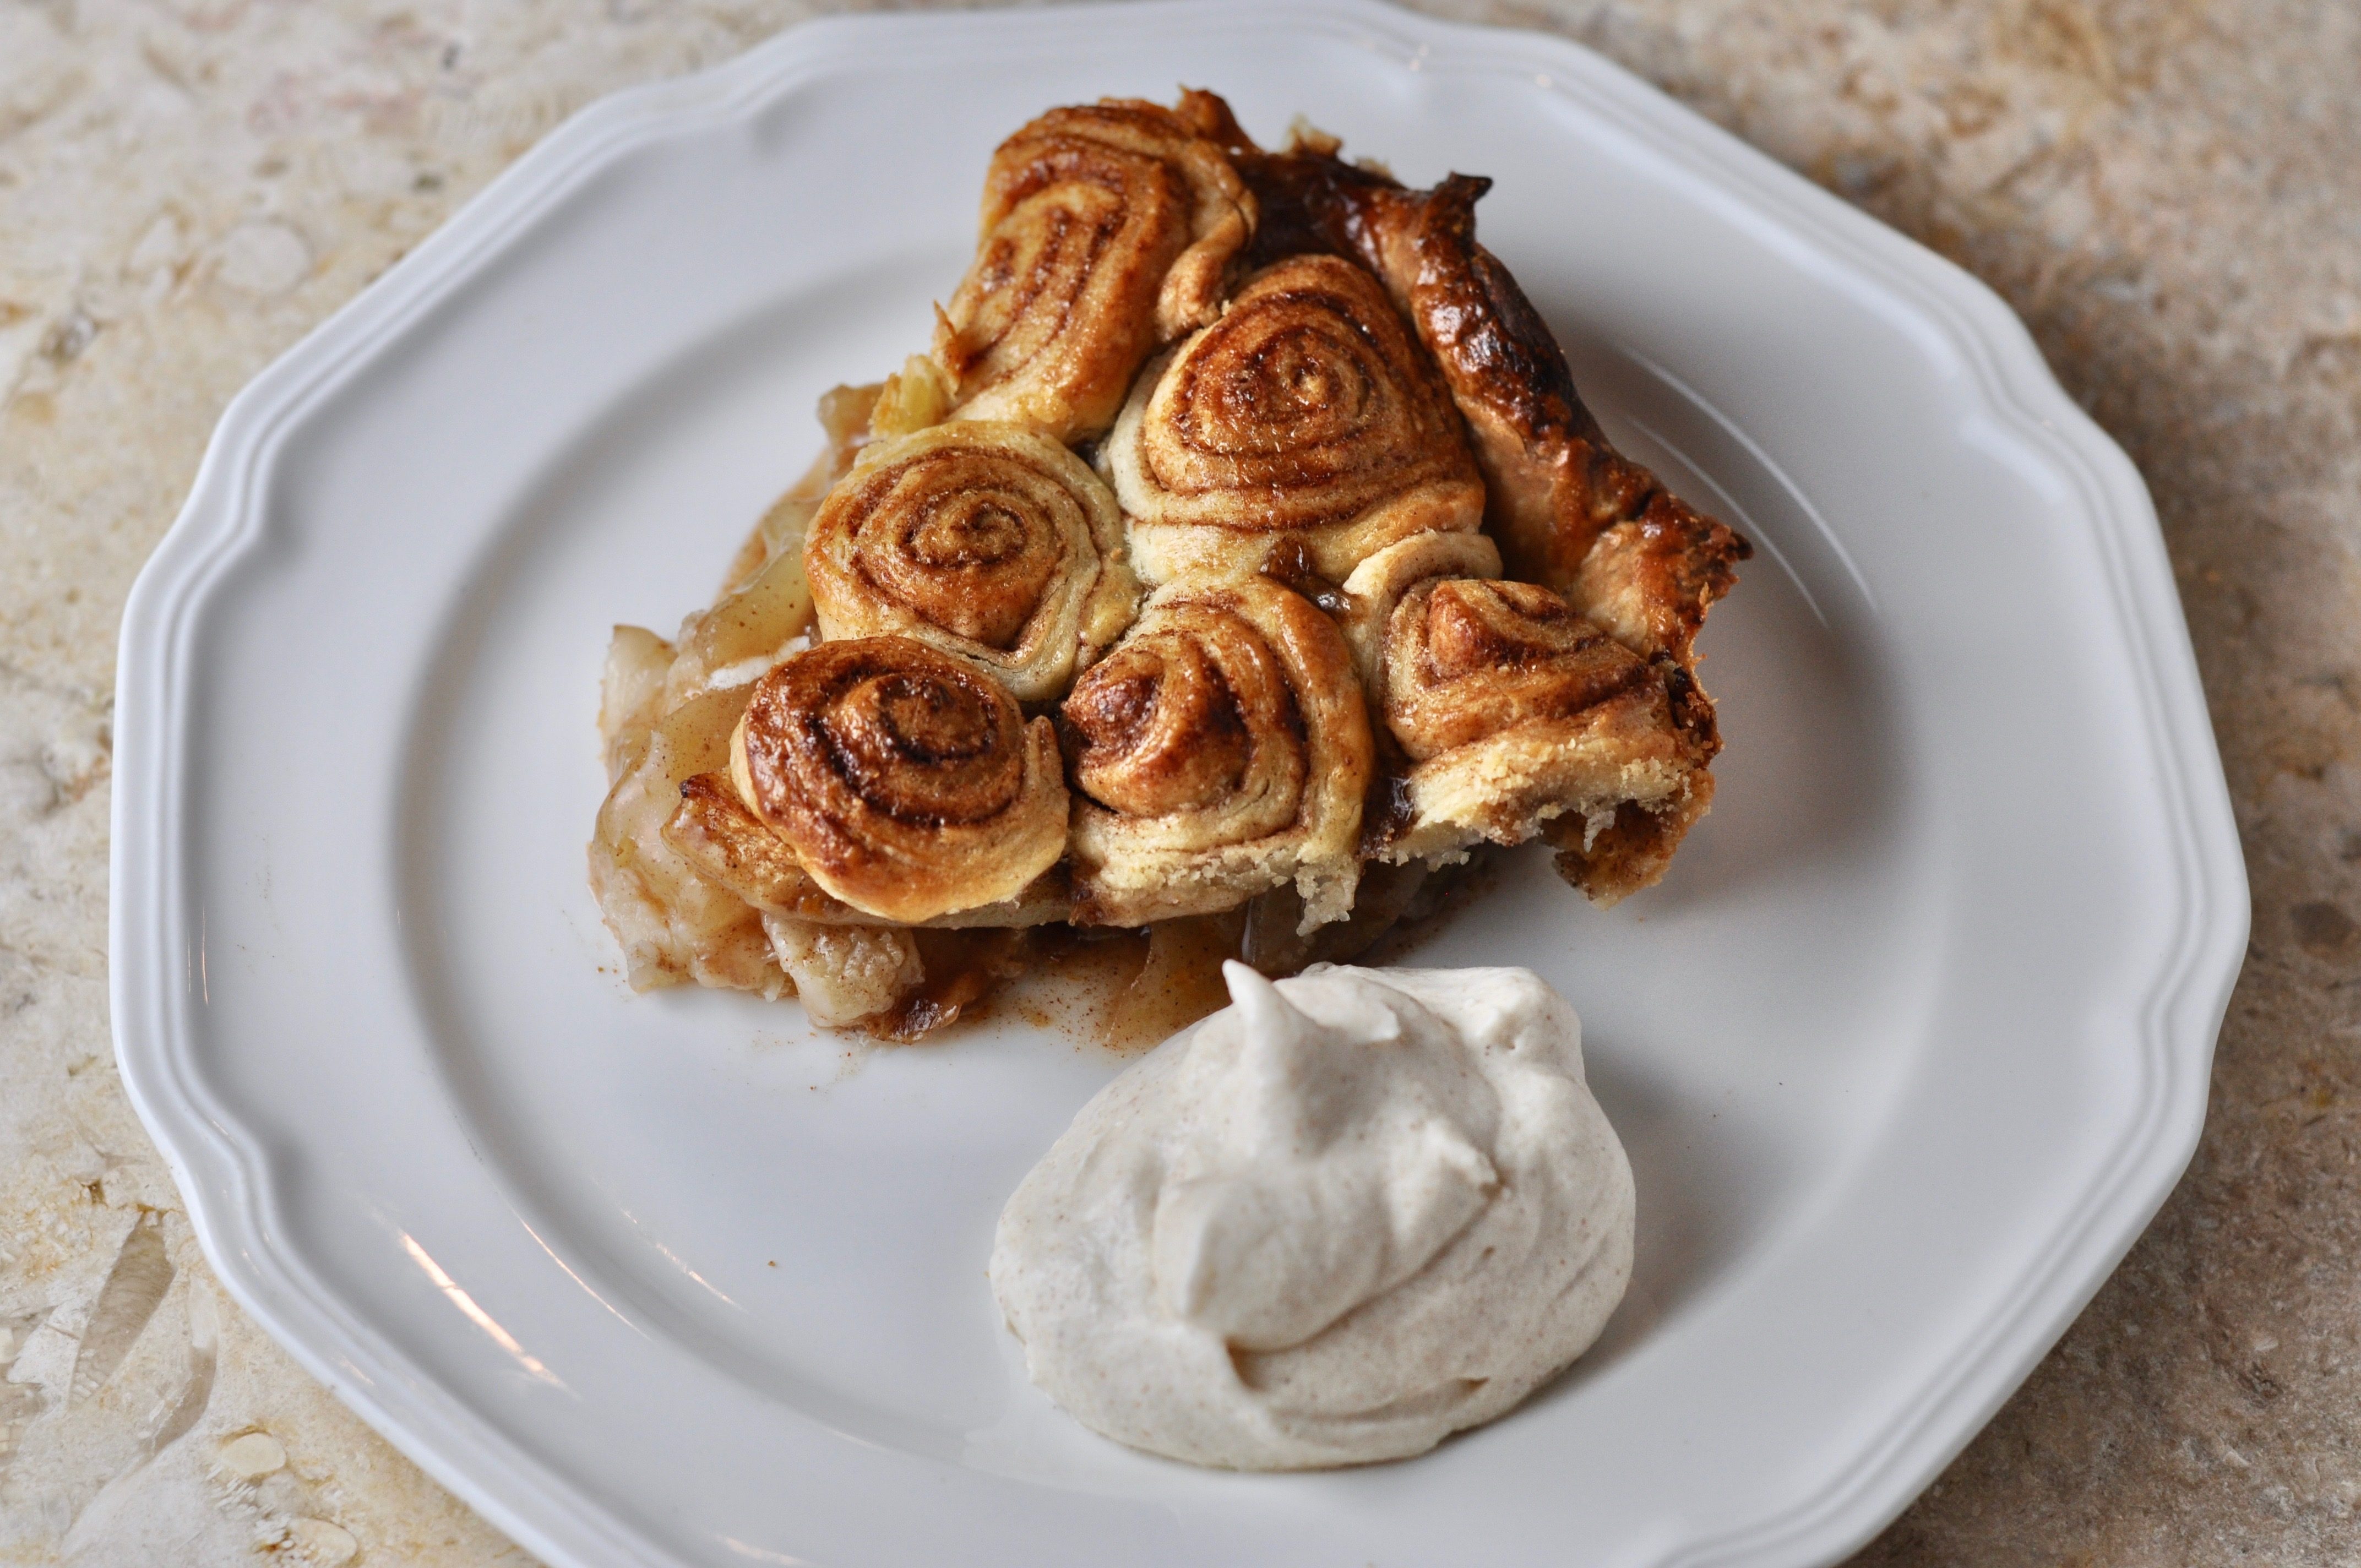
Cinnamon Roll Apple Pie

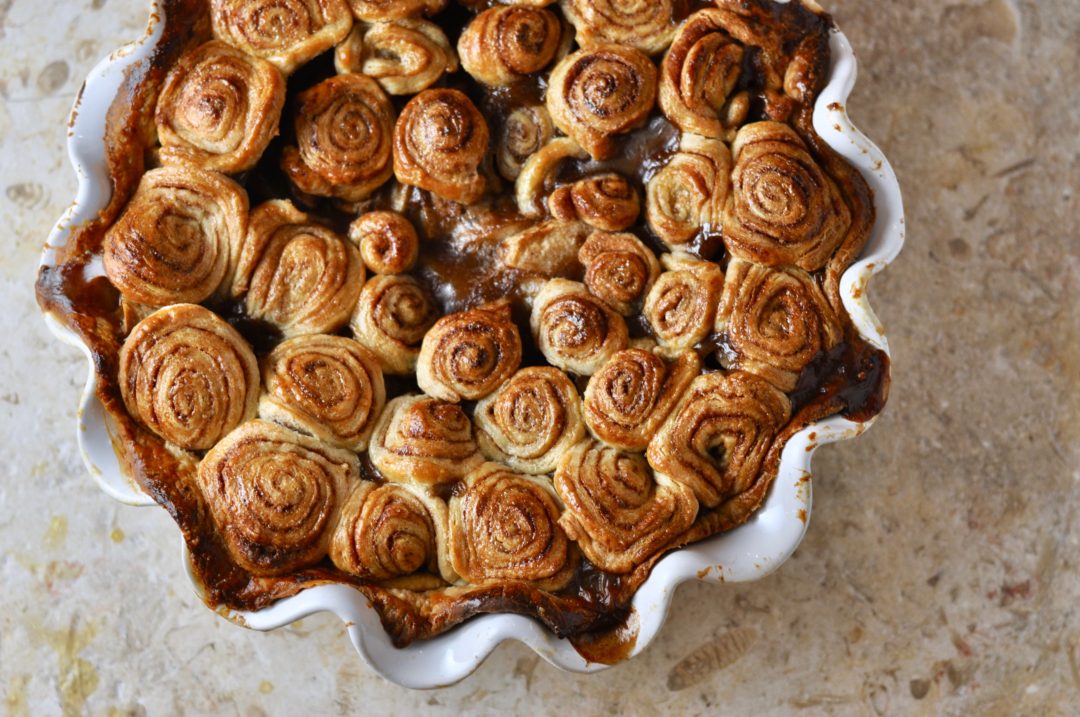
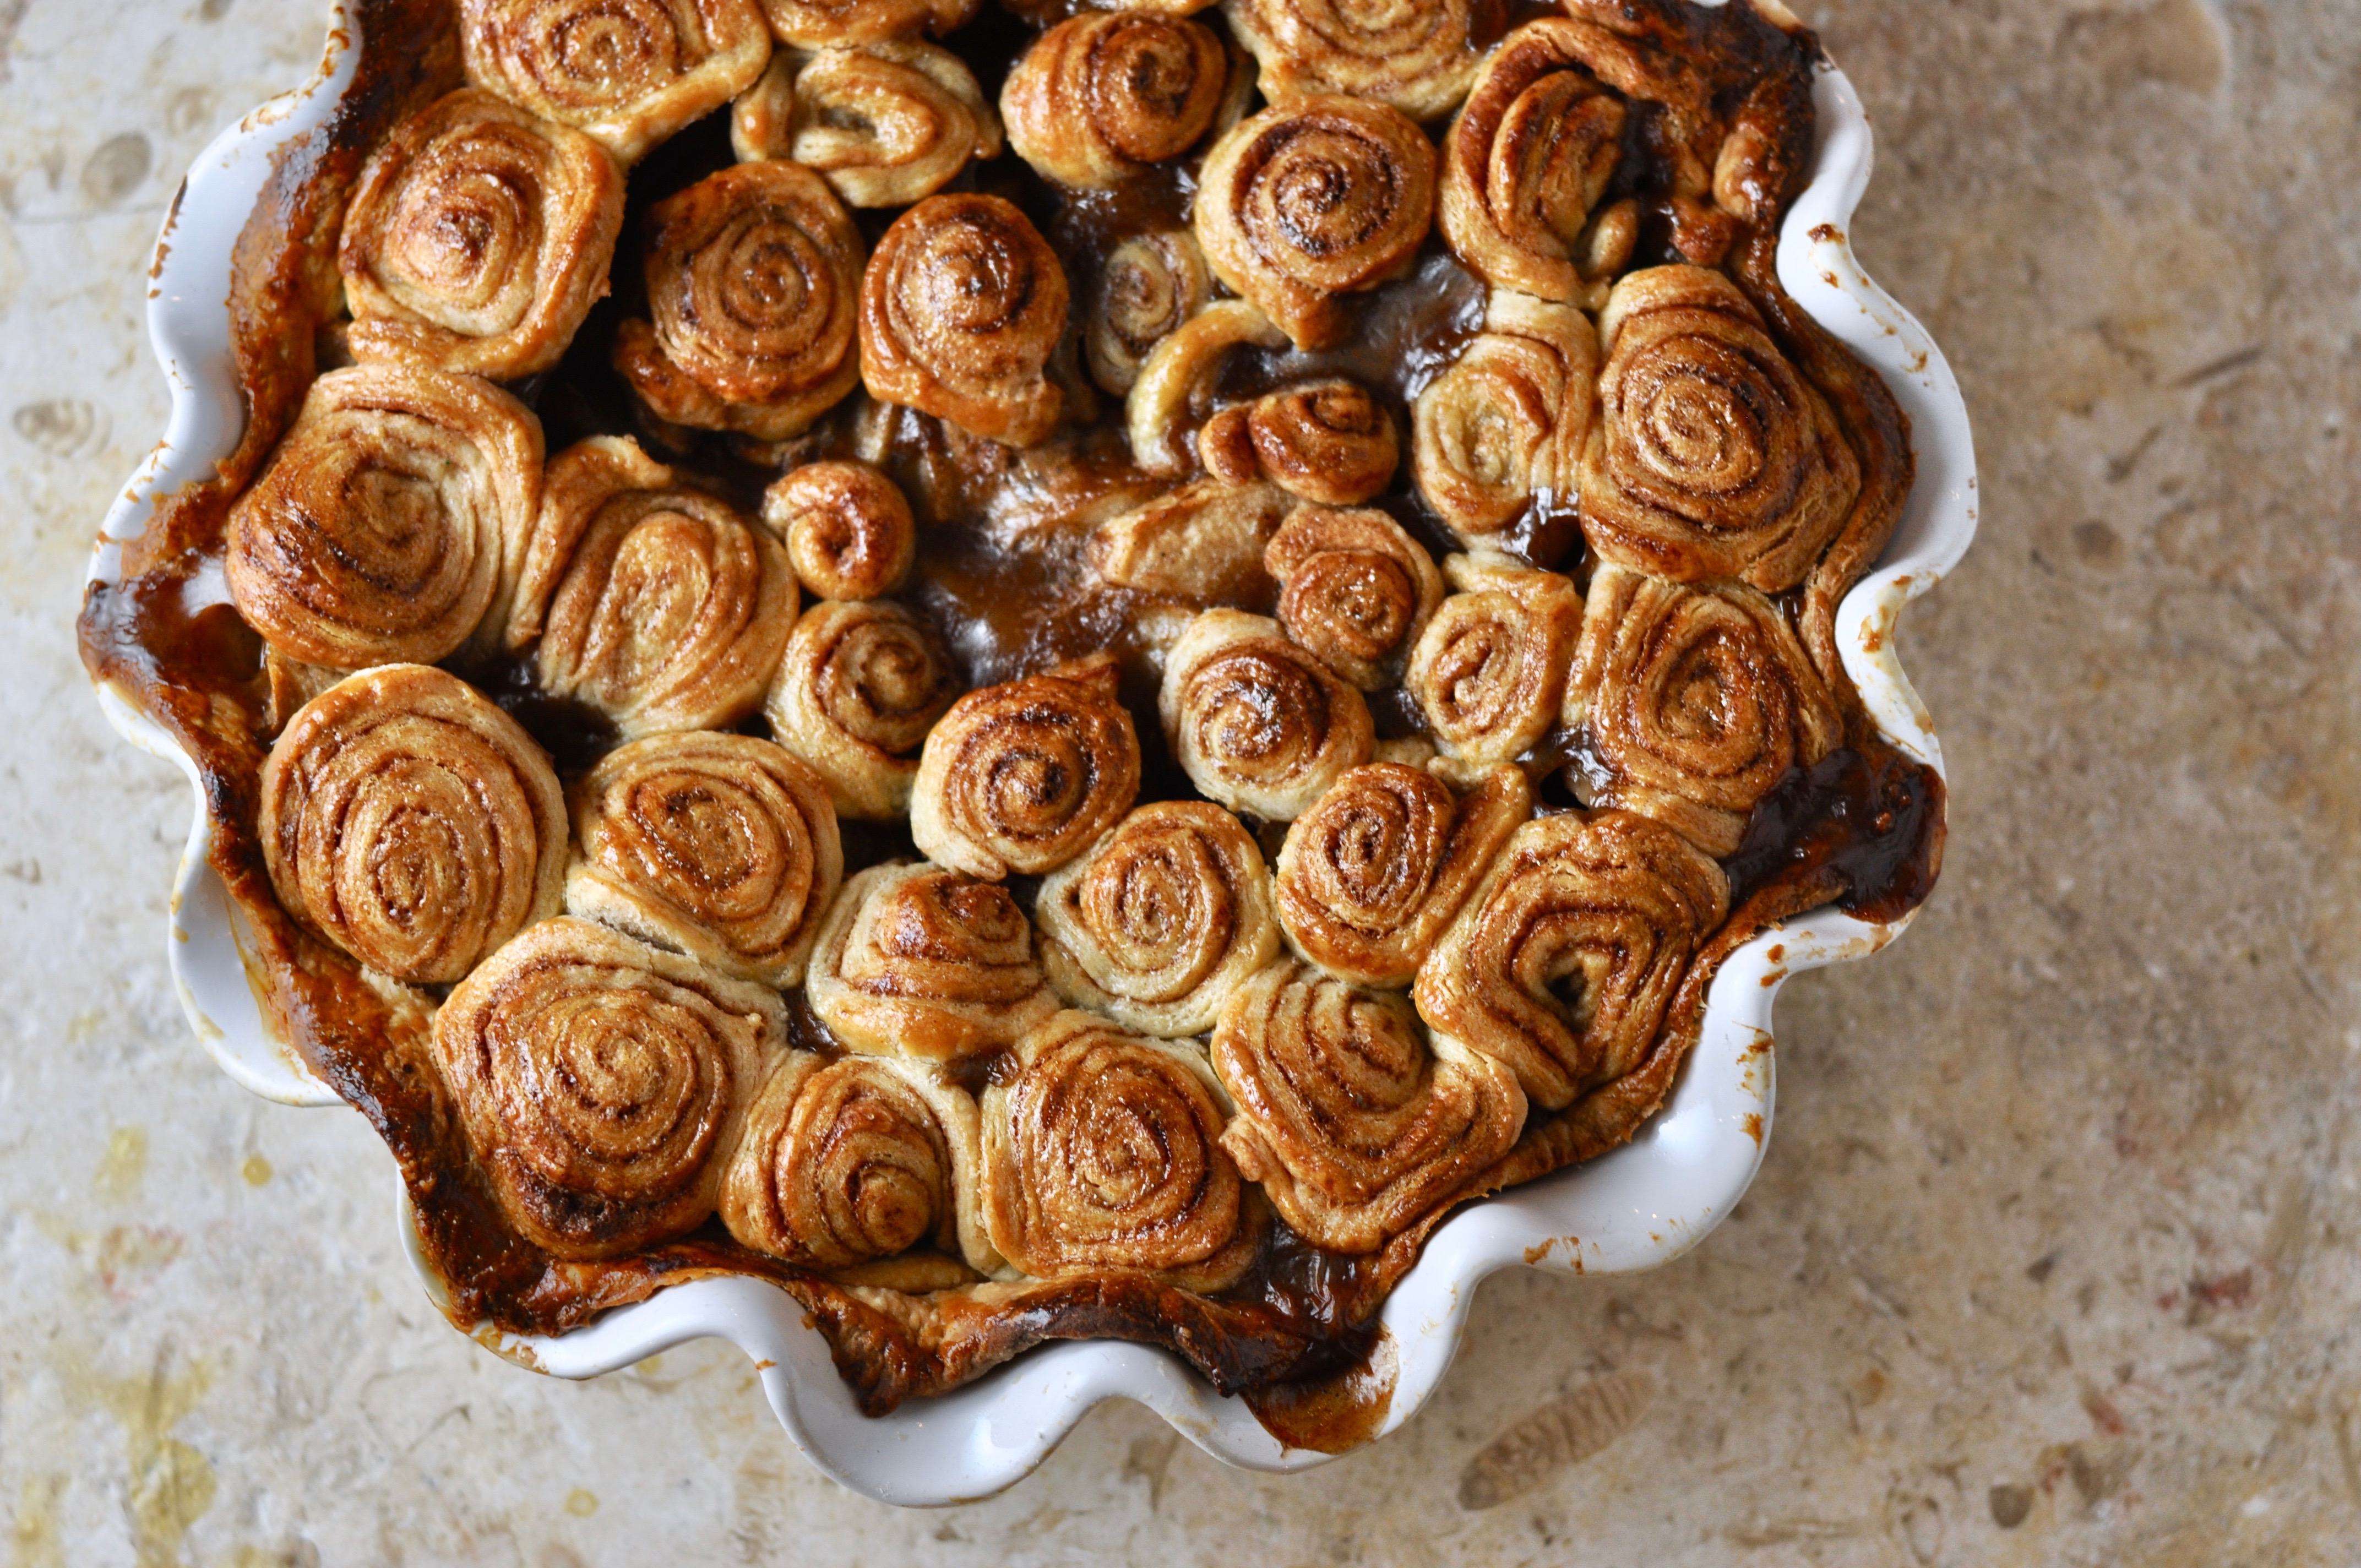
This is the pie you want to serve at Thanksgiving.  It’s equally impressive to the eye as it is to the mouth.  You can use this recipe with a store bought crust, or make your own using THIS recipe.  Serve it warm with some of my fresh Vanilla Cinnamon Whipped Cream.

Cinnamon Roll Apple Pie

1 Star2 Stars3 Stars4 Stars5 Stars (No Ratings Yet)
Loading...
By Liz Serves: 8
Prep Time: 20 Minutes Cooking Time: 60 Minutes

This amped up version of apple pie is such a natural evolution. It's just a bit more buttery and more cinnamon-y than it's original version.

Ingredients

  • 5 Medium sized Honeycrisp Apples
  • 2 Tbsp All Purpose Flour
  • 2 tsp Corn Starch
  • 1/2 cup Sugar
  • 1 tsp Cinnamon
  • 1/2 tsp All Spice
  • 1/2 tsp Ground Nutmeg
  • 1/4 tsp Salt
  • 1 tsp Lemon Zest
  • 1 Tbsp Freshly Squeeze Lemon Juice
  • 2 tsp Freshly Squeezed Orange Juice
  • For Cinnamon Rolls:
  • 1 Pie Crust, rolled out
  • 2 Tbsp Sugar
  • 2 tsp Cinnamon
  • 1 egg, beaten for Egg Wash

Instructions

1

Preheat your oven to 400 degrees.

2

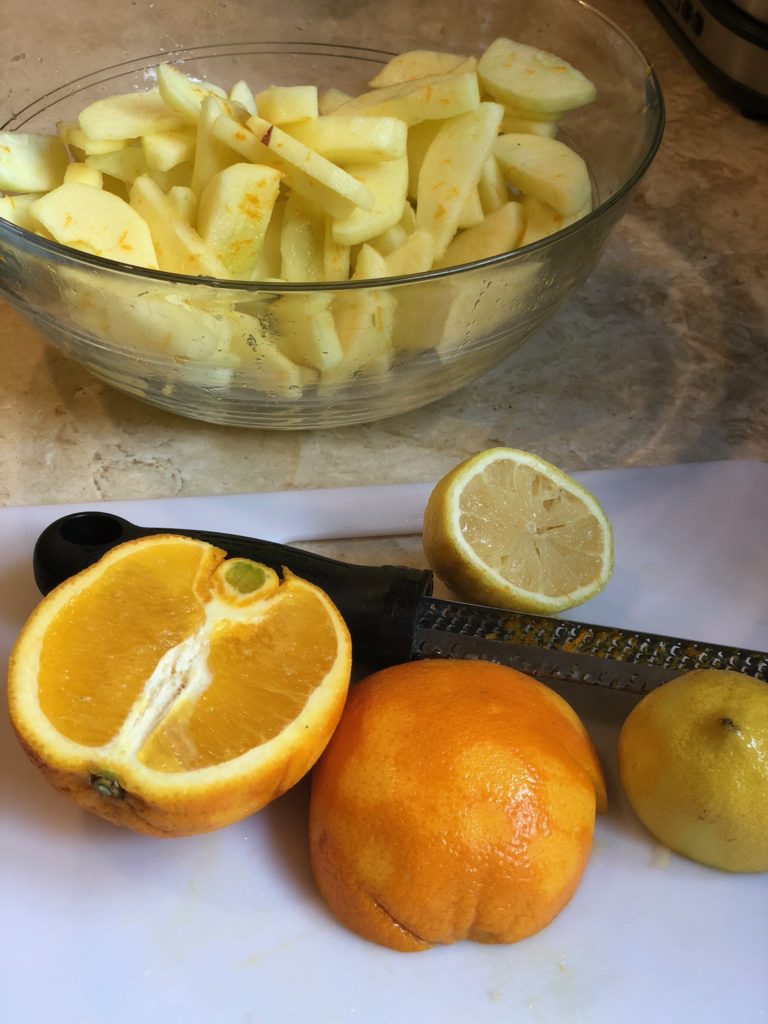
Peel, core and slice the apples (see photo below for size of apple slices.)

3

Place apple slices in a bowl with the citrus juices, zest, 1/2 cup sugar, flour, salt, cinnamon, nutmeg, and allspice.

4

Roll out the pie dough for the bottom of the pie and place it in 9 inch pie pan.

5

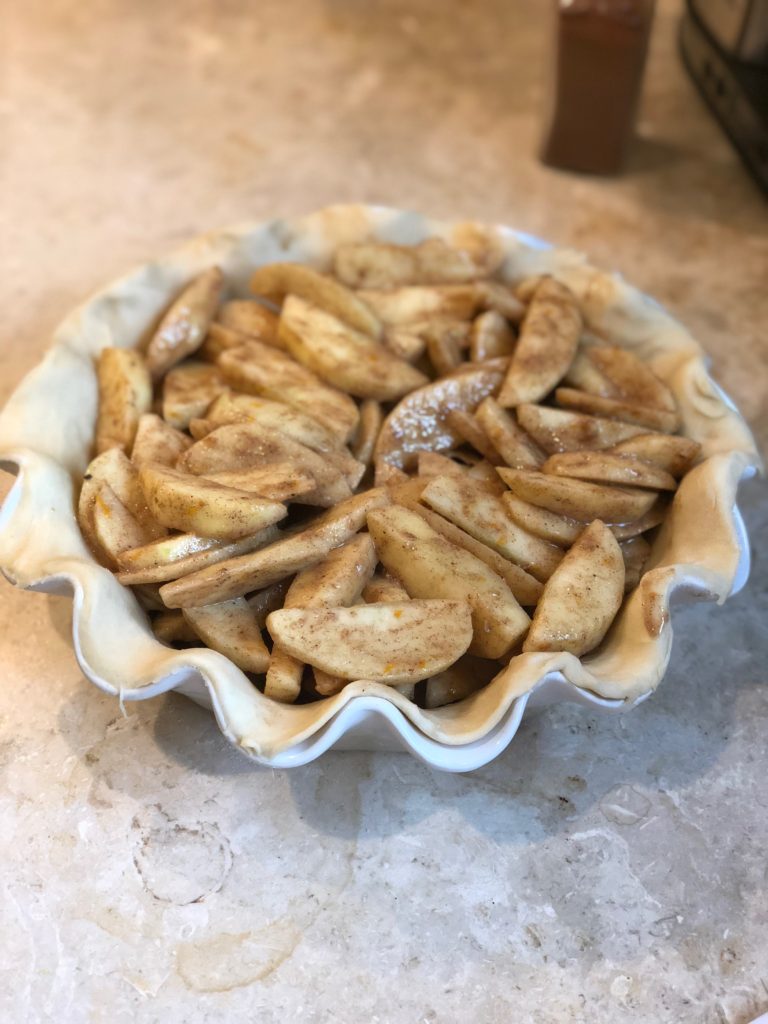
Now put all the apple slices with the spices, juices and all into the pie crust.

6

Time to make the Cinnamon Roll topping: roll out another pie crust.

7

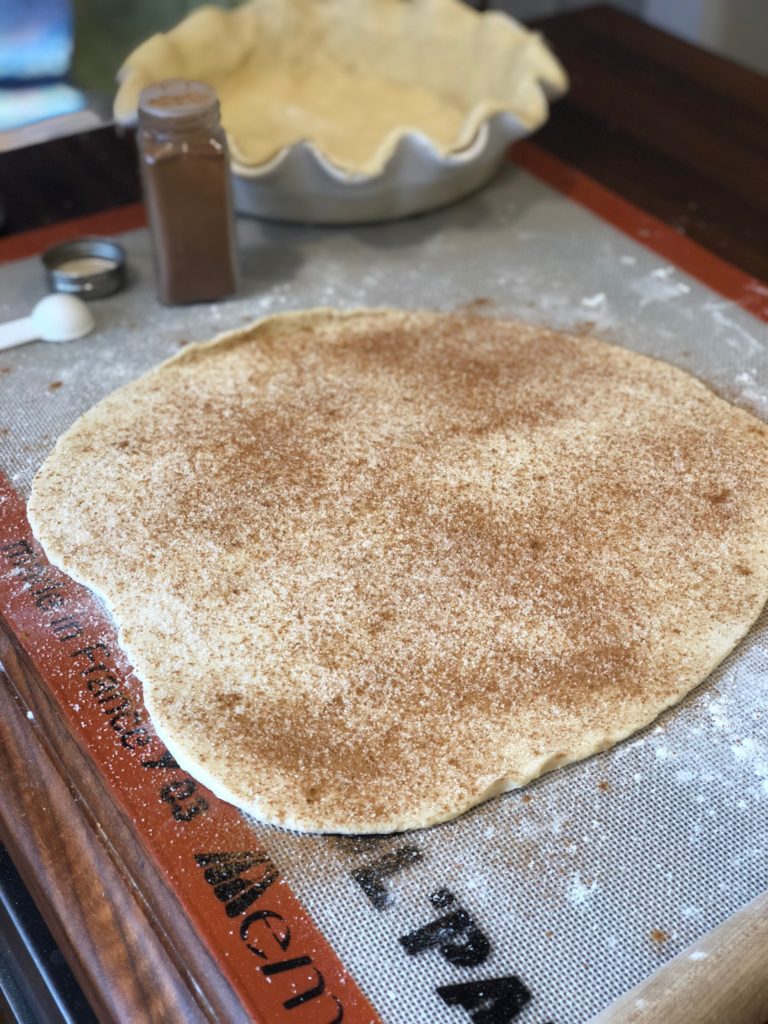
Sprinkle the 2 Tbsp Sugar and 2 tsp of Cinnamon evenly across the pie dough.

8

Roll the pie dough up like a jelly roll. (See photos below.)

9

Wrap the roll in plastic wrap and place it in the refrigerator for 15 minutes.

10

Take the roll out of the fridge, and unwrap it.

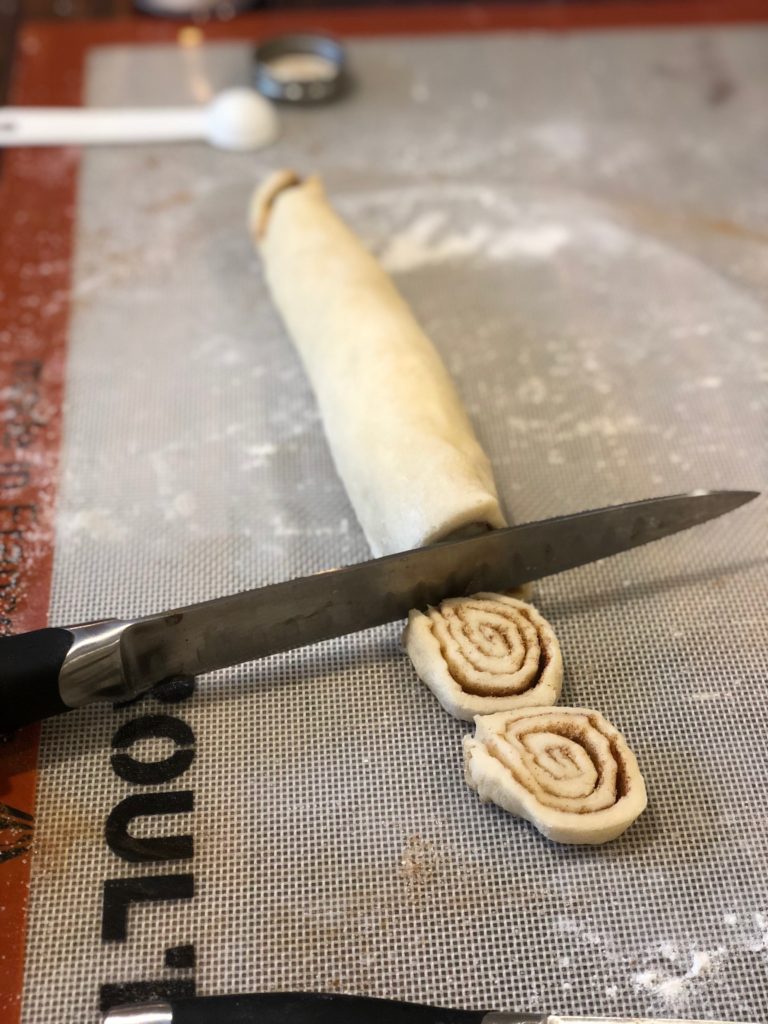
11

Using a sharp knife, cut the roll into thin slices, and voila! Mini cinnamon rolls.

12

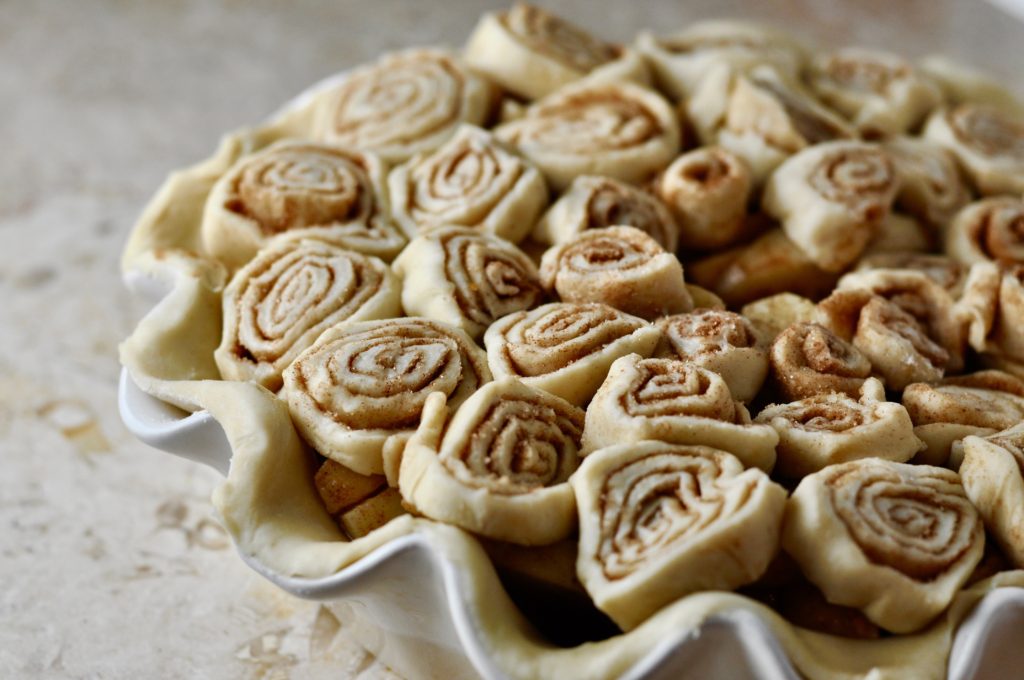
Place the cinnamon rolls, one by one, on top of the pie until it's covered. You want there to be some spaces to let the steam escape. (I left a little hole in the middle.)

13

Using the beaten egg, brush all of the cinnamon rolls and any exposed crust with the egg wash.

14

Place the pie on a cookie sheet (to catch any drippings) and bake for 1 hour, the crust will be golden brown and the juices will be bubbling out. Serve warm with my Vanilla Cinnamon Whipped Cream.

Adding the zest and citrus juices to the sliced apples:

The final apples into the pie crust:

Rolling out the other pastry crust for the cinnamon roll topping:

Slicing the cinnamon rolls:

This pie is ready to go into the oven:

Desserts

Versunkener Apfelkuchen (Sunken Apple Cake)

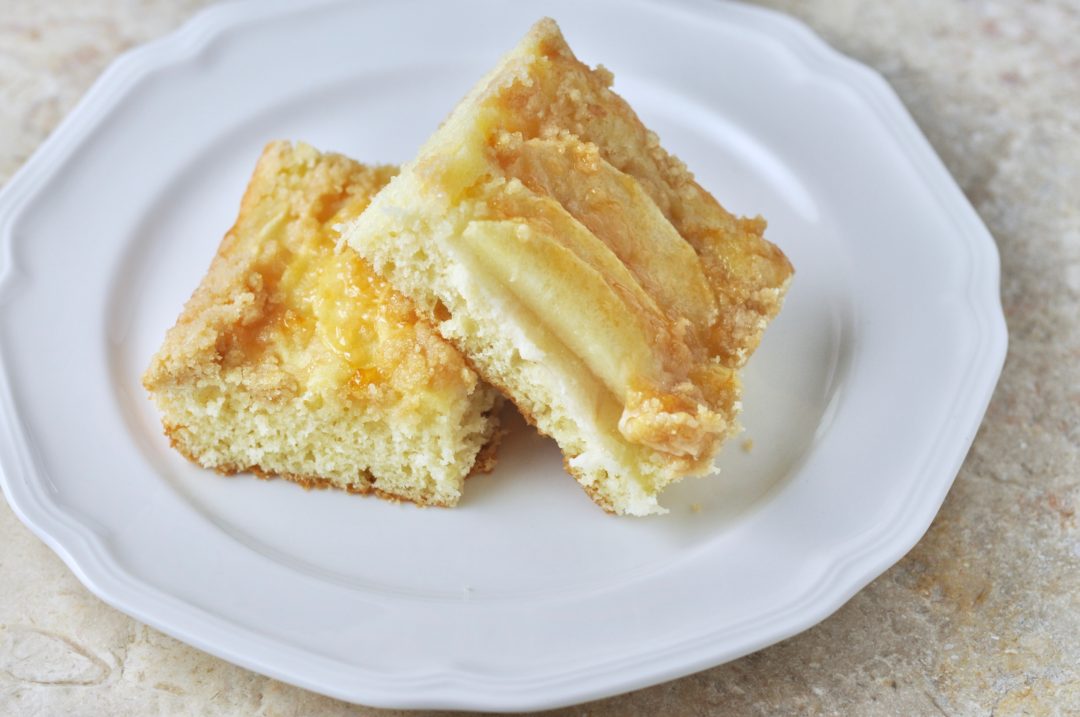
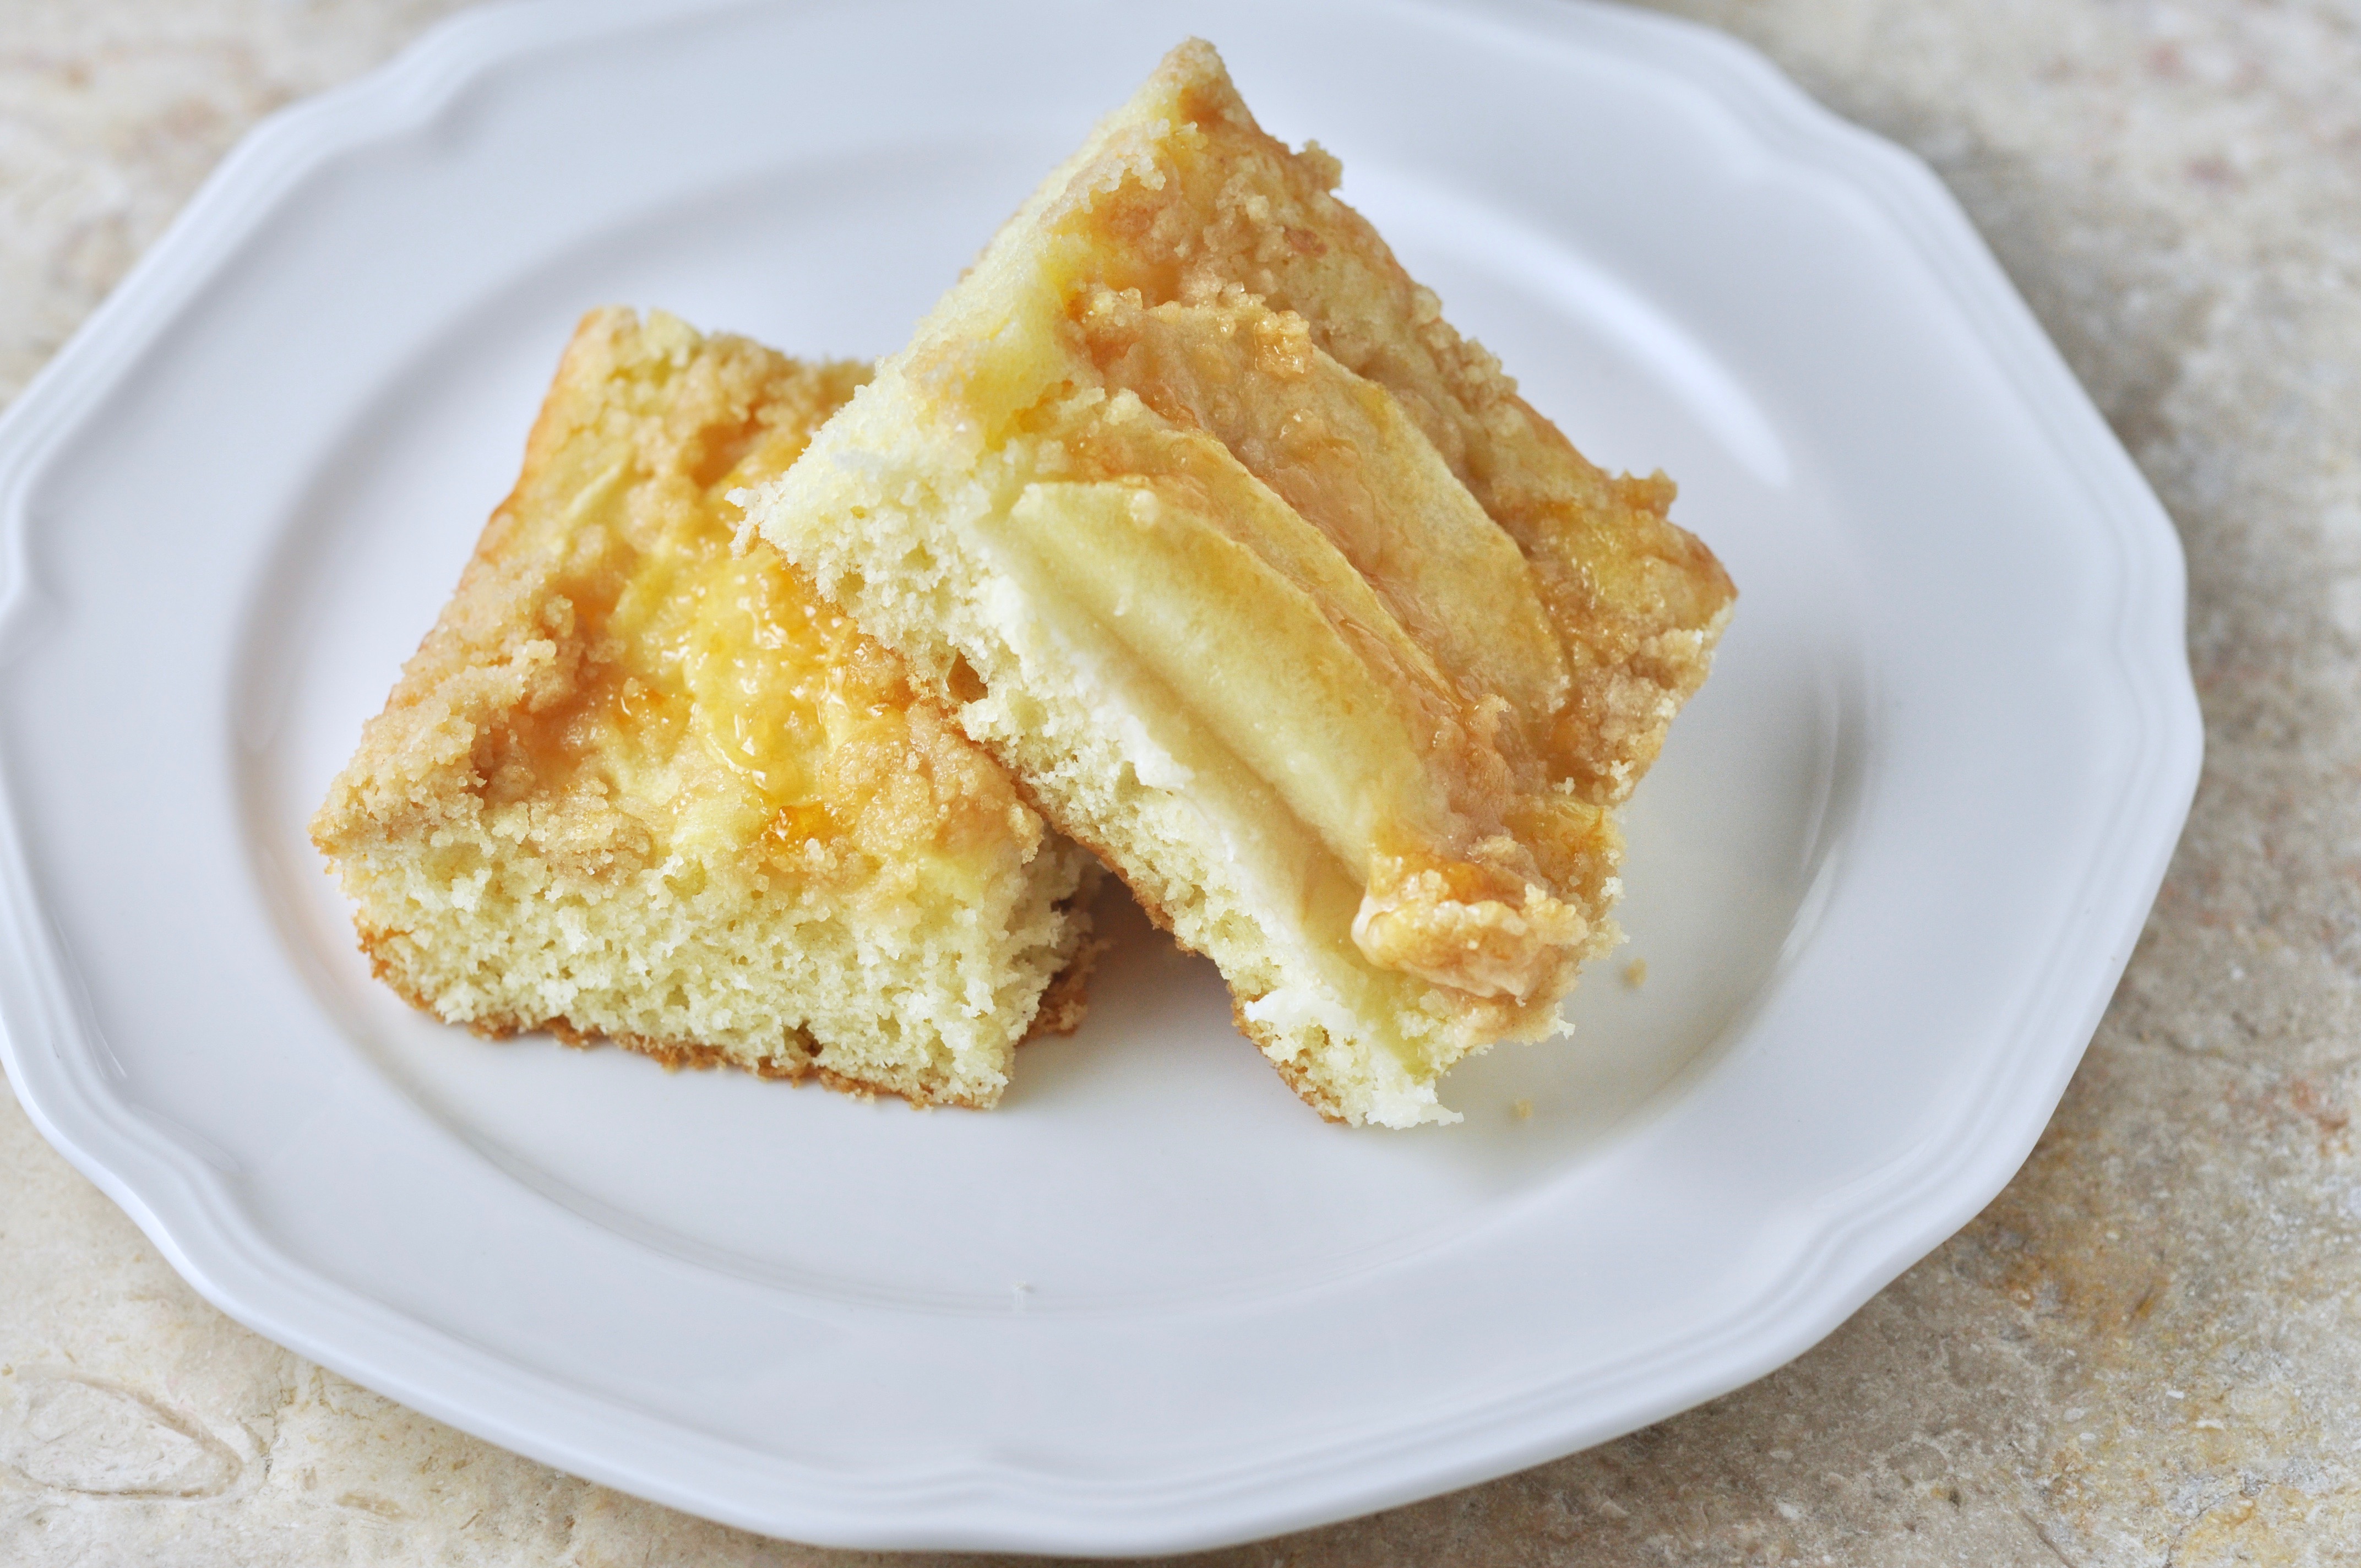
Versunken Apfelkuchen is a traditional and very popular German dessert.  The cake gets it’s flavor from the apples, of course, but also from Almond Extract. The combo of Apples and Almond Flavor is just divine. This cake is also very easy to make. It’s a great beginner cake in general. I make this cake once per year, for my friend’s annual Oktoberfest party, and it’s always a hit. Even if you don’t have an Oktoberfest party, it’s a fabulous fall dessert.

Versunkener Apfelkuchen (Sunken Apple Cake)

1 Star2 Stars3 Stars4 Stars5 Stars (No Ratings Yet)
Loading...
By Liz Serves: 30
Prep Time: 10 Minutes Cooking Time: 35 Minutes

I only make this recipe once per year for a big Oktoberfest party that my friends host. For that reason, this is a BIG recipe. You can cut the recipe in half and use a 9x13 rectangular pan instead. I also sliced the cake into thin pieces that were easy for people to pick up with their hands and eat at a party. See photos below to see the presentation for the party.

Ingredients

  • Cake:
  • 2 sticks of Salted Butter (Softened)
  • 1 1/2 cups Granulated Sugar
  • 4 eggs
  • 1 tablespoon Almond Extract
  • 1 cup Whole Milk
  • 2 tablespoons Baking Powder
  • 1 teaspoon Salt
  • 3 cups Cake Flour
  • 4-5 firm apples like Honeycrisp
  • Topping:
  • 1/2 cup Brown Sugar
  • 1/2 cup Unbleached All Purpose Flour
  • 1 teaspoon Cinnamon
  • 1/2 stick (1/4 cup) Salted Butter (Softened)
  • 1 1/2 teaspoons Almond Extract

Instructions

1

Preheat oven to 350 degrees.

2

Line a 18x13 half sheet pan with parchment paper, if any of the sides of the pan are not covered by the parchment, grease them with butter.

3

In your mixer, add Butter and Sugar and beat together until creamy.

4

Add the Eggs and Almond Extract and beat until creamy.

5

Add Baking Powder, and Salt until just combined.

6

Add half of the Flour and beat until just combined.

7

Add half the Milk and combine.

8

Add the rest of the flour and then the rest of the milk.

9

Beat just until combined, scraping down the sides of the bowl one time.

10

Spread the batter out in the sheet pan, on top of the parchment paper.

11

Peel, core, & slice the apples into thin slices.

12

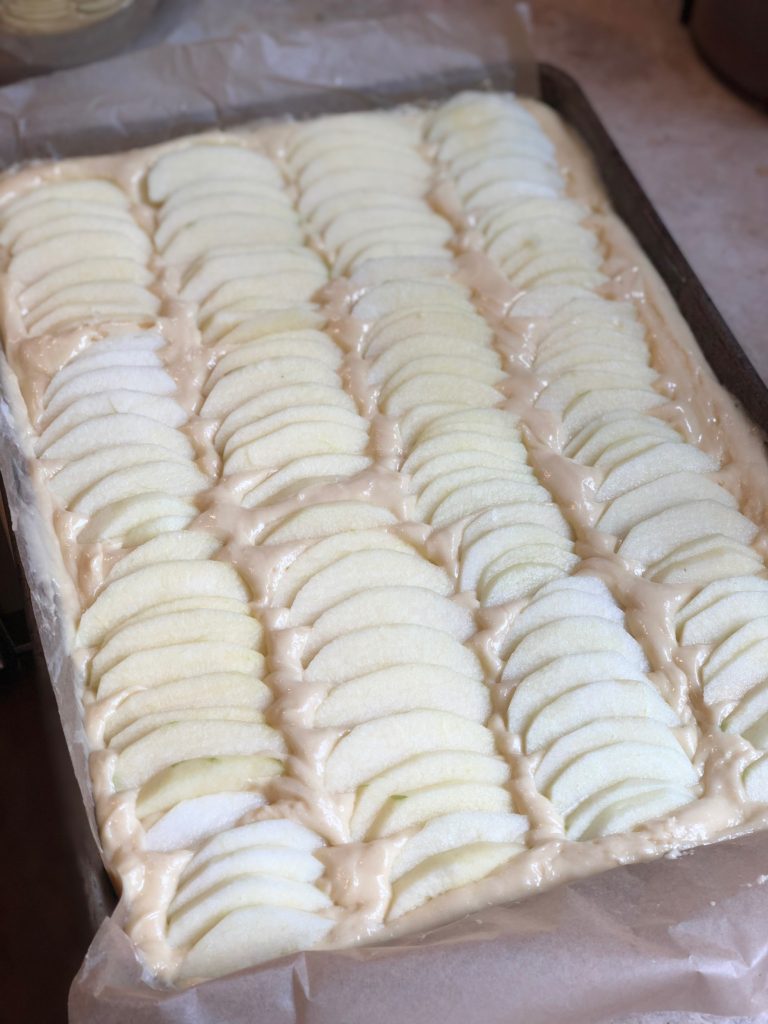
Arrange the slices in four rows down the length of the pan, slightly layering them on top of the one before and then lightly push them down into the batter with your fingers.

13

To make the topping, mix the Brown sugar, Flour, and Cinnamon together.

14

Mash the softened Butter and Almond Extract into the topping with your hands until combined and crumbly.

15

Sprinkle the topping evenly over the apples.

16

Bake for 30 to 35 minutes, or until a toothpick inserted in the center of the cake comes out clean.

17

Let cool and then cut into slices to serve.

The apples all lined up on the cake batter:

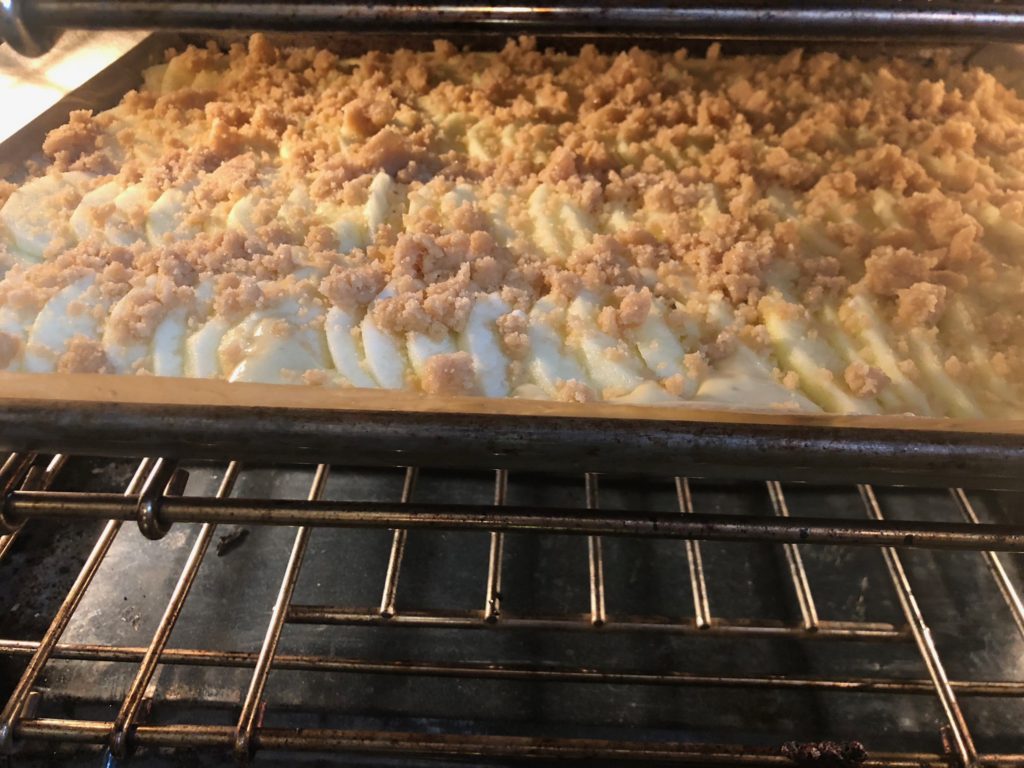
The final cake with the topping in the oven:

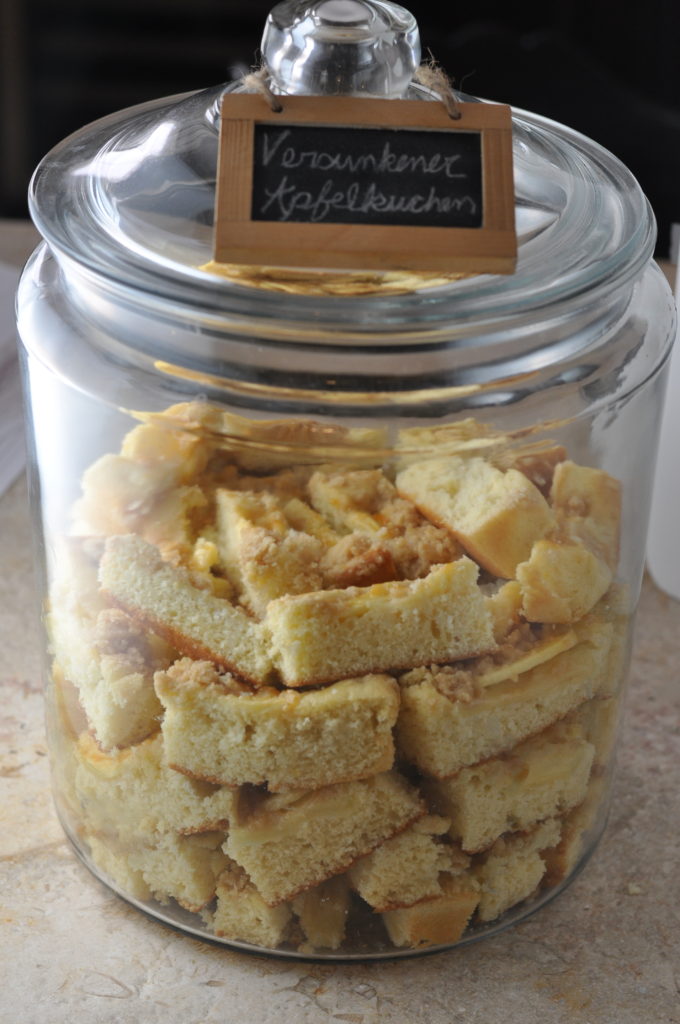
This is how I served if for the party:

Desserts

Violet Gelato

When visiting a tiny village in France called Puycelsi, I happened upon an ice cream shop in a neighboring village. They had a flavor called Violette. I tried it and was hooked. It tasted like a cross between grape and bubblegum, but in a very delicate way. Of course, gelato is not French, but I love how the lower fat content in gelato (more milk, less cream) really lets the flavor shine through. So I adapted my gelato recipe and found some violet extract, which you can buy here.

Violet Gelato

1 Star2 Stars3 Stars4 Stars5 Stars (5 votes, average: 3.40 out of 5)
Loading...
By Liz Serves: 8
Prep Time: 40 minutes Cooking Time: 10 minutes

This is a great make ahead dessert. Make it the day before to serve at a dinner party. It's delightful color and unique flavor will surprise your guests and make you look like a star.

Ingredients

  • 3 cups of Whole Milk
  • 1 cup of Heavy Cream
  • 1 cup of Granulated Sugar
  • 1/2 teaspoon of Salt
  • 8 Egg Yolks
  • 3 drops of Violet Extract
  • Violet Food Color

Instructions

1

Pour milk and cream in a large saucepan and bring to a simmer over medium heat.

2

Remove the saucepan from the heat.

3

Meanwhile, whisk the egg yolks, sugar, and the salt together in a heatproof bowl with an electric hand mixer until pale yellow.

4

Bring the temperature of the egg mixture up by ladling a little of the hot milk mixture into the egg mixture, and mix fully into eggs. Then ladle in a little more of the hot milk and mix again.

5

Lastly, pour the entire egg/milk mixture to the saucepan and incorporate fully with the rest of the milk.

6

Bring the heat back to medium, stirring constantly with wooden spoon, until the custard reaches 195°F on a thermometer.

7

Immediately turn off the heat and then strain the custard through a fine mesh strainer into a new heatproof bowl.

8

Chill the entire bowl over an ice bath (which means putting your bowl into an even bigger bowl that is half-filled with ice water), stirring constantly for 5 minutes.

9

Add the Violet extract and stir again.

10

Transfer to a storage container with lid and chill in the fridge for 5 hours (you can also chill overnight).

11

Before churning, add the violet food color. I used Wilton Violet Icing Color. Add a very small amount (just a dab) and stir. See if you like the color, if you want more, you can always add more until you achieve the color you want, but do it in very very tiny increments.

12

Churn the gelato in an ice cream maker according to the manufacturer's instructions.

13

The gelato will still be soft and will need to go into the freezer for about 8 hours (or overnight).

14

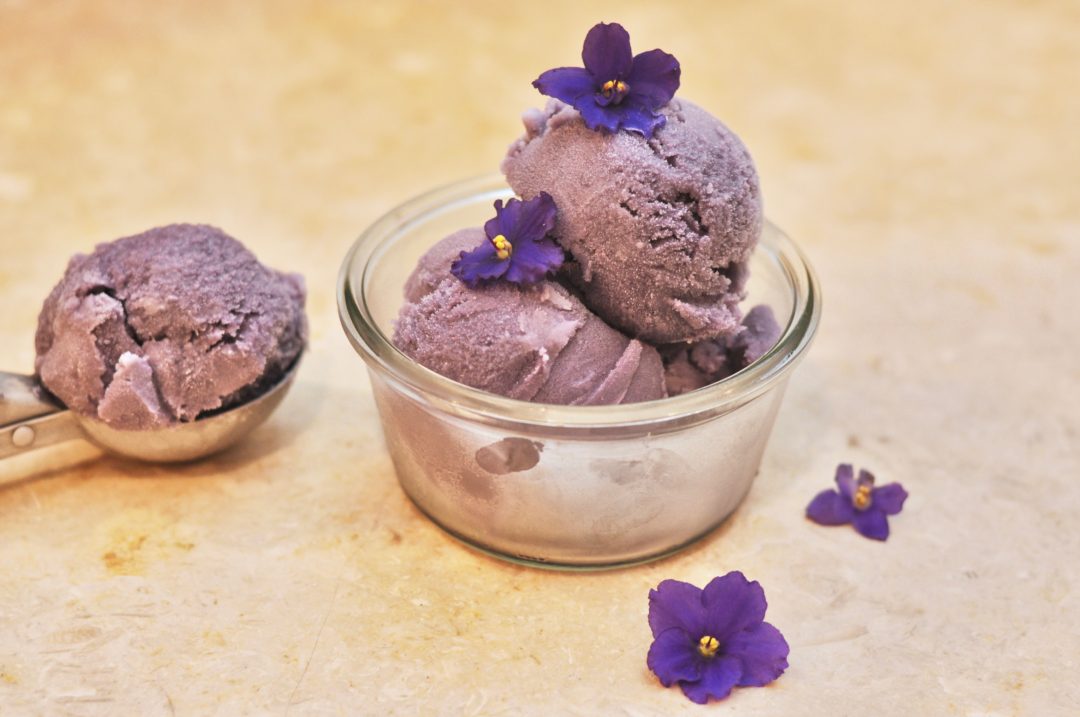
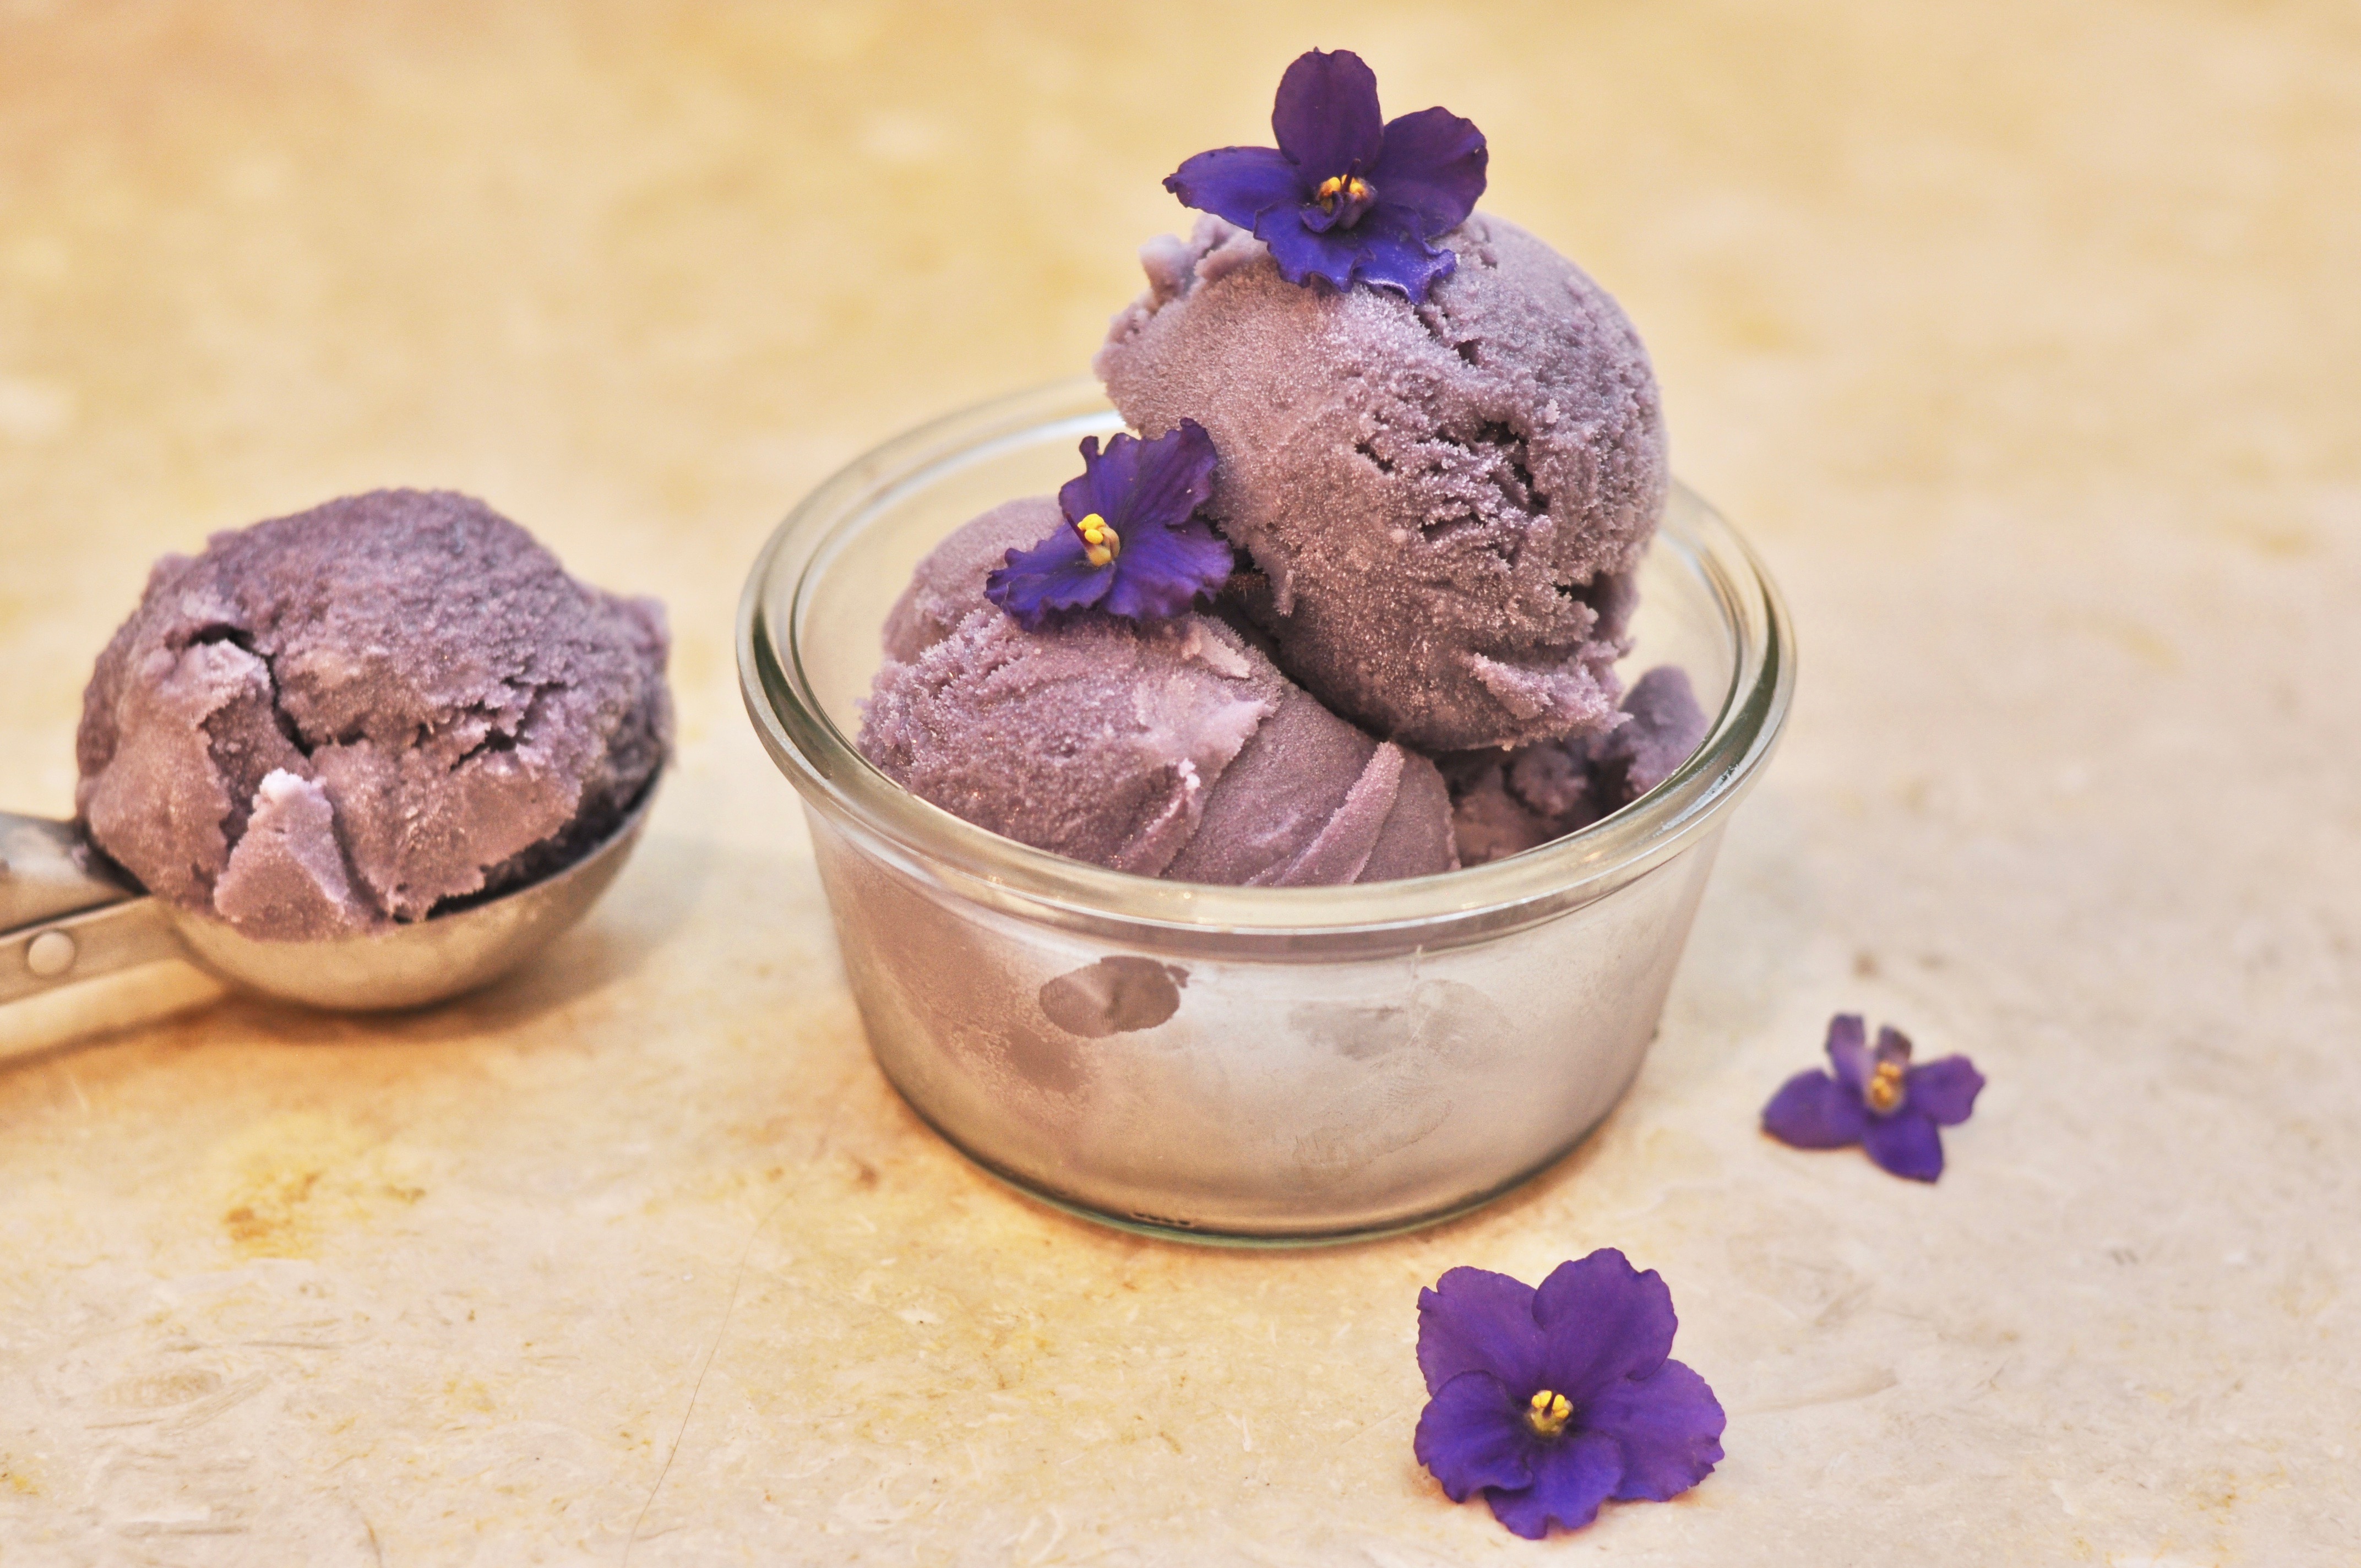
I served mine with some fresh violets (that I found at my local Stop n Shop) and it really makes a beautiful presentation with minimal effort.

Desserts

Vanilla Cinnamon Whipped Cream

It is so easy and infinitely more delicious to make your own whipped cream.  I add vanilla and cinnamon to mine to make it extra flavorful.

Vanilla Cinnamon Whipped Cream

1 Star2 Stars3 Stars4 Stars5 Stars (No Ratings Yet)
Loading...
By Liz Serves: 8
Prep Time: 5 Minutes

Once you make this whipped cream, you'll never go back to the can.

Ingredients

  • 1 cup Heavy Whipping Cream
  • 1/3 cup Sugar
  • 1 Teaspoon Vanilla Extract
  • 1/2 Teaspoon Cinnamon

Instructions

1

Pour Heavy Cream into a large bowl and beat with an electric mixer on high speed.

2

Once it becomes a little thicker, gradually add the sugar, continuing to beat it all together, until all sugar is combined.

3

Keep beating the cream until the whipped cream can form stiff peaks (about 1 Minute) when you pull the beaters out. (You can stop beating the cream to test this.)

4

Then add Vanilla and Cinnamon and beat until just incorporated.

5

Serve immediately.

Desserts

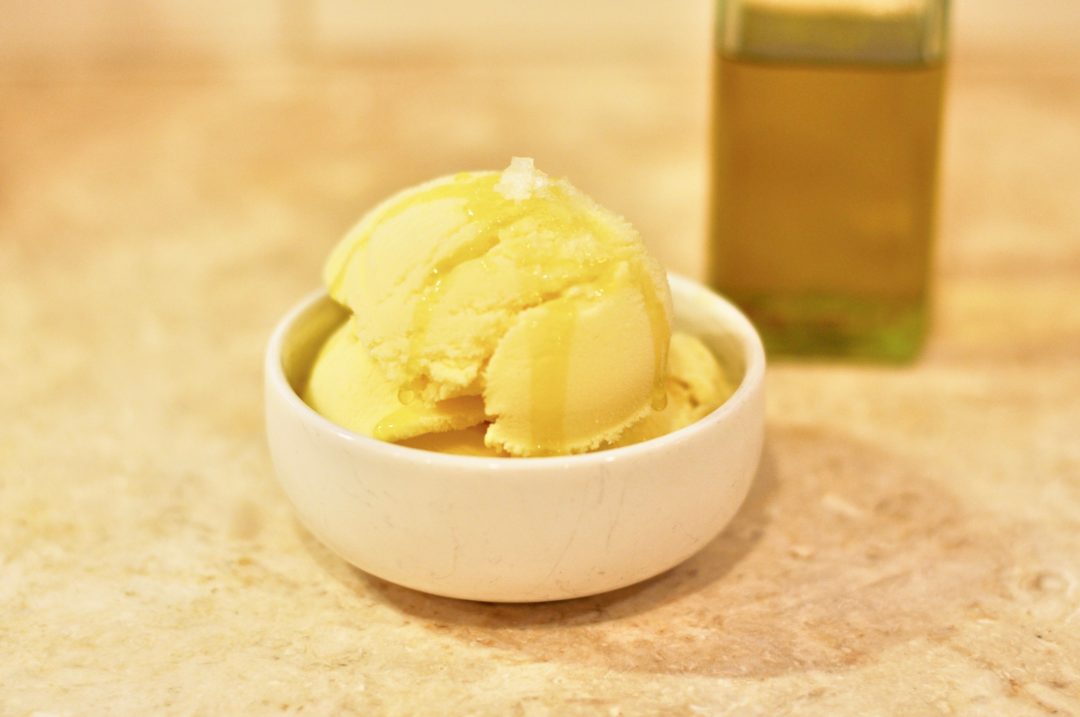
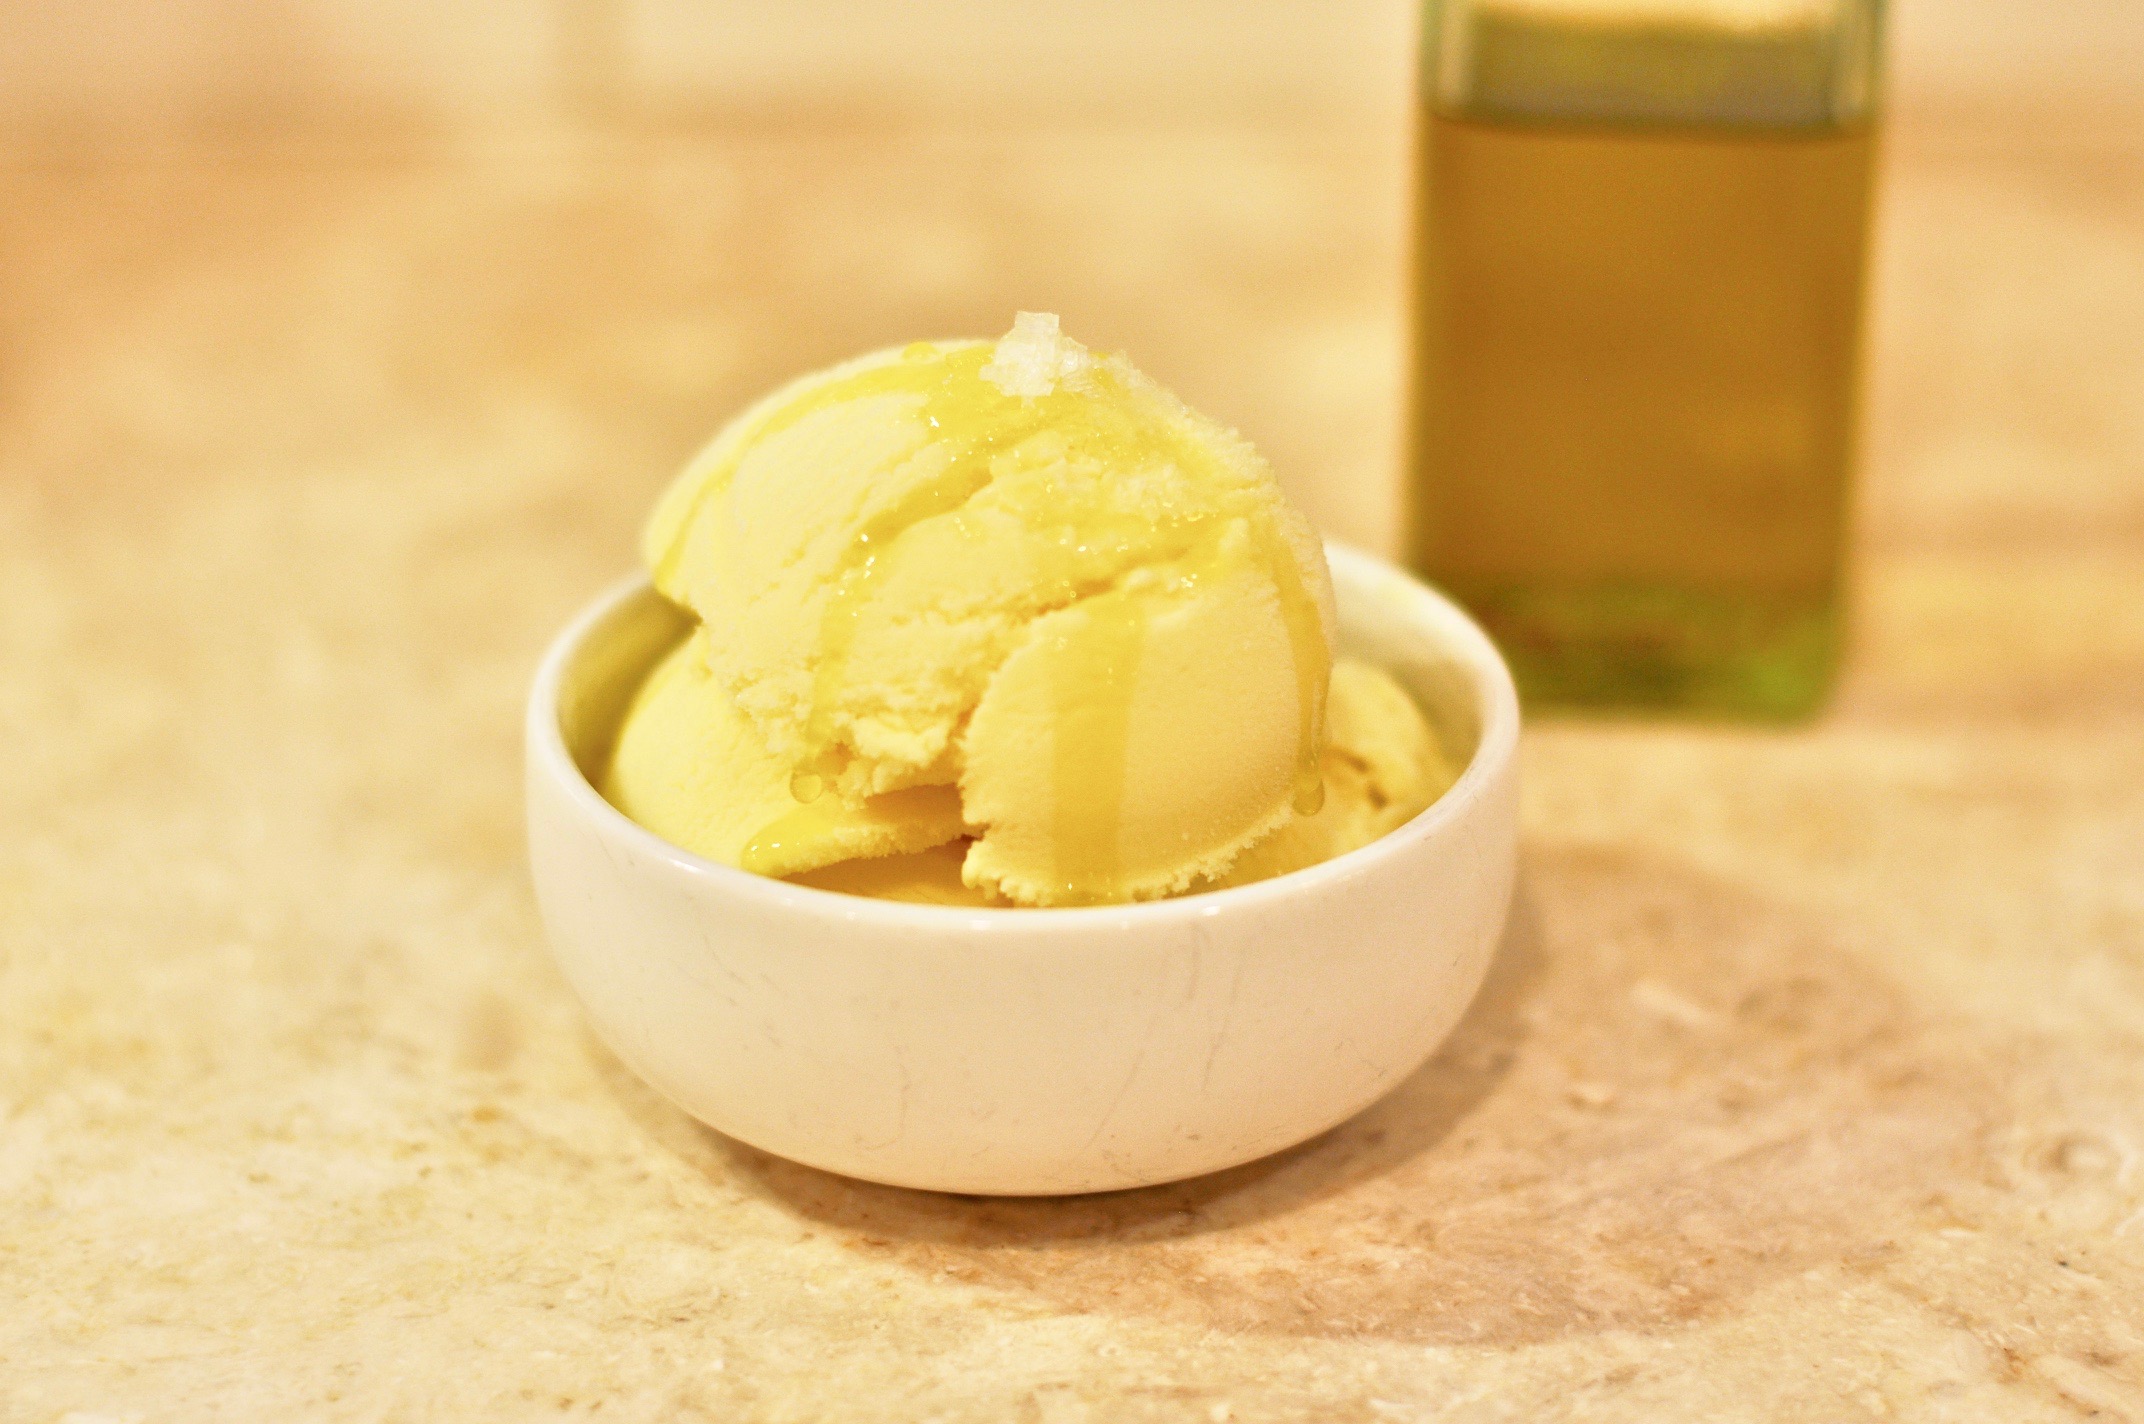
Olive Oil Gelato

If you have never had Olive Oil Gelato and you are skeptical that the savory taste of olive oil will work in ice cream, I promise you it does.

Olive Oil Gelato

1 Star2 Stars3 Stars4 Stars5 Stars (No Ratings Yet)
Loading...
By Liz Serves: 8
Prep Time: 40 minutes Cooking Time: 10 minutes

I love to make this the day before I'm planning a big Italian or Greek meal, it's the perfect ending as the olive oil flavor pairs so well as a sweet ending to these two cuisines.

Ingredients

  • 3 cups of Whole Milk
  • 1 cup of Heavy Cream
  • 1 cup of Granulated Sugar
  • 8 Egg Yolks
  • 2 teaspoons of Pure Vanilla Extract
  • 1/2 teaspoon of Sea Salt
  • 1/2 cup Extra Virgin Olive Oil

Instructions

1

Pour milk and cream in a large saucepan and bring to a simmer over medium heat.

2

Remove the saucepan from the heat.

3

Meanwhile, whisk the egg yolks, sugar, and the salt together in a heatproof bowl with an electric hand mixer until pale yellow.

4

Bring the temperature of the egg mixture up by ladling a little of the hot milk mixture into the egg mixture, and mix fully into eggs. Then ladle in a little more of the hot milk and mix again.

5

Lastly, pour the entire egg/milk mixture to the saucepan and incorporate fully with the rest of the milk.

6

Bring the heat back to medium, stirring constantly with wooden spoon, until the custard reaches 195°F on a thermometer.

7

Immediately turn off the heat and then strain the custard through a fine mesh strainer into a new heatproof bowl.

8

Chill the entire bowl over an ice bath, stirring constantly for 5 minutes.

9

Add Vanilla extract and stir again.

10

Transfer to a storage container with lid and chill in the fridge for 5 hours (you can also chill overnight).

11

Churn the gelato in an ice cream maker according to the manufacturer's instructions.

12

Add the olive oil about halfway through the churning process.

13

The gelato will still be soft and will need to go into the freezer for about 8 hours (or overnight).

14

Serve the gelato by drizzling extra virgin olive oil on top along with some Maldon Sea Salt Flakes.

Desserts

Chocolate Chip Cookies with Sea Salt

These cookies are what started my obsession with baking. It’s a simple cookie recipe with a few tweaks. I’ve been making these for almost 30 years and what makes them so great is not only the recipe, but the techniques I use to make sure the cookies are softest, chewiest and slightly crispiest  you’ve ever had. Depending on where you live, sometimes the Maldon Sea Salt flakes can be hard to find, you can buy them HERE.

Chocolate Chip Sea Salt Cookies

1 Star2 Stars3 Stars4 Stars5 Stars (2 votes, average: 5.00 out of 5)
Loading...
By Liz Serves: 2 1/2 dozen
Prep Time: 6 minutes Cooking Time: 24 minutes

The key to make the most perfect cookie is taking them out of the oven at the right moment. The other key is mixing them by hand. Unless you are super seasoned cookie maker, it is very easy to over mix by using a mixer. If you mix by hand, you will ensure that you do not over mix and hence your cookies will have an amazingly tender texture when they are baked.

Ingredients

  • 2 sticks SALTED Butter, softened
  • 1/2 cup Granulated Sugar
  • 3/4 cup Brown Sugar
  • 1 Egg
  • 2 teaspoons Pure Vanilla Extract
  • 1 teaspoon Baking Soda
  • 1/2 teaspoon Fine Sea Salt or regular Table Salt
  • 2 cups unbleached all purpose flour
  • 1/2 of a 12 oz bag of Guittard Super Cookie Chips or Semi-Sweet Chocolate Chips
  • Maldon Sea Salt for Sprinkling on top

Instructions

1

Preheat oven to 350 degrees

2

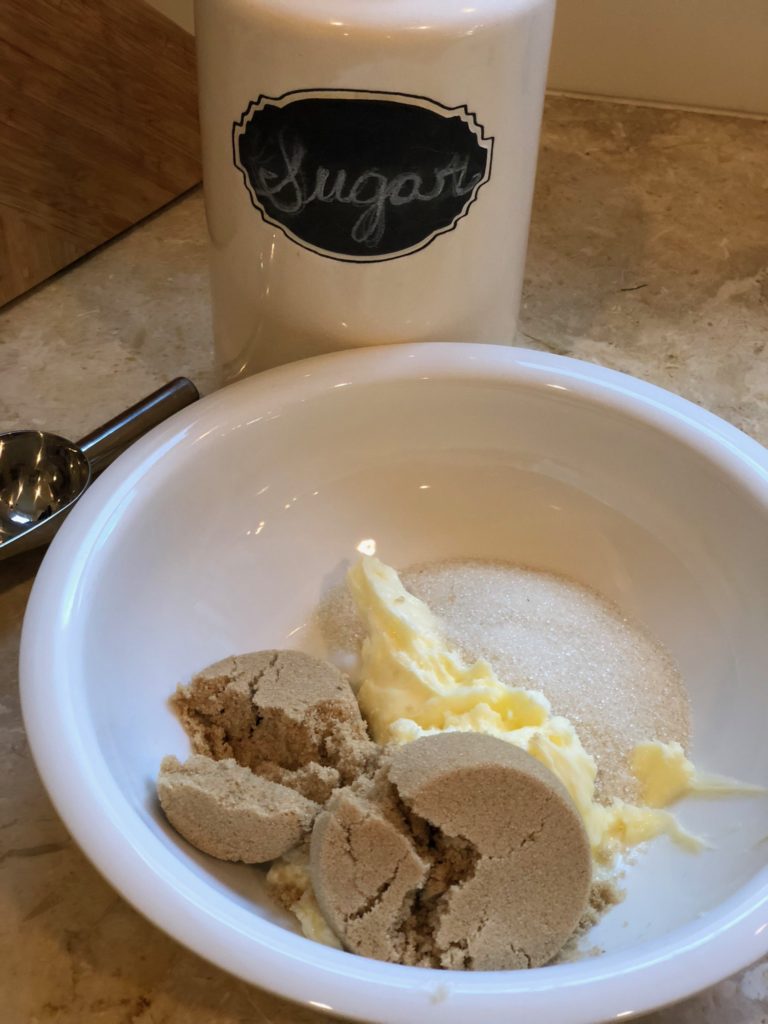
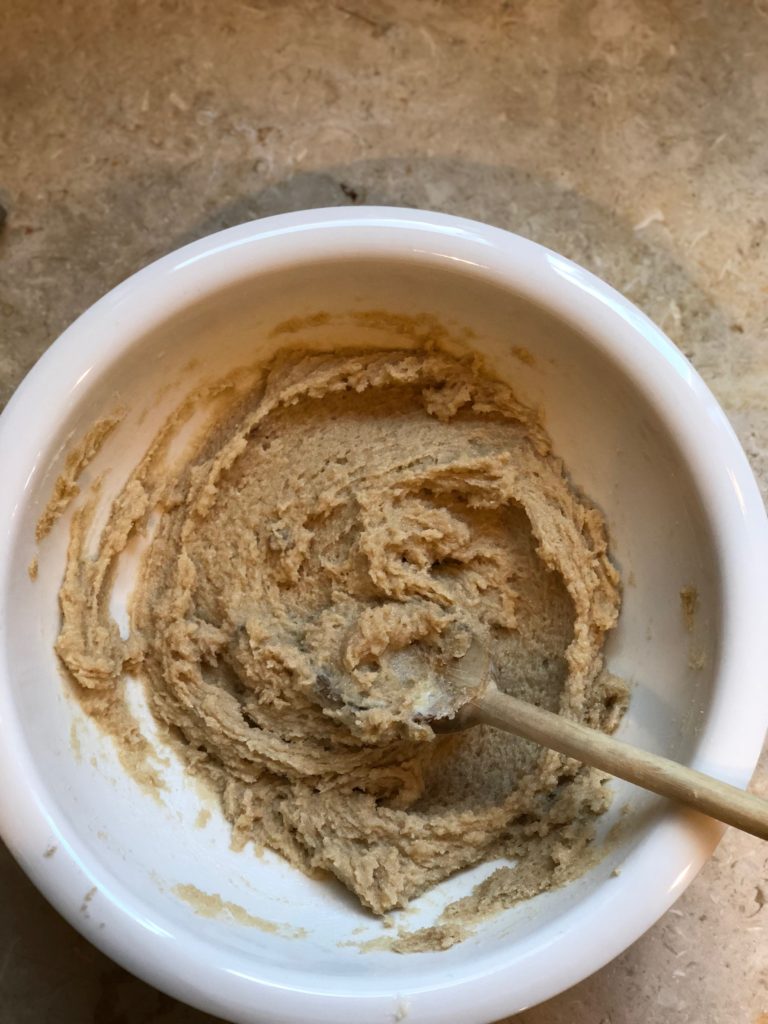
Add softened butter (either leave them out to bring them to room temp, or zap them in the microwave for about 15 secs) and sugars to a large mixing bowl and stir together with a wooden spoon (superstition of mine) until they become one

3

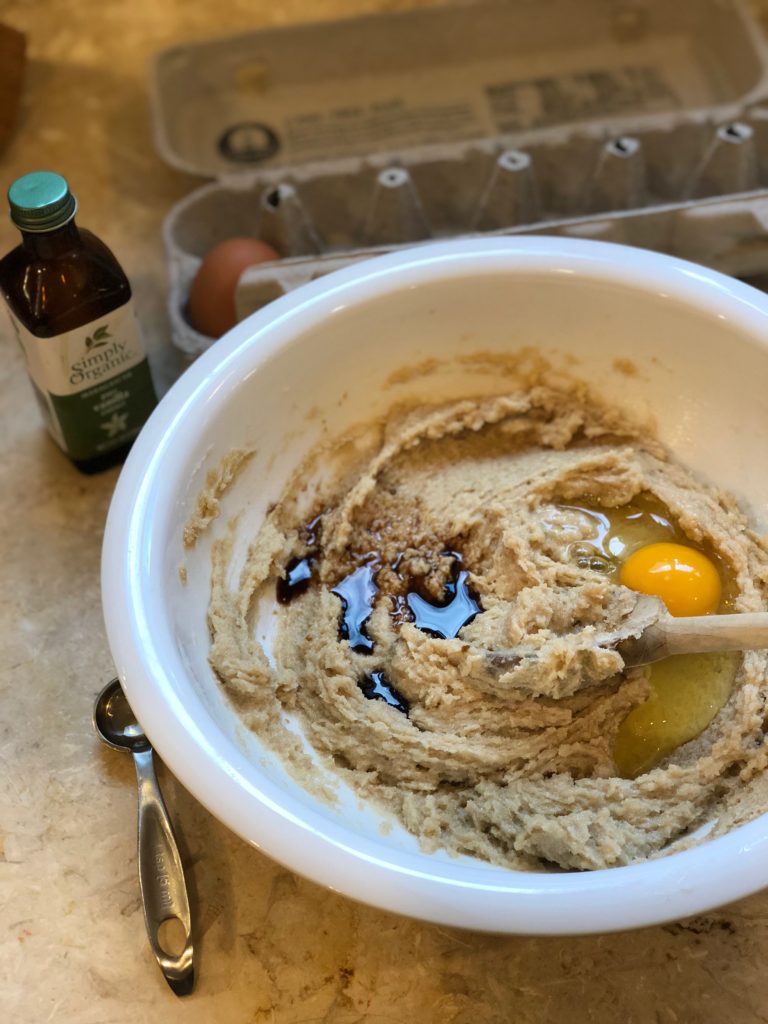
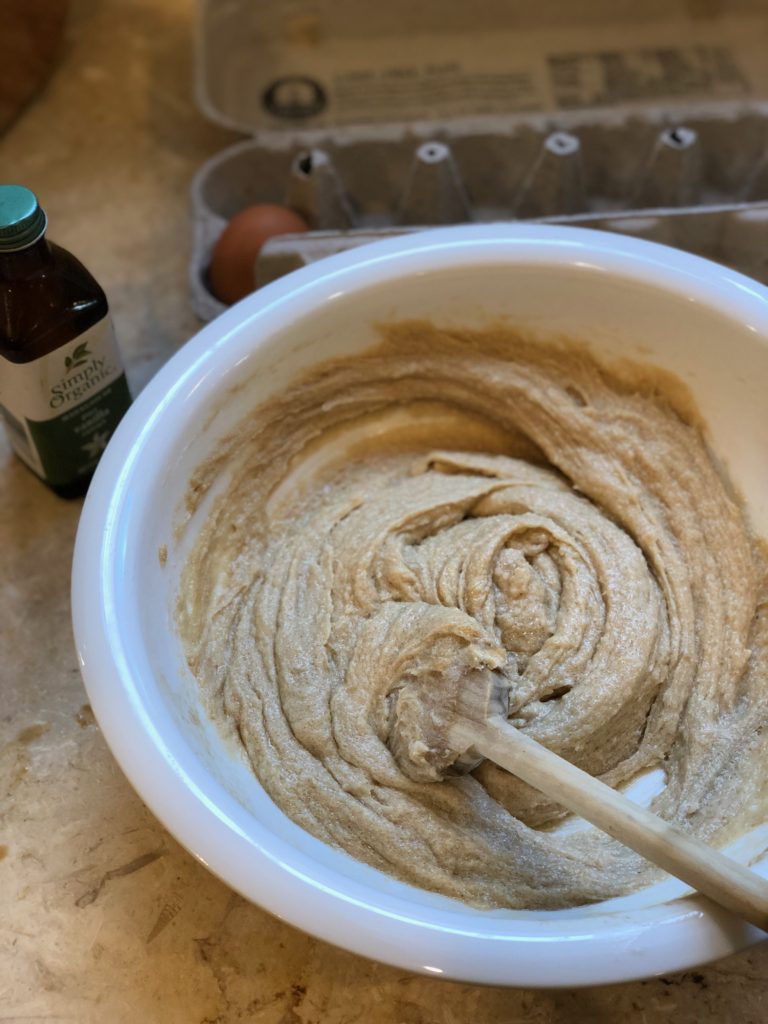
Add egg and vanilla to the bowl and stir once again until they become one

4

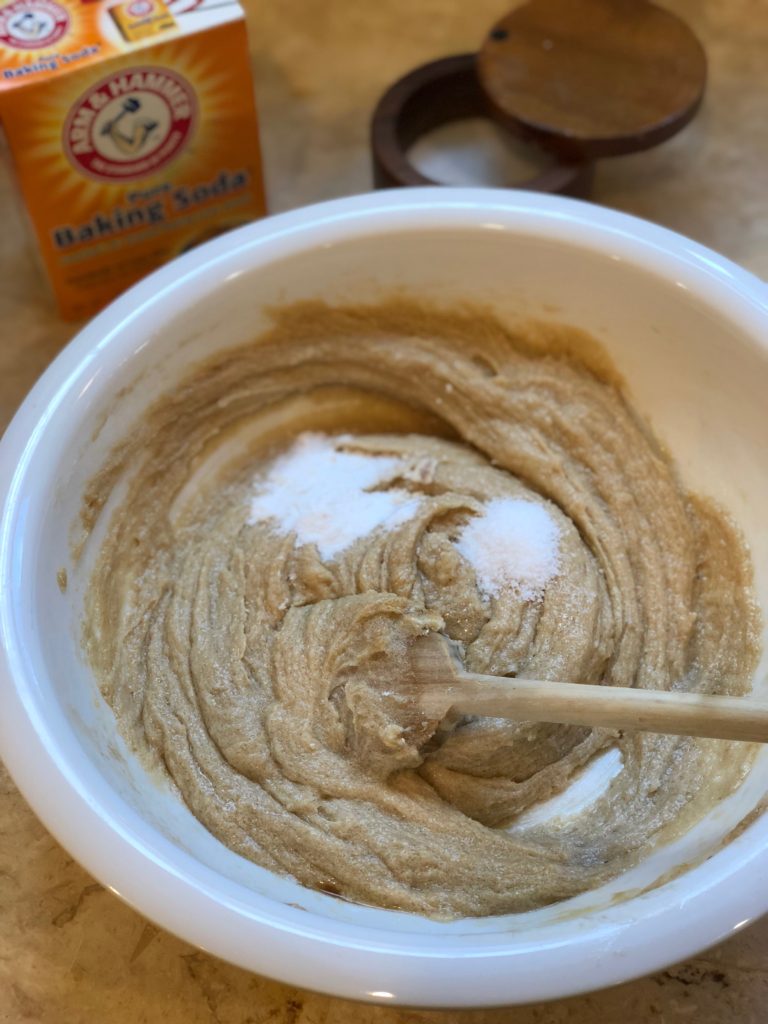
Add baking soda and salt to the mixture and stir once again

5

Add flour, one half at a time to the bowl. Once the first half is incorporated fully, add the second half and stir with spoon until incorporated

6

Add the chocolate chips and stir until they are evenly distributed throughout the dough

7

Drop 2 tablespoon sized chunks of dough onto an ungreased cookie sheet, spaced about an inch apart on all sides.

8

THIS IS THE MOST CRITICAL STEP IN THE TECHNIQUE TO HAVING SOFT CHEWY COOKIES: Bake the cookies for 10-12 minutes. After 10 minutes, watch them closely, as soon as you see some golden highlights on only a FEW (not all) of the cookies, take them out of the oven. Some of cookies will look slightly undone still, do not worry, they continue cooking once they are out of the oven and this ensures that they are soft and chewy.

9

Immediately sprinkle the Maldon Sea Salt Flakes on top of the cookies right when they come out of the oven.

10

Let them cool for about 3 minutes and then transfer them to a cooling rack, using a spatula, to cool completely.

Softened butter and sugars into the bowl:

Blended together until they become one:

Add vanilla and egg:

Blended together until creamy:

Salt and Baking Powder into the bowl:

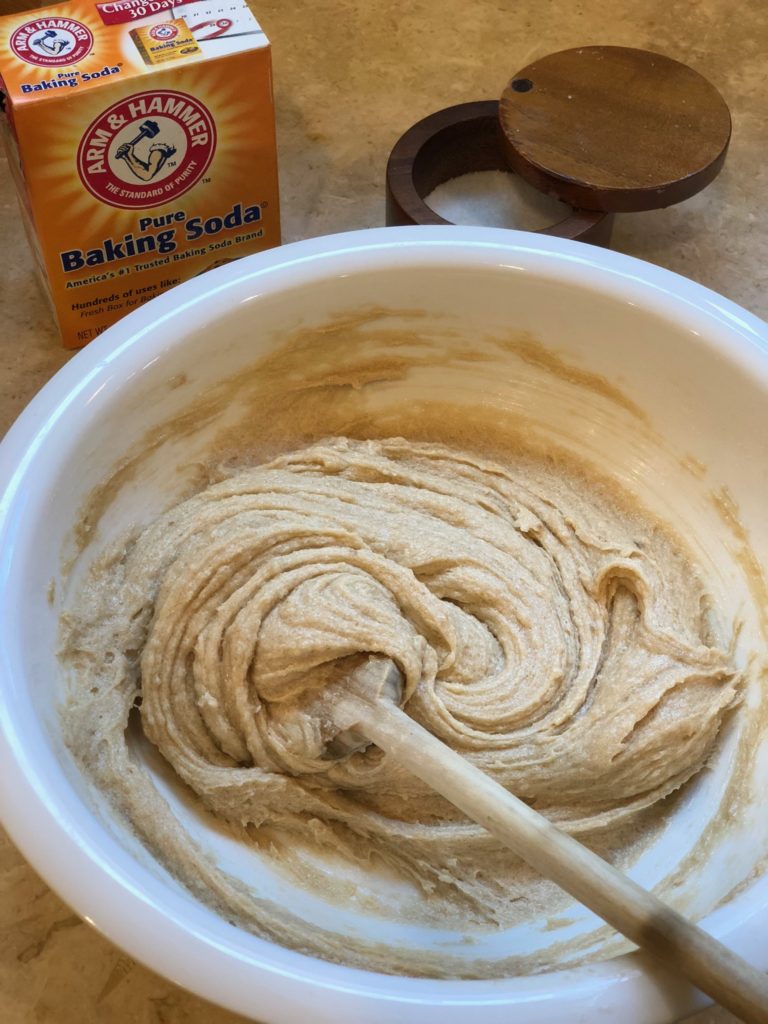
Blended well and distributed evenly throughout:

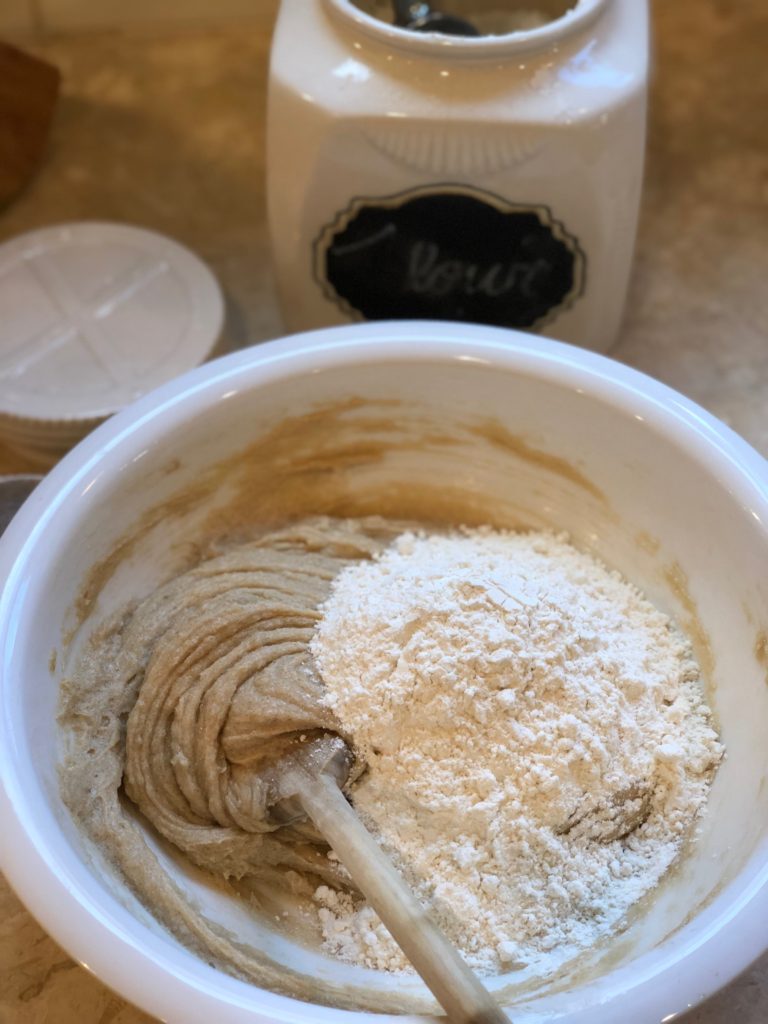
Half the flour:

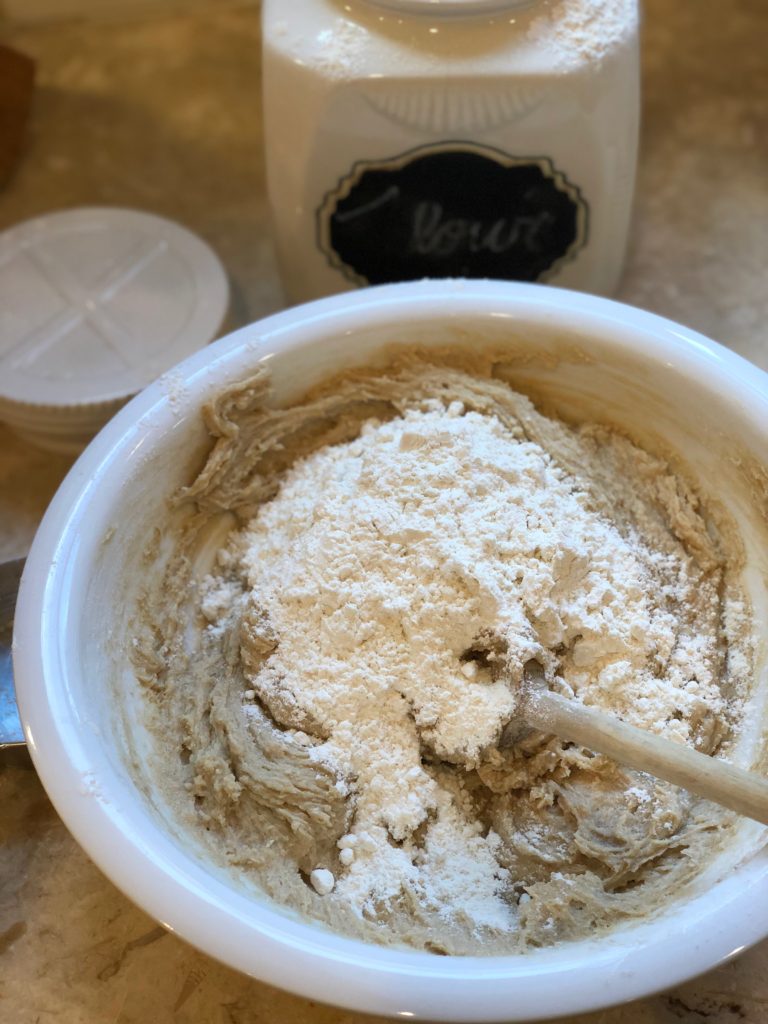
Second half of flour added after blending the first half completely:

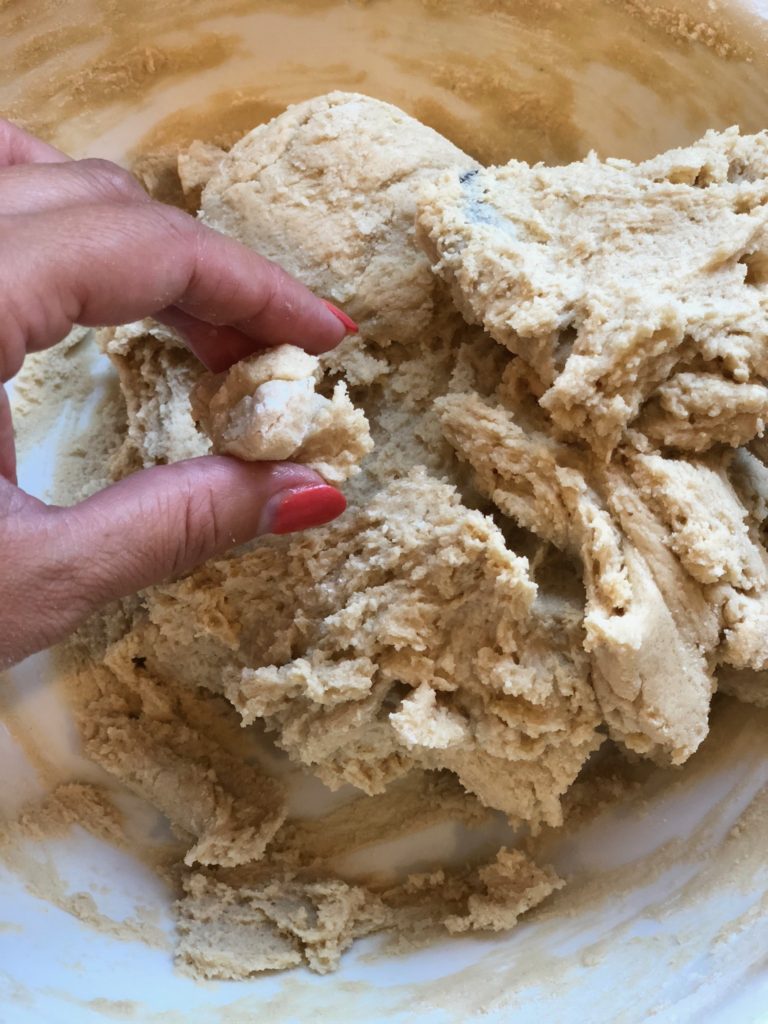
Now the dough should look like this, soft but not too sticky:

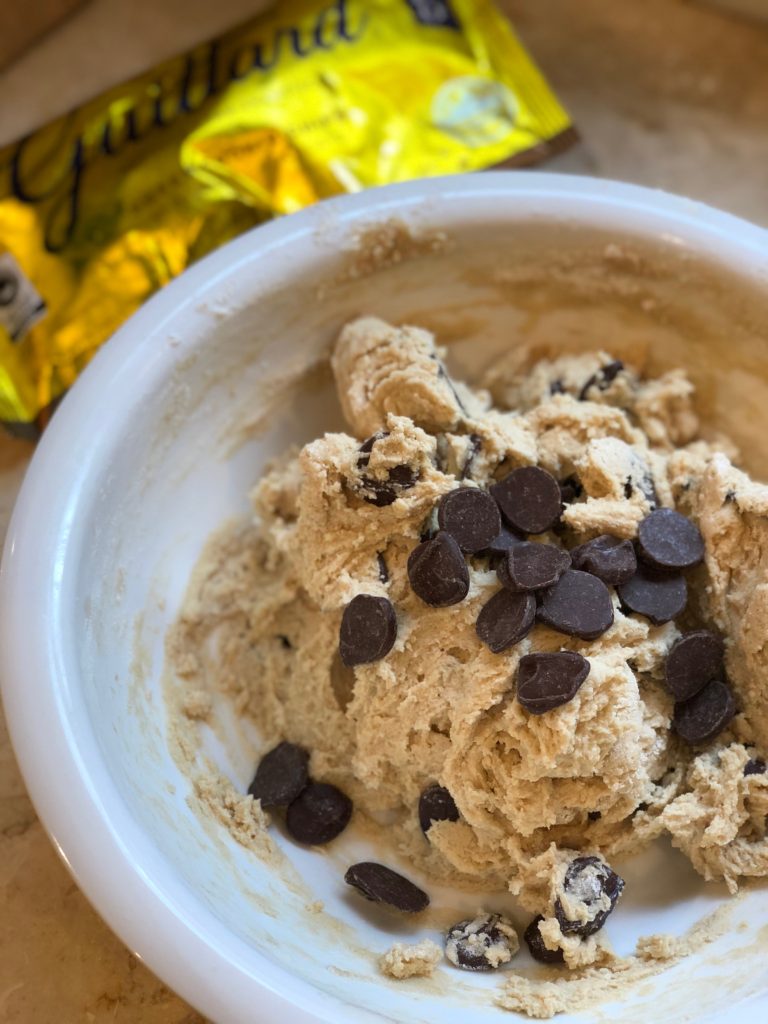
Add chips and stir:

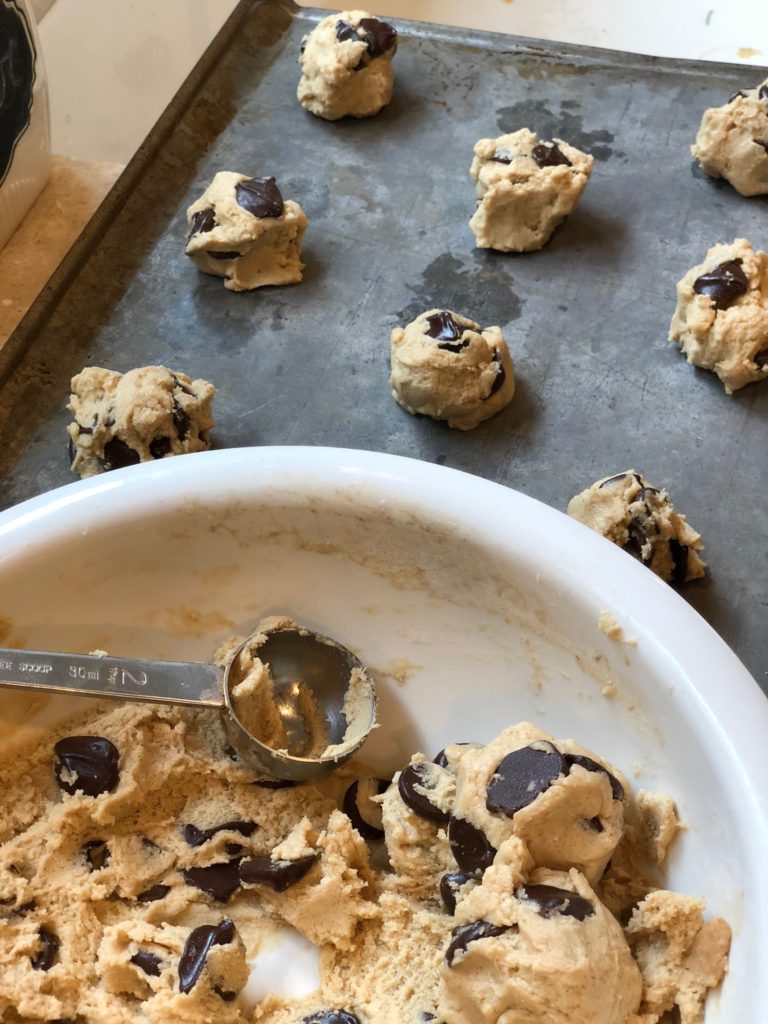
Onto the baking sheet they go: