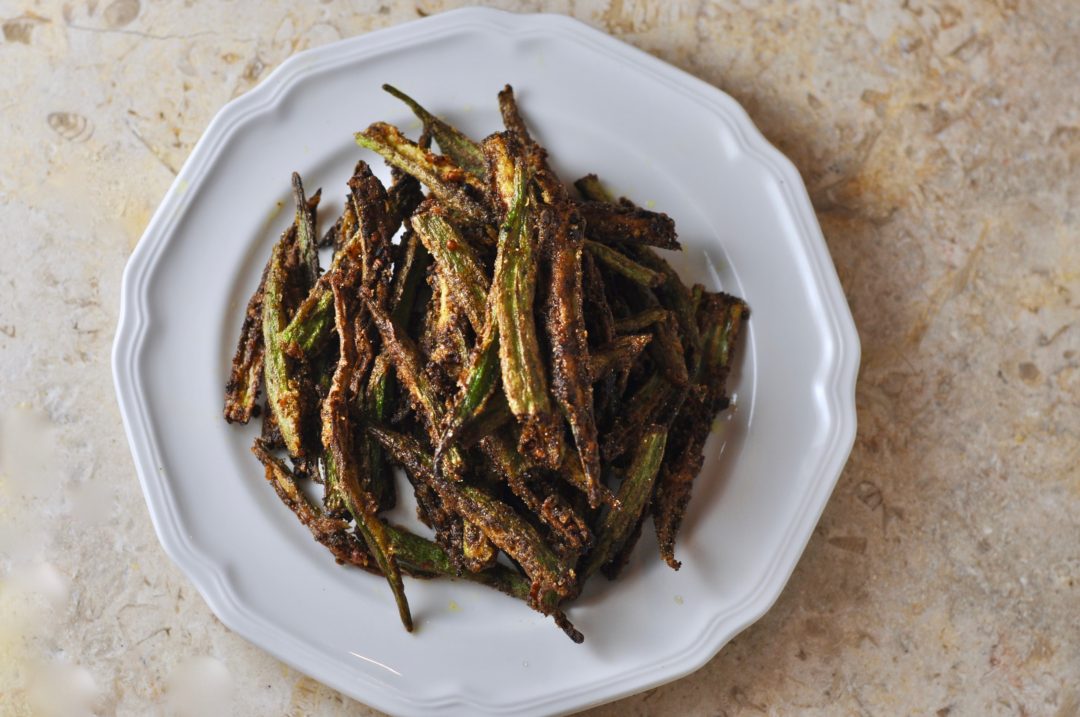
I absolutely love Indian Food. The amount of spices alone is enough to win me over. I was inspired to make this dish after attending the Diwali Festival at our local community center. This recipe basically tastes like amped up French Fries in the best way. There is such a depth of flavor. A lot of the Kurkuri Bhindi Recipes call for Cumin, but I’ve omitted it because I just don’t like the flavor. A lot of the recipes also use Chickpea Flour. I used regular All Purpose Flour and it works beautifully, but you could be a bit more authentic and use Chickpea Flour if you’d like.
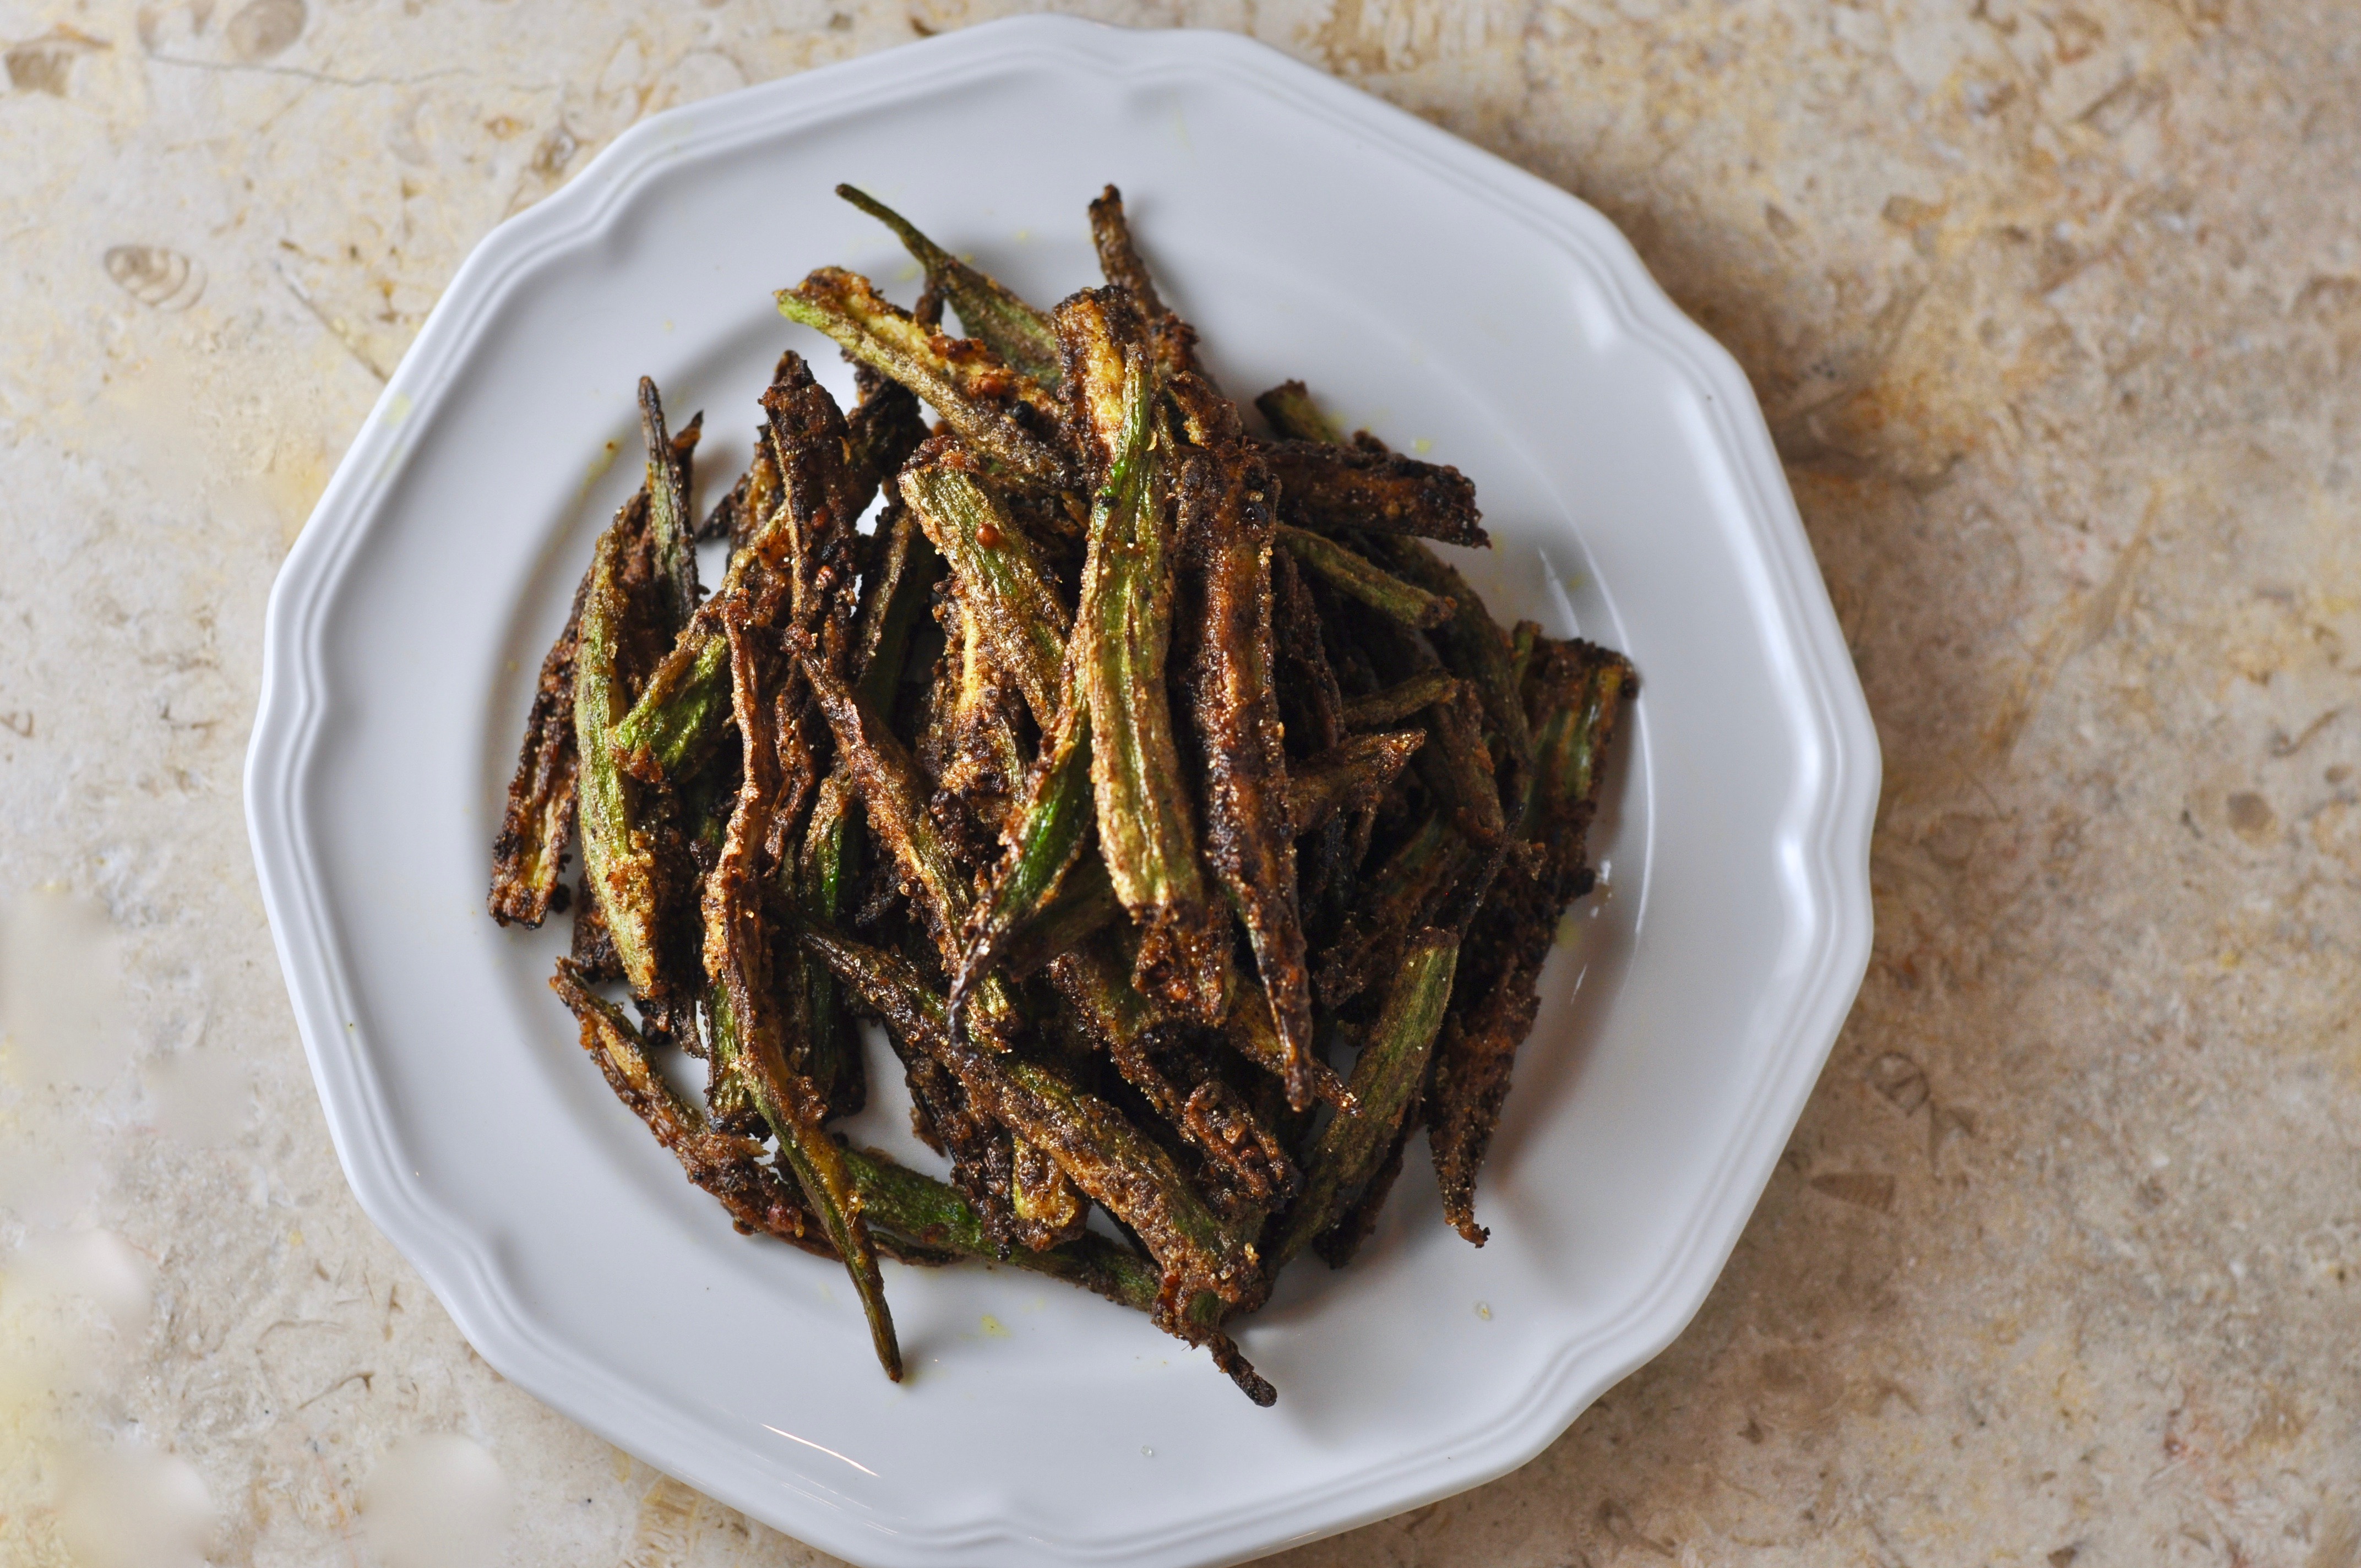
Kurkuri Bhindi
 (No Ratings Yet)
A crispy, flavorful side dish to serve with any meal.
Ingredients
- 2 cups Okra
- 1 tsp Red Chilli Powder
- 1/2 tsp Turmeric Powder
- 1/2 tsp Garam Masala Powder
- 1 tsp Chaat Masala Powder
- 1 1/2 tsp Salt
- 3 tbsp All Purpose Flour or Chickpea Flour
- 1 tbsp Corn Flour
- Canola Oil for frying
- 1 Lemon
- Extra Salt
Instructions
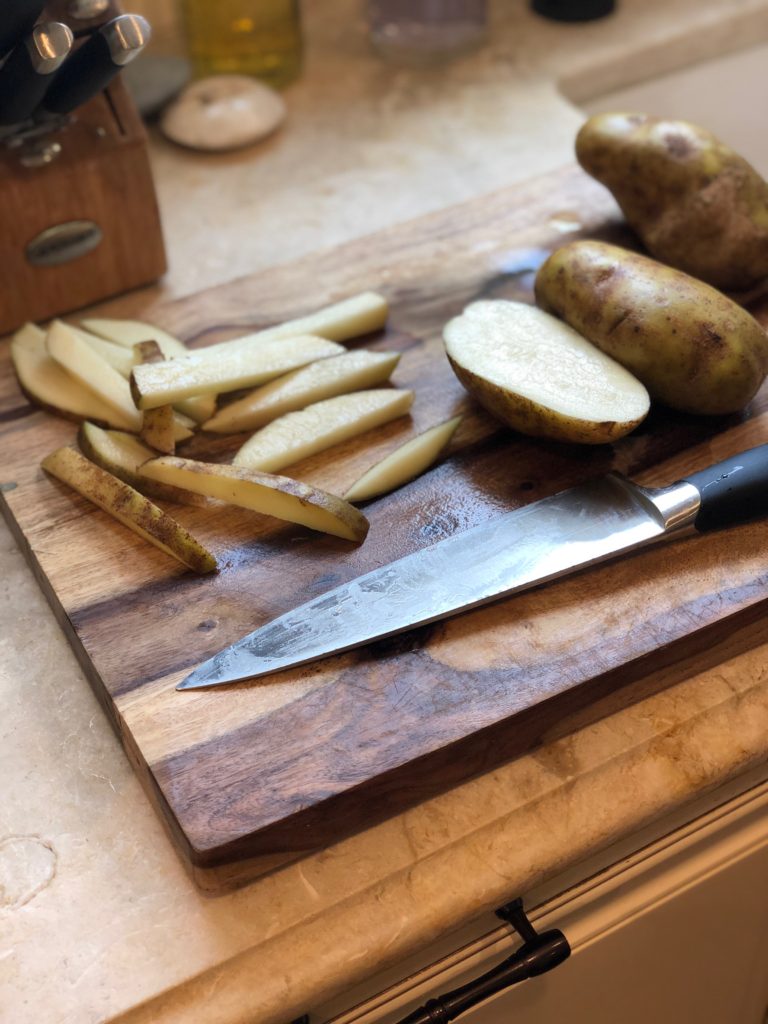
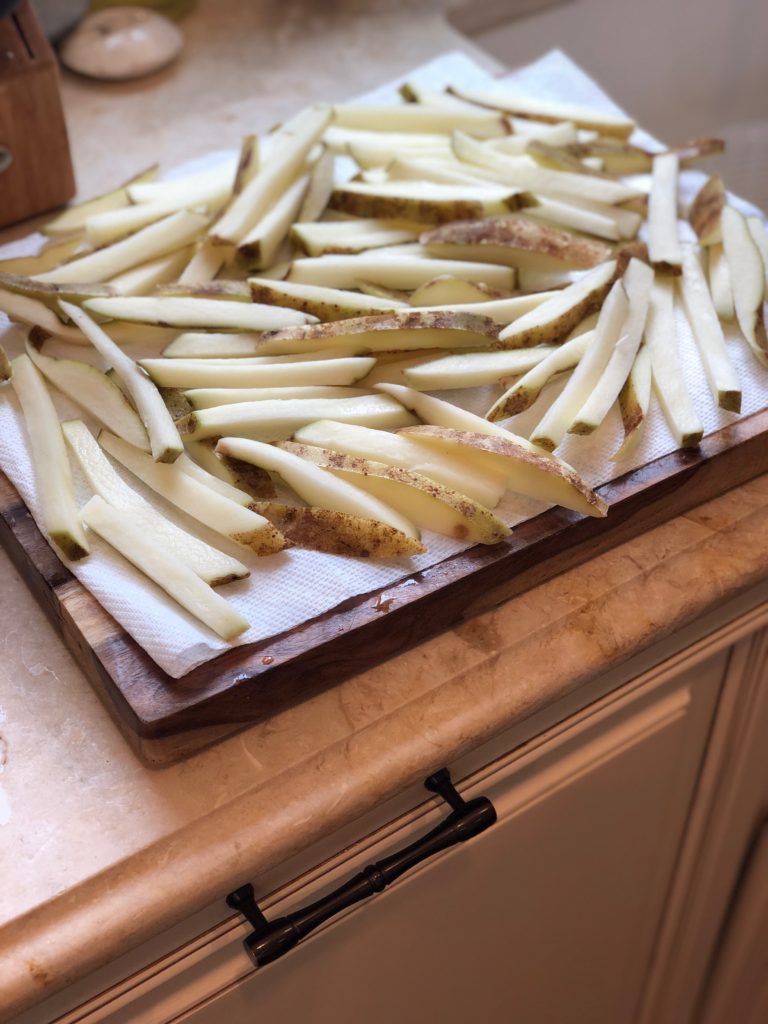
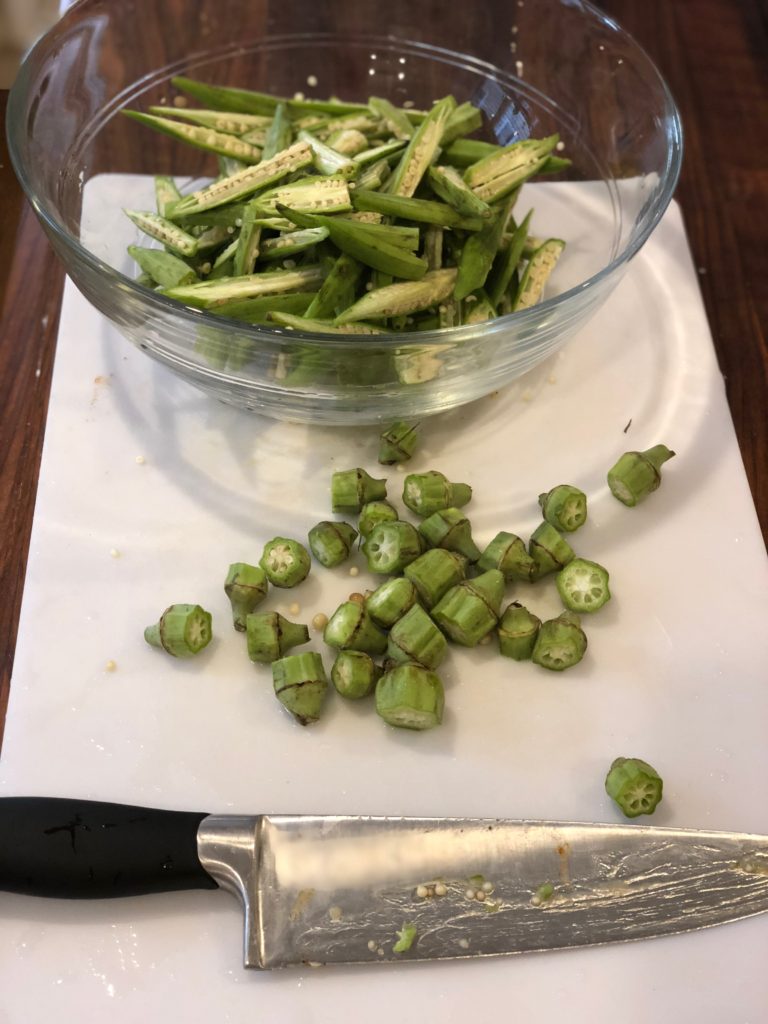
Cut the the tops off the Okra and then slice them horizontally into quarters. Some of the seeds will fall out, that's fine!
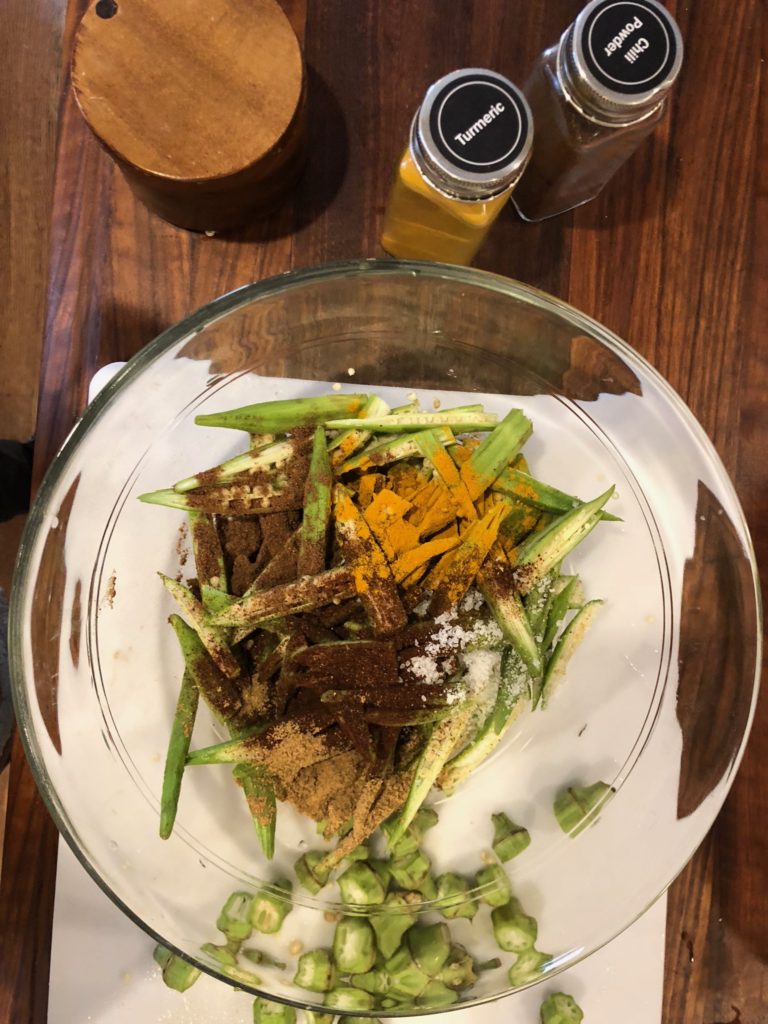
Add Red Chilli powder, Turmeric Powder, Garam Masala Powder, Chaat Masala Powder and Salt in a bowl and toss all of the spices with the Okra strips until it is all distributed evenly.
Let it rest for 10-12 minutes, the Okra will create a little bit of water.
After letting it rest, add the Flour and Corn Flour to the bowl and toss it all together so all of the pieces are coated in the flours evenly.
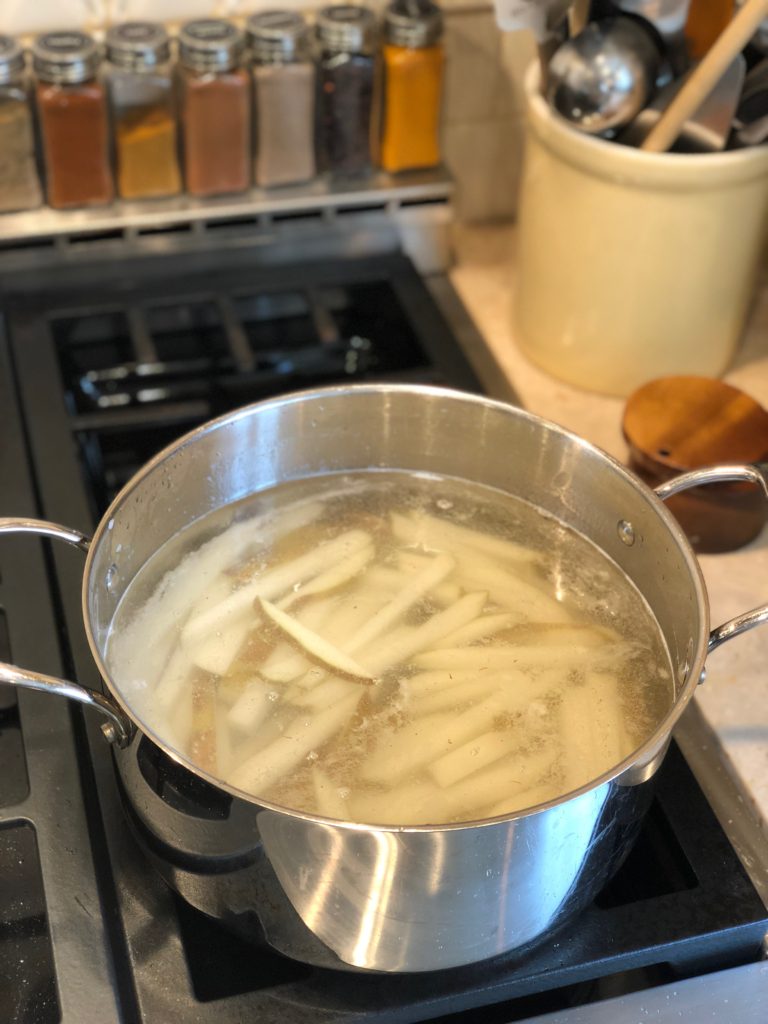
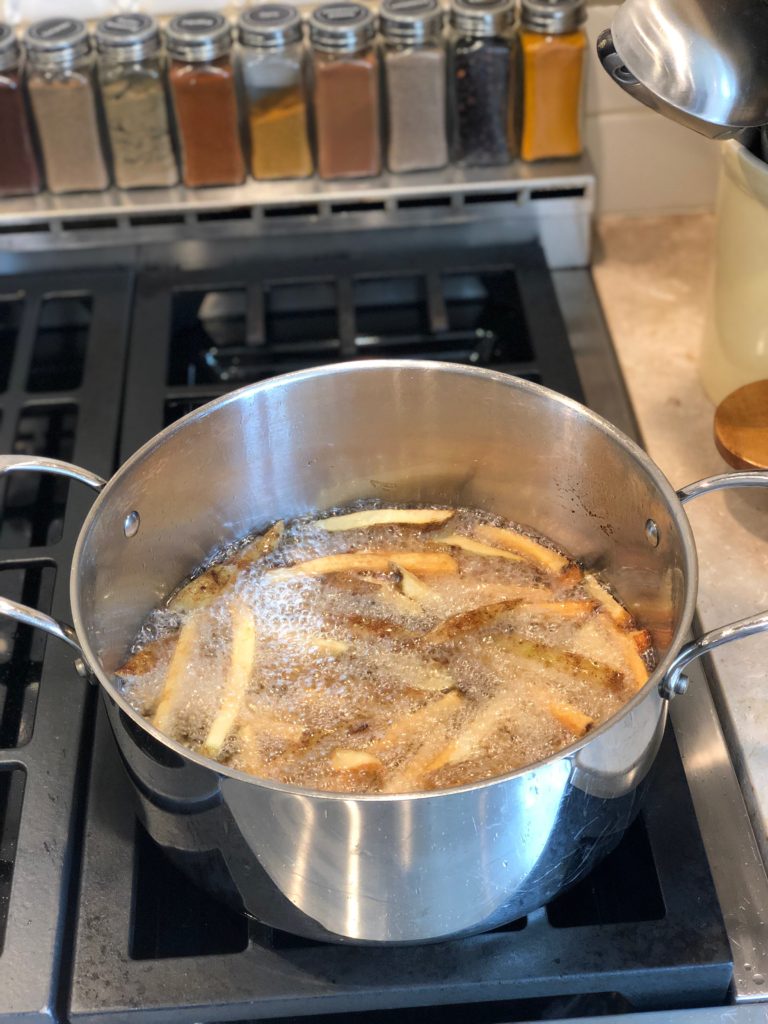
In a large saucepan, pour in oil until the bottom of the pain is covered and is 1 inch deep, heat the oil on a medium high heat.
Test the oil by dropping in a small piece of Okra, if it immediately sizzles it's ready. If it splatters everywhere, it's a bit too hot.
Grab about 1/3 of the Okra and put it in the oil. Spread the Okra out a little in the pan so they have room to cook. Let them cook for 2-3 minutes in the oil until they look golden brown and crispy.
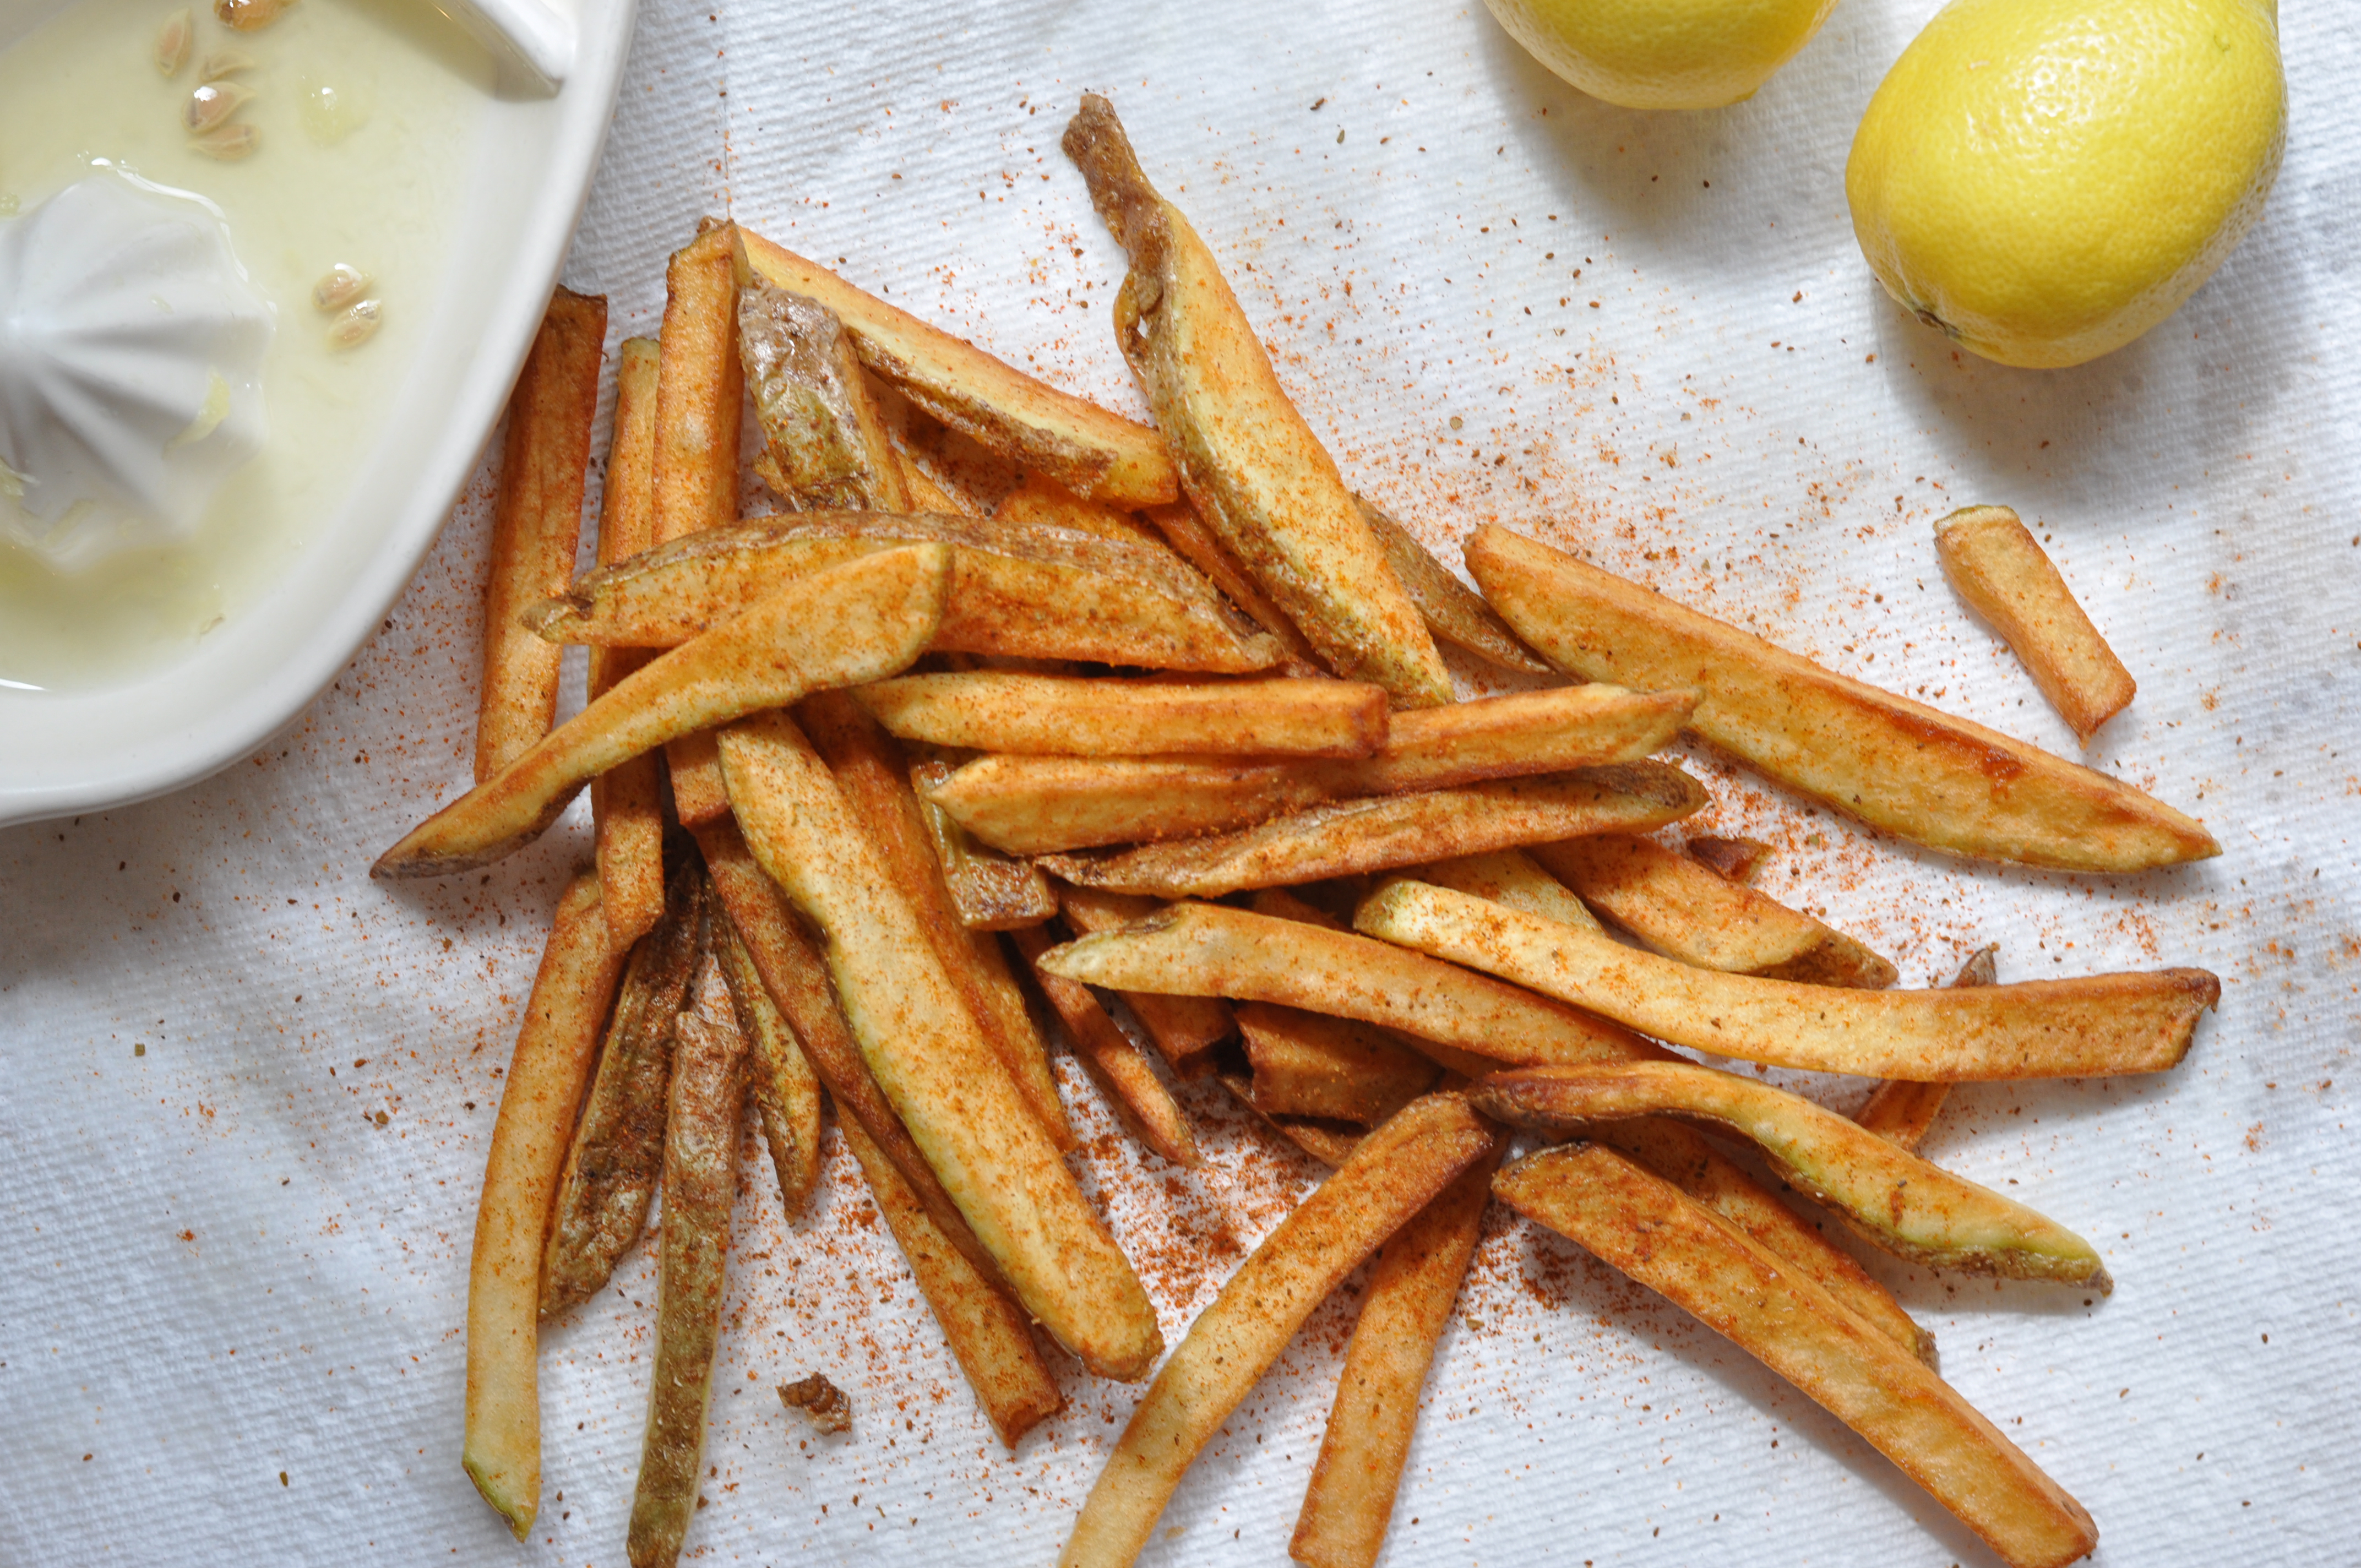
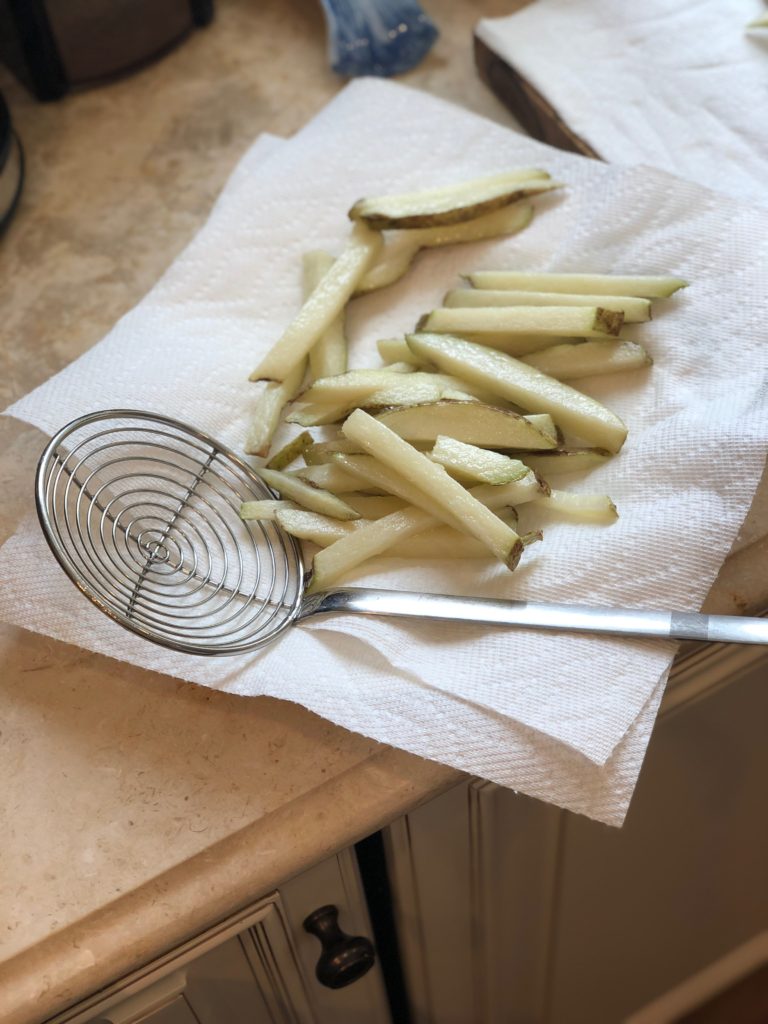
Take them out and place them on a plate lined with paper towel to drain the oil.
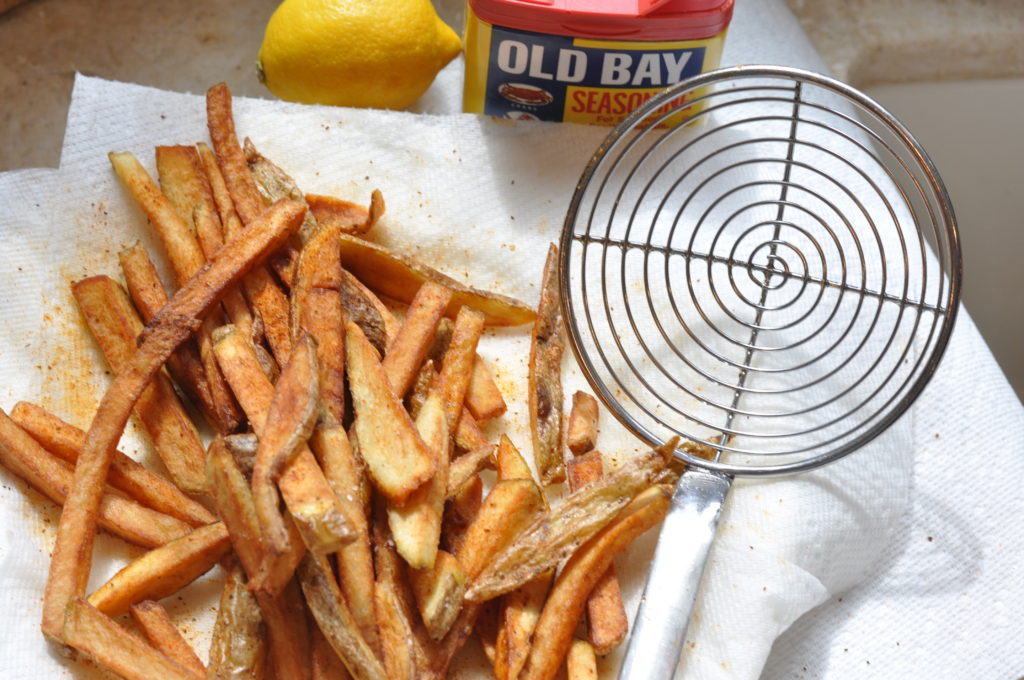
Squeeze fresh lemon juice on top, add a pinch of salt and serve while still hot.
Cutting the Okra in quarters horizontally:
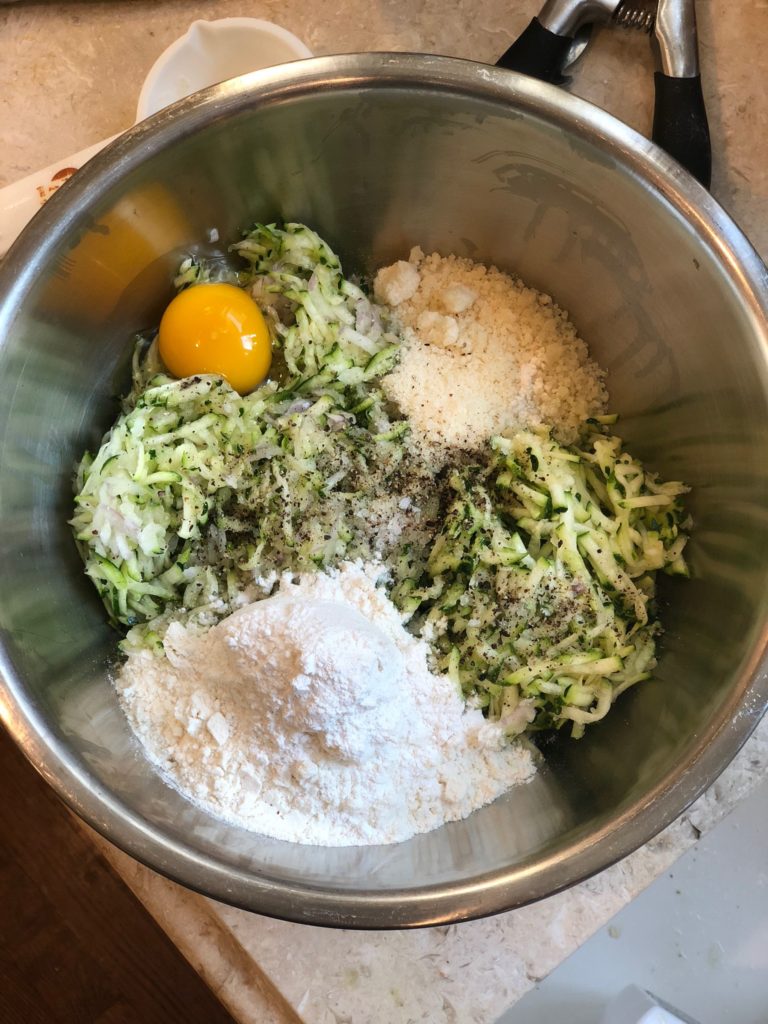
Adding the spices:
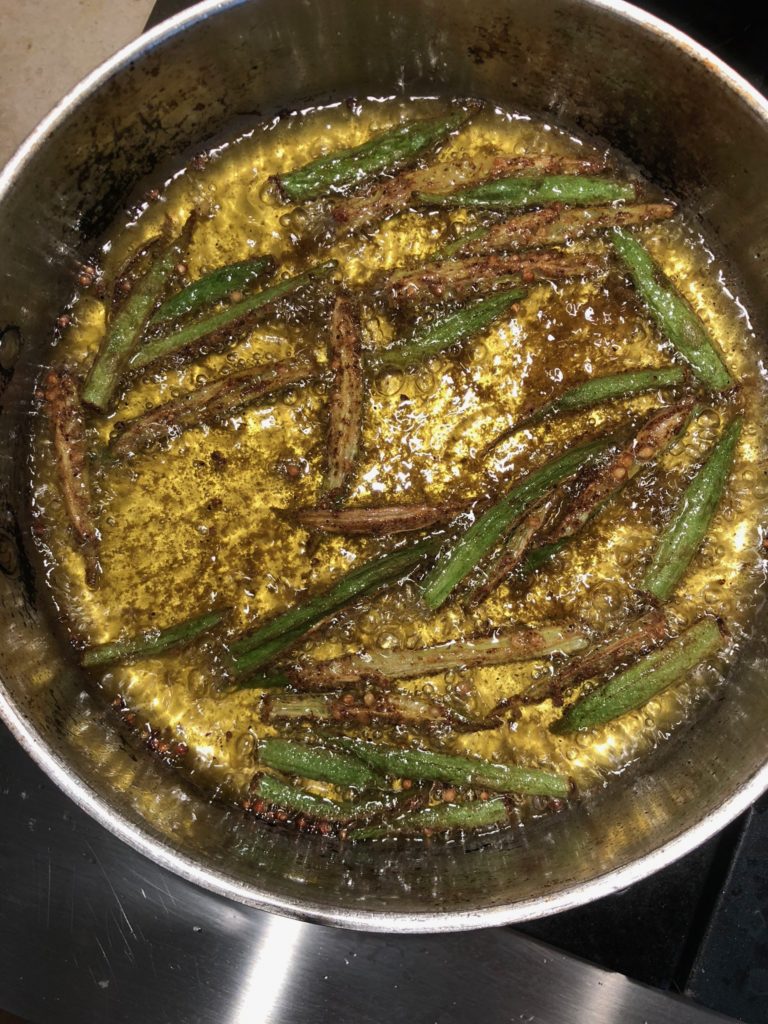
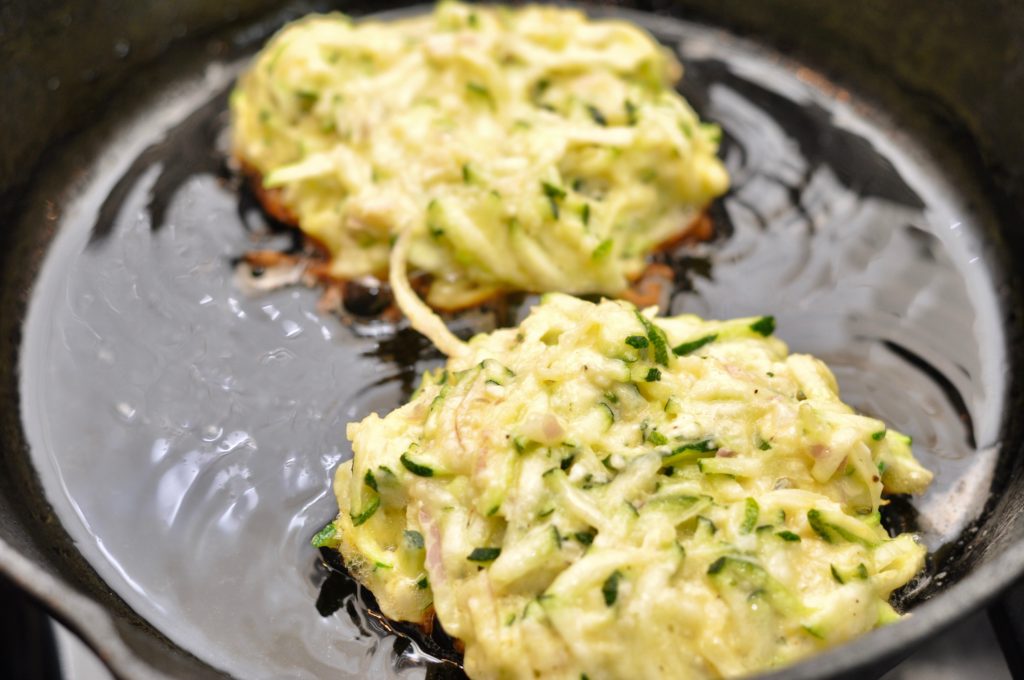
Frying the Okra: