This flavor combo is heavenly. You get a double punch of almond from the almond extract plus the slivered almonds (can you tell I love almonds?) In addition, I have found the secret to perfect scones, it’s sour cream! Make these for breakfast on the weekend. They are the perfect fall/winter breakfast treat. I like to make this full recipe for my family, everyone eats one and then I freeze the rest for the week ahead. They reheat so beautifully that they taste fresh out of the oven!
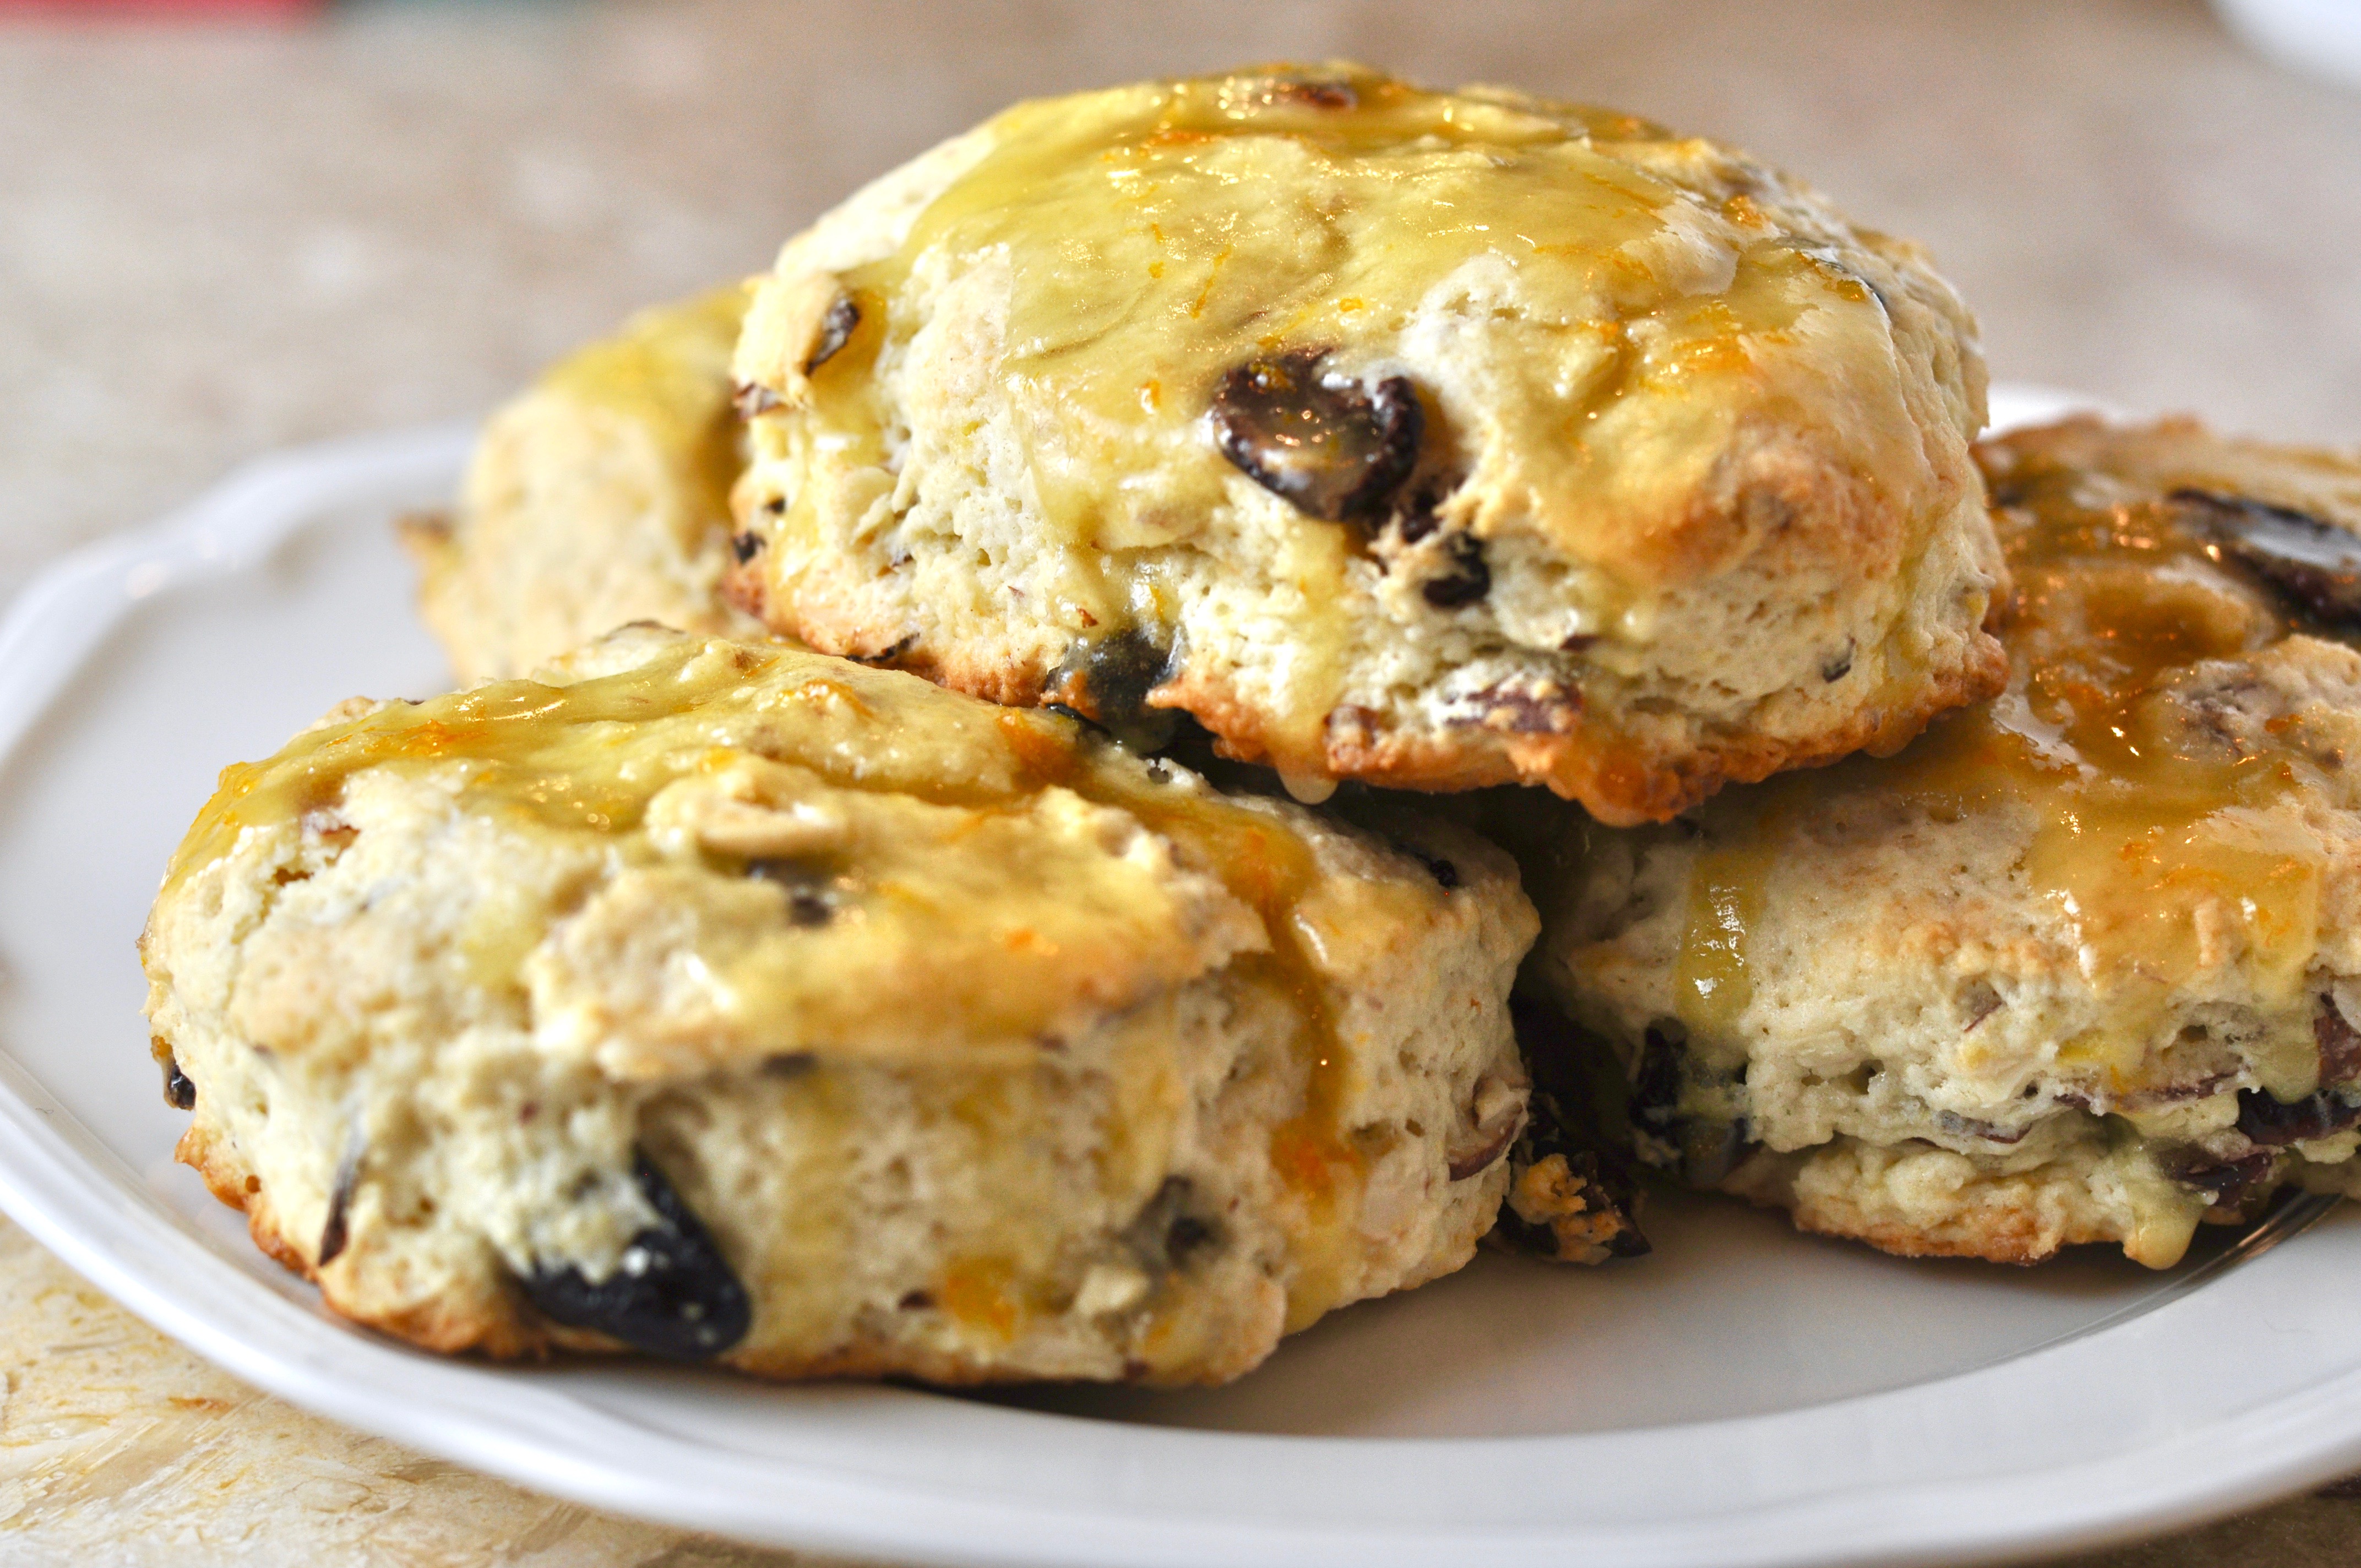
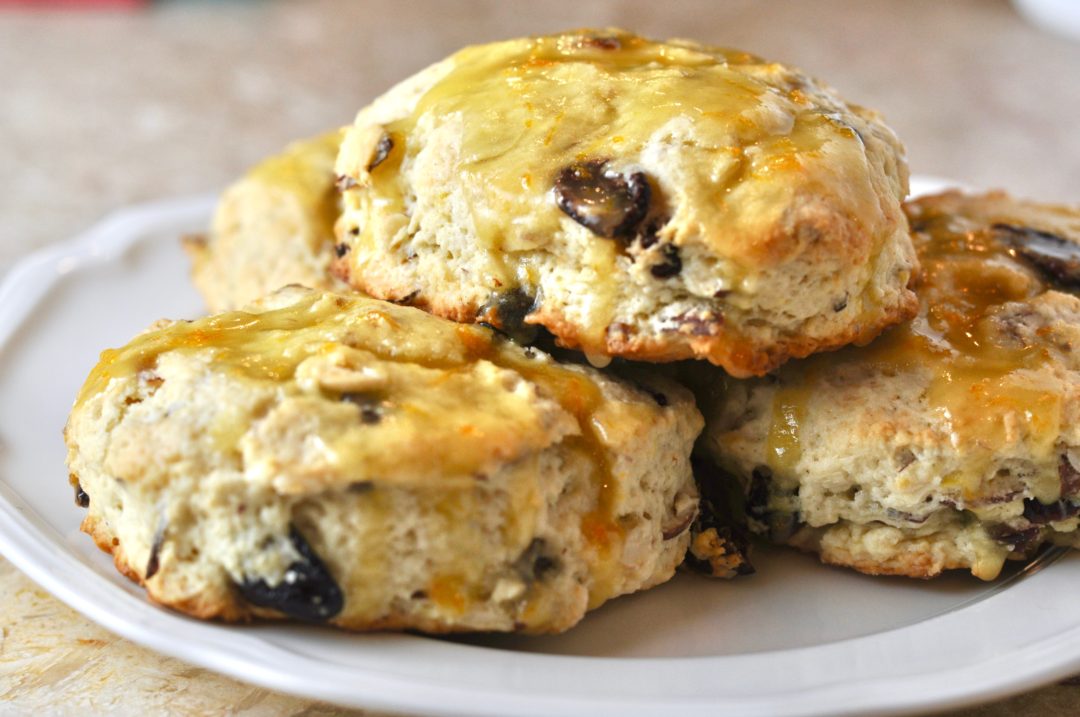
Cranberry Almond Scones with Orange Glaze
 (No Ratings Yet)
With a double hit of almond, tart cranberries and a hint of orange, these scones fluffy scones will be the hit of your next breakfast table.
Ingredients
- 2 cups All Purpose Flour
- 1/2 cup Sugar
- 1 tsp Baking Powder
- 1/4 tsp Bakin Soda
- 1 tsp Salt
- 1/2 cup cold Salted Butter (1 stick), cubed
- 3/4 cup Cranberries
- 1/2 cup Slivered Almonds
- 1 Egg
- 1/2 cup Sour Cream
- 2 tsp Almond Extract
- FOR GLAZE:
- 1 cup Confectioners Sugar
- 1 Teaspoon Orange Zest
- 2 Tablespoons Freshly Squeezed Orange Juice
- 1 Tablespoon Half and Half
Instructions
Preheat oven to 425 degrees Fahrenheit and line a cookie sheet with parchment paper.
Put flour, sugar, baking powder, baking soda and salt into a large bowl and mix together.
Add cubed butter to flour mixture.
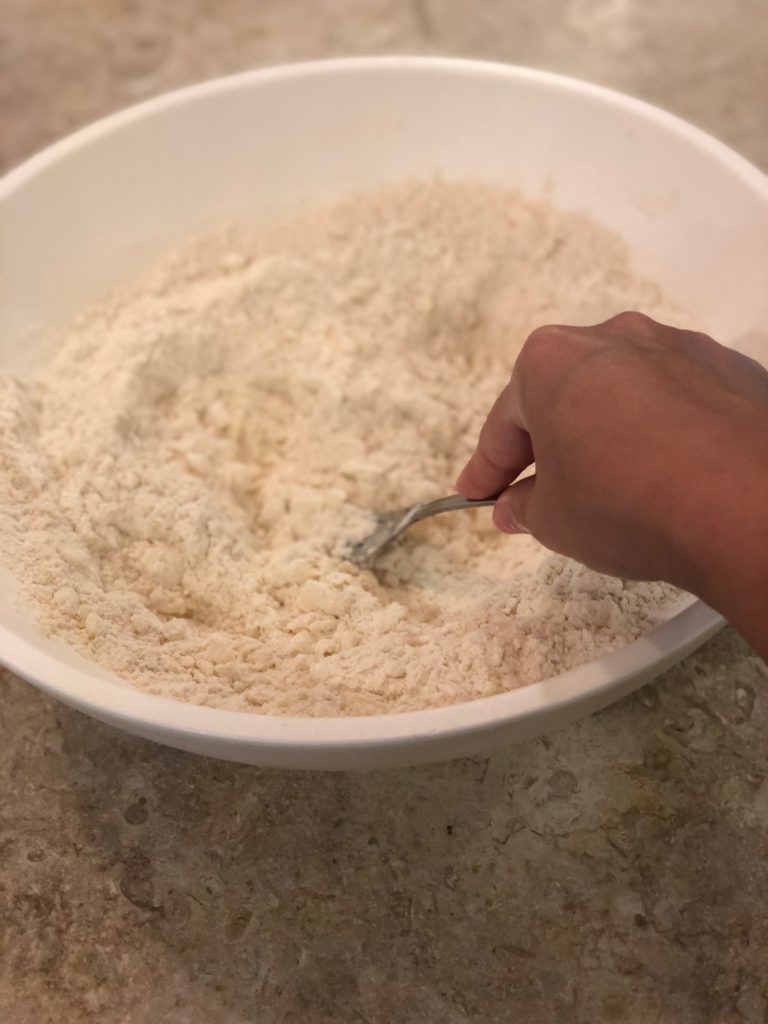
Using a fork, press butter into flour mixture squeezing butter through the spokes of the fork. Keep pressing and pressing for about 3-4 minutes. Then end product should look meal-y, (see photo below.)
Add Cranberries and Almonds to flour/butter mixture and stir with a spoon to evenly distribute.
In small bowl, beat egg, sour cream and almond extract together and then pour into the dry mixture.
Using a spoon, combine the wet and dry ingredients a little bit, but then put the spoon down and use your hands to combine the wet and dry ingredients until they have just come together. (Do not over mix them, because your hands are warm and will melt the tiny chunks of butter, and you do not want this to happen because those little butter chunks help the scones become fluffy in the oven.)
Once the wet and dry have just come together, plop your ball of dough on a floured, flat surface (I use a Roul-Pat.)
Sprinkle a little flour on the top of your dough and then roll it out using a rolling pin until it's about 3/4 inch thick (pretty thick).
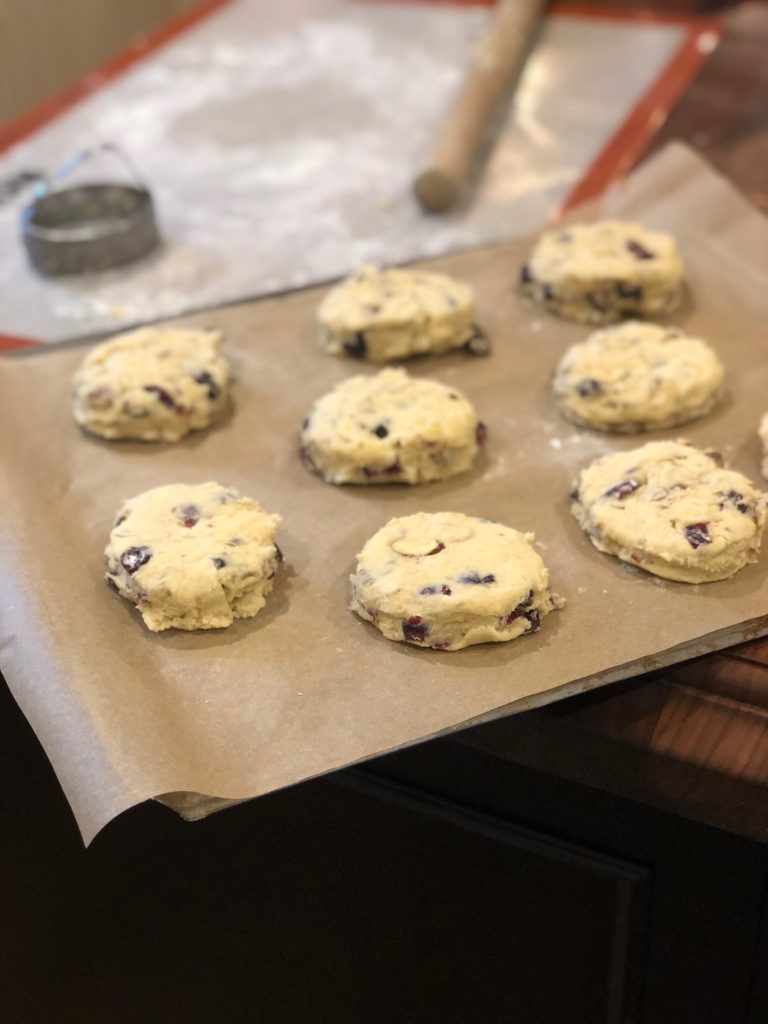
Using a round biscuit cutter (or take a cue from my mom and just use a CUP!), cut out round scones and place each on the parchment papered cookie sheet.
Once you've used up all the available space, gather the scraps of dough and make them into one piece, roll it out again to 3/4 inch thick and cut more rounds, until you are done. You should have 9-10 scones.
Place the cookies sheet full of scones into the oven and bake for 15-18 Minutes, until you see a few golden brown spots on a few of the scones.
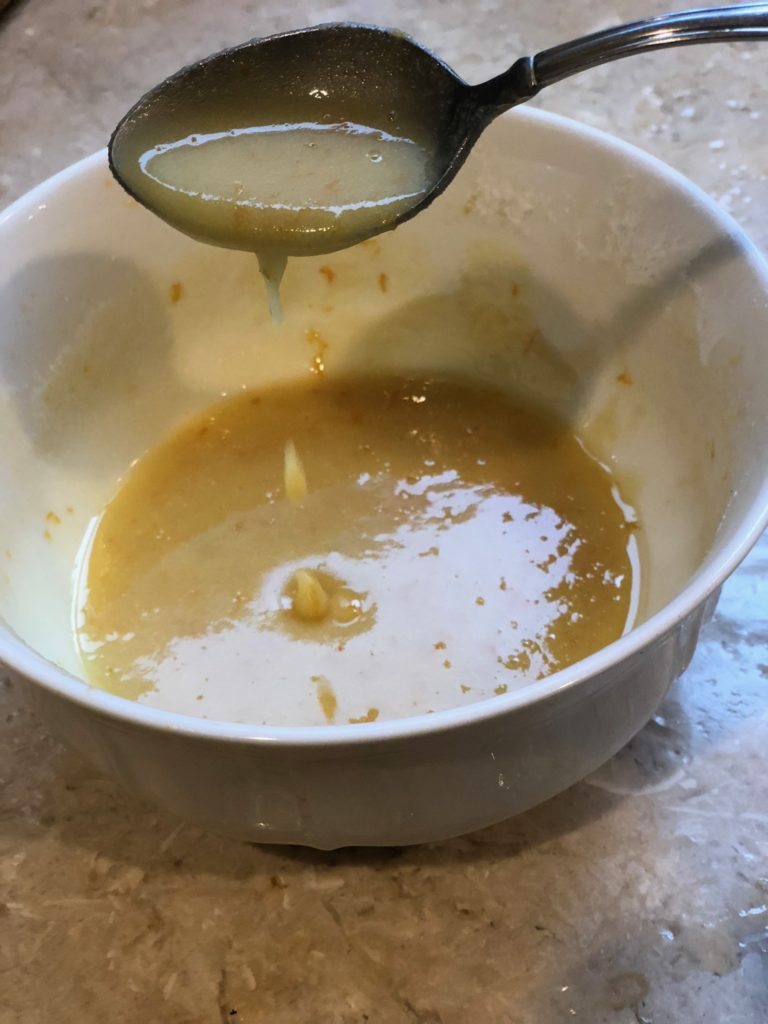
While the scones are in the oven, make the glaze. Start by zesting your orange. Then, using a fork, mix the zest, orange juice, half n half and confectioners sugar together in a small bowl.
Take scones out of oven, let them sit for 5 minutes and then transfer to a cooling rack that is on top of a baking sheet.
Using a spoon, gently ladle the glaze onto the tops of the scones.
Serve warm or freeze (these reheat beautifully!!!)
This is how your butter/flour mixture should look once the butter is is properly broken apart and mixed in:
Cut scones lined up on parchment paper:
The orange glaze:
These scones have just been glazed: