Monthly Archives:

November 2018

Main Dishes

Gratin aux Legumes

While traveling through France, I stayed in a tiny village called Puycelsi. I popped into 1 of the 2 restaurants in the village for lunch. I was feeling vegetarian that day and so I ordered the Gratin aux Legumes (Gratin with Vegetables). It was so delicious and I’ve been thinking about it ever since. 2 years later, I’ve finally set out to recreate that delicious dish. It was served in an individual cast iron dish at the restaurant, but I’ve made it more of a family style version, in which you scoop out servings. To me, this dish is comfort food at it’s best.
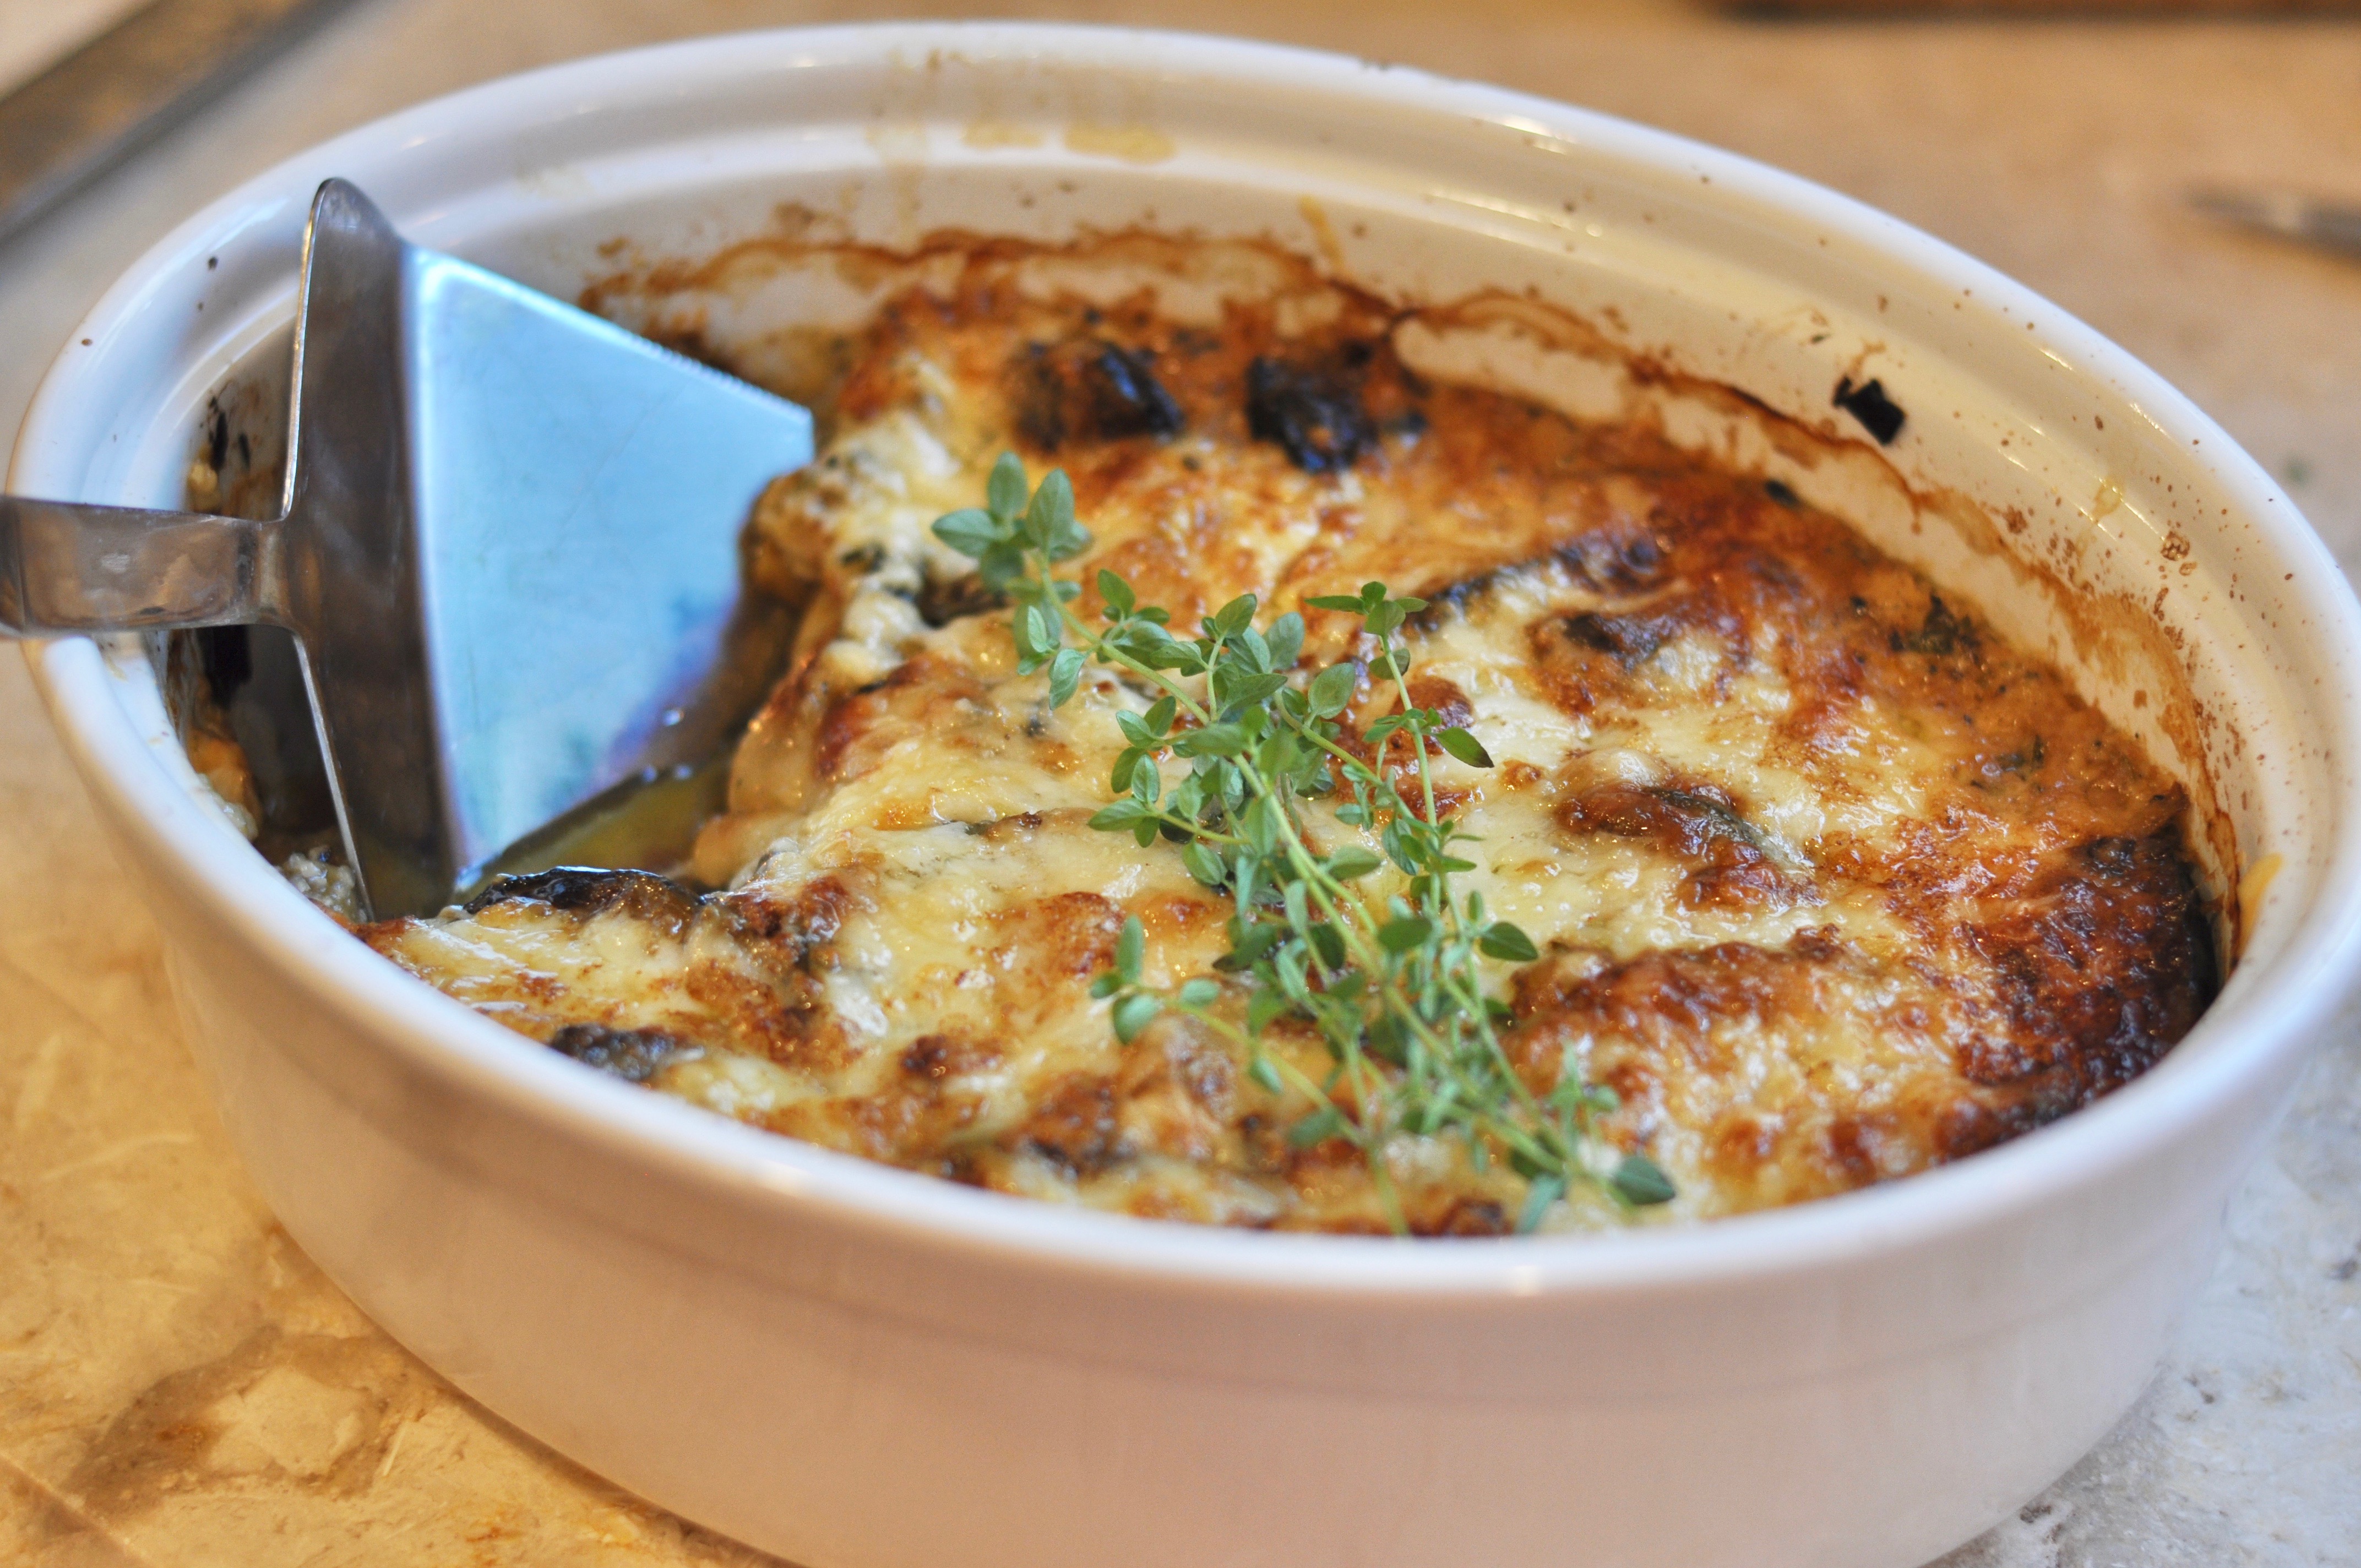
Legume Gratin

1 Star2 Stars3 Stars4 Stars5 Stars (No Ratings Yet)
Loading...
By Liz Serves: 6
Prep Time: 20 Minutes Cooking Time: 40 Minutes

A cheesy, warm vegetarian comfort food.

Ingredients

  • 2 Tbsp Salted Butter
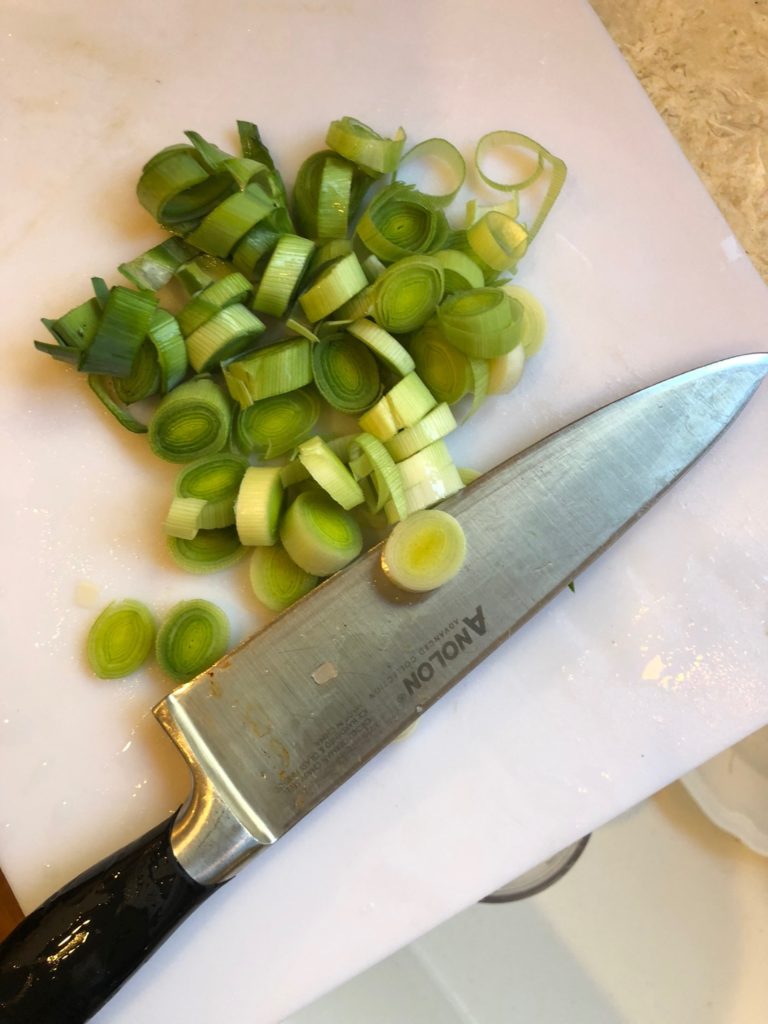
  • 4 Leeks, choped
  • 1 Yellow Squash, sliced thin
  • 1 Zucchini, sliced thin
  • 1 Eggplant, chopped into strips
  • 1 tsp Salt
  • 1 tsp Pepper
  • 1/2 cup Whole Milk
  • 1/2 cup Creme Fraiche
  • 1 Egg
  • 1 tsp Fresh Thyme, chopped
  • 1 tsp Salt
  • 1 tsp Pepper
  • 1 1/2 cups Gruyere cheese, shredded

Instructions

1

Preheat oven to 400 degrees farenheit.

2

Start by melting butter in the bottom of a large dutch oven or saucepan on medium high heat.

3

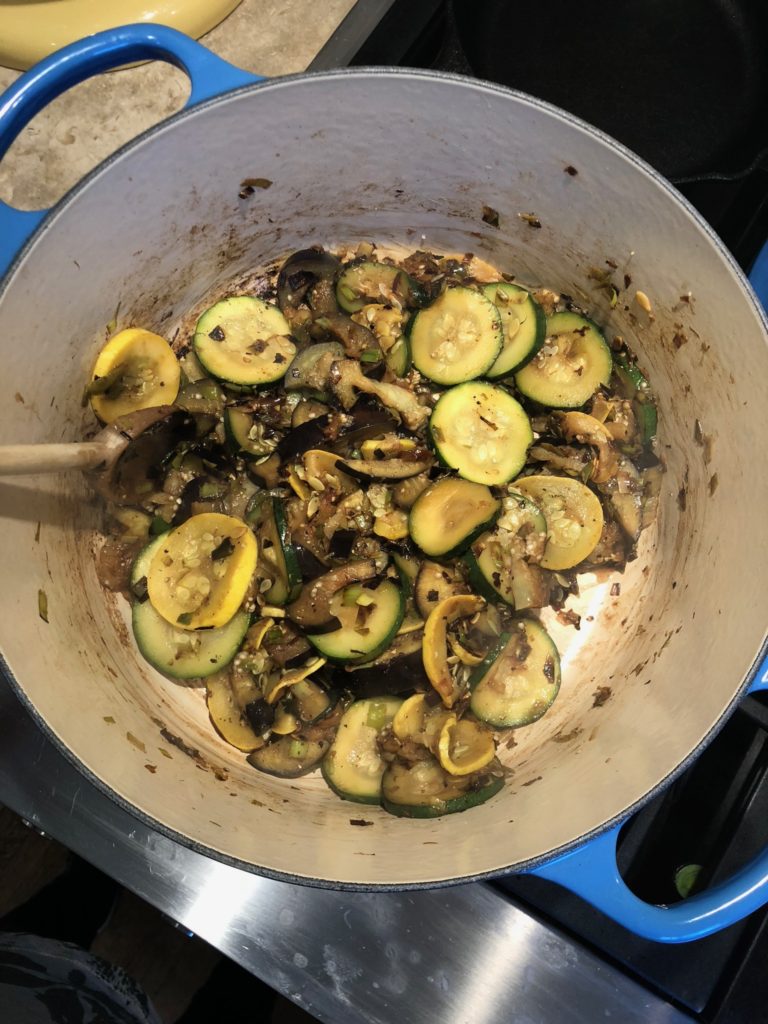
Add chopped leeks and stir with a wooden spoon until leeks have cooked down and some are brown (about 5 minutes.)

4

Add the Zucchini and the Yellow Squash and continue stirring and letting the squash cook for another 5 minutes.

5

Add the Eggplant and stir for another 5 minutes.

6

Add 1 tsp Salt and 1 tsp Pepper to vegetables and stir together.

7

Cover the pot with lid and turn heat off.

8

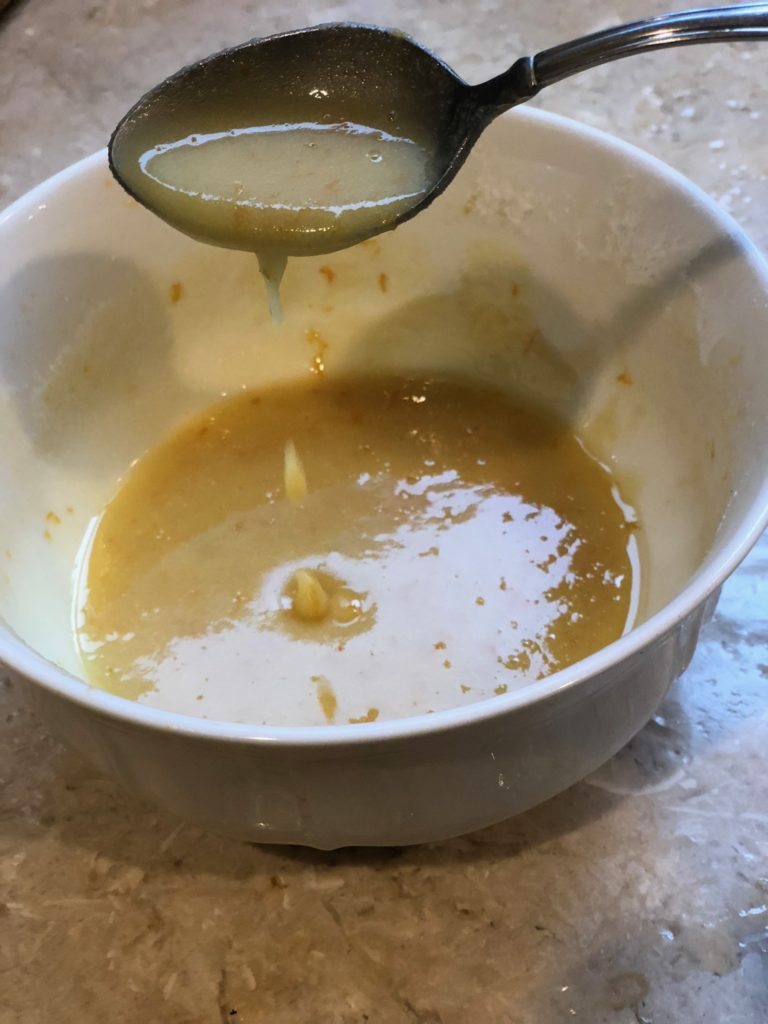
In a separate bowl, mix together the Milk, Creme Fraiche, Egg, Fresh Thyme and 1 tsp of Salt and Pepper.

9

In a buttered, oven safe casserole dish, layer the bottom with half of the sautéed vegetables.

10

Next, sprinkle half of the shredded Gruyere cheese on top.

11

Then add the last half of the sautéed vegetables on top of the cheese layer.

12

Now pour the Milk mixture over the top of all the vegetables.

13

Top the dish with the last of the Gruyere cheese.

14

Place dish in the oven and bake for 40 Minutes until the top is brown and bubbly.

15

Serve warm.

Chopped leaks:

Sauteed Vegetables are ready to go:


Breads

Cranberry Almond Scones with Orange Glaze

This flavor combo is heavenly. You get a double punch of almond from the almond extract plus the slivered almonds (can you tell I love almonds?) In addition, I have found the secret to perfect scones, it’s sour cream! Make these for breakfast on the weekend. They are the perfect fall/winter breakfast treat. I like to make this full recipe for my family, everyone eats one and then I freeze the rest for the week ahead. They reheat so beautifully that they taste fresh out of the oven!

Cranberry Almond Scones with Orange Glaze

1 Star2 Stars3 Stars4 Stars5 Stars (No Ratings Yet)
Loading...
By Liz Serves: 10
Prep Time: 15 Minutes Cooking Time: 15 Minutes

With a double hit of almond, tart cranberries and a hint of orange, these scones fluffy scones will be the hit of your next breakfast table.

Ingredients

  • 2 cups All Purpose Flour
  • 1/2 cup Sugar
  • 1 tsp Baking Powder
  • 1/4 tsp Bakin Soda
  • 1 tsp Salt
  • 1/2 cup cold Salted Butter (1 stick), cubed
  • 3/4 cup Cranberries
  • 1/2 cup Slivered Almonds
  • 1 Egg
  • 1/2 cup Sour Cream
  • 2 tsp Almond Extract
  • FOR GLAZE:
  • 1 cup Confectioners Sugar
  • 1 Teaspoon Orange Zest
  • 2 Tablespoons Freshly Squeezed Orange Juice
  • 1 Tablespoon Half and Half

Instructions

1

Preheat oven to 425 degrees Fahrenheit and line a cookie sheet with parchment paper.

2

Put flour, sugar, baking powder, baking soda and salt into a large bowl and mix together.

3

Add cubed butter to flour mixture.

4

Using a fork, press butter into flour mixture squeezing butter through the spokes of the fork. Keep pressing and pressing for about 3-4 minutes. Then end product should look meal-y, (see photo below.)

5

Add Cranberries and Almonds to flour/butter mixture and stir with a spoon to evenly distribute.

6

In small bowl, beat egg, sour cream and almond extract together and then pour into the dry mixture.

7

Using a spoon, combine the wet and dry ingredients a little bit, but then put the spoon down and use your hands to combine the wet and dry ingredients until they have just come together. (Do not over mix them, because your hands are warm and will melt the tiny chunks of butter, and you do not want this to happen because those little butter chunks help the scones become fluffy in the oven.)

8

Once the wet and dry have just come together, plop your ball of dough on a floured, flat surface (I use a Roul-Pat.)

9

Sprinkle a little flour on the top of your dough and then roll it out using a rolling pin until it's about 3/4 inch thick (pretty thick).

10

Using a round biscuit cutter (or take a cue from my mom and just use a CUP!), cut out round scones and place each on the parchment papered cookie sheet.

11

Once you've used up all the available space, gather the scraps of dough and make them into one piece, roll it out again to 3/4 inch thick and cut more rounds, until you are done. You should have 9-10 scones.

12

Place the cookies sheet full of scones into the oven and bake for 15-18 Minutes, until you see a few golden brown spots on a few of the scones.

13

While the scones are in the oven, make the glaze. Start by zesting your orange. Then, using a fork, mix the zest, orange juice, half n half and confectioners sugar together in a small bowl.

14

Take scones out of oven, let them sit for 5 minutes and then transfer to a cooling rack that is on top of a baking sheet.

15

Using a spoon, gently ladle the glaze onto the tops of the scones.

16

Serve warm or freeze (these reheat beautifully!!!)

This is how your butter/flour mixture should look once the butter is is properly broken apart and mixed in:

Cut scones lined up on parchment paper:

The orange glaze:

These scones have just been glazed:

Desserts

Cinnamon Roll Apple Pie

This is the pie you want to serve at Thanksgiving.  It’s equally impressive to the eye as it is to the mouth.  You can use this recipe with a store bought crust, or make your own using THIS recipe.  Serve it warm with some of my fresh Vanilla Cinnamon Whipped Cream.

Cinnamon Roll Apple Pie

1 Star2 Stars3 Stars4 Stars5 Stars (No Ratings Yet)
Loading...
By Liz Serves: 8
Prep Time: 20 Minutes Cooking Time: 60 Minutes

This amped up version of apple pie is such a natural evolution. It's just a bit more buttery and more cinnamon-y than it's original version.

Ingredients

  • 5 Medium sized Honeycrisp Apples
  • 2 Tbsp All Purpose Flour
  • 2 tsp Corn Starch
  • 1/2 cup Sugar
  • 1 tsp Cinnamon
  • 1/2 tsp All Spice
  • 1/2 tsp Ground Nutmeg
  • 1/4 tsp Salt
  • 1 tsp Lemon Zest
  • 1 Tbsp Freshly Squeeze Lemon Juice
  • 2 tsp Freshly Squeezed Orange Juice
  • For Cinnamon Rolls:
  • 1 Pie Crust, rolled out
  • 2 Tbsp Sugar
  • 2 tsp Cinnamon
  • 1 egg, beaten for Egg Wash

Instructions

1

Preheat your oven to 400 degrees.

2

Peel, core and slice the apples (see photo below for size of apple slices.)

3

Place apple slices in a bowl with the citrus juices, zest, 1/2 cup sugar, flour, salt, cinnamon, nutmeg, and allspice.

4

Roll out the pie dough for the bottom of the pie and place it in 9 inch pie pan.

5

Now put all the apple slices with the spices, juices and all into the pie crust.

6

Time to make the Cinnamon Roll topping: roll out another pie crust.

7

Sprinkle the 2 Tbsp Sugar and 2 tsp of Cinnamon evenly across the pie dough.

8

Roll the pie dough up like a jelly roll. (See photos below.)

9

Wrap the roll in plastic wrap and place it in the refrigerator for 15 minutes.

10

Take the roll out of the fridge, and unwrap it.

11

Using a sharp knife, cut the roll into thin slices, and voila! Mini cinnamon rolls.

12

Place the cinnamon rolls, one by one, on top of the pie until it's covered. You want there to be some spaces to let the steam escape. (I left a little hole in the middle.)

13

Using the beaten egg, brush all of the cinnamon rolls and any exposed crust with the egg wash.

14

Place the pie on a cookie sheet (to catch any drippings) and bake for 1 hour, the crust will be golden brown and the juices will be bubbling out. Serve warm with my Vanilla Cinnamon Whipped Cream.

Adding the zest and citrus juices to the sliced apples:

The final apples into the pie crust:

Rolling out the other pastry crust for the cinnamon roll topping:

Slicing the cinnamon rolls:

This pie is ready to go into the oven: